Sharp XG-P10XU XGP10XU Operation Manual - Page 32
Special Mode Adjustment, Checking the Input Signal, MOUSE/ADJUSTMENT, ENTER, Projector
 |
View all Sharp XG-P10XU manuals
Add to My Manuals
Save this manual to your list of manuals |
Page 32 highlights
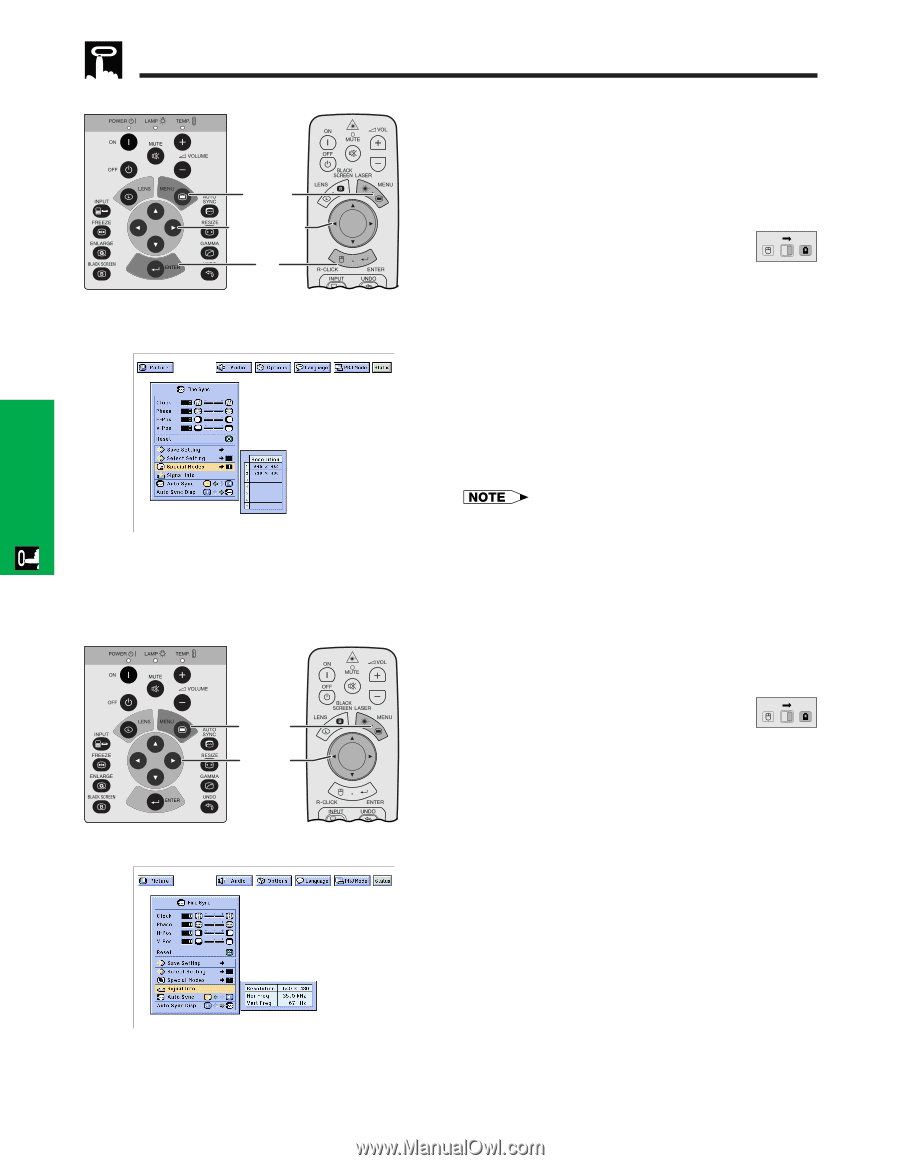
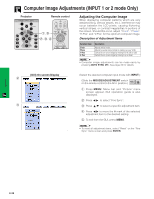
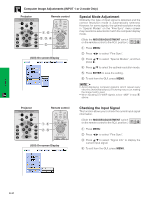
Operation Computer Image Adjustments (INPUT 1 or 2 mode Only) Projector Remote control 1, 6 2, 3, 4 5 (GUI) On-screen Display Special Mode Adjustment Ordinarily, the type of input signal is detected and the correct resolution mode is automatically selected. However, for some signals, the optimal resolution mode in "Special Modes" on the "Fine Sync" menu screen may need to be selected to match the computer display mode. (Slide the MOUSE/ADJUSTMENT switch MOUSE ADJ. on the remote control to the ADJ. position.) 1 Press MENU. 2 Press ß/© to select "Fine Sync". 3 Press ∂/ƒ to select "Special Modes", and then press ©. 4 Press ∂/ƒ to select the optimal resolution mode. 5 Press ENTER to save the setting. 6 To exit from the GUI, press MENU. • Avoid displaying computer patterns which repeat every other line (horizontal stripes). (Flickering may occur, making the image hard to see.) • When inputting DTV 480P signals, select "480P" in step 4 above. Projector Remote control 1, 4 2, 3 (GUI) On-screen Display Checking the Input Signal This function allows you to check the current input signal information. (Slide the MOUSE/ADJUSTMENT switch MOUSE ADJ. on the remote control to the ADJ. position.) 1 Press MENU. 2 Press ß/© to select "Fine Sync". 3 Press ∂/ƒ to select "Signal Info" to display the current input signal. 4 To exit from the GUI, press MENU. E-31
-
 1
1 -
2
-
3
-
4
-
5
-
6
-
7
-
8
-
9
-
10
-
11
-
12
-
13
-
14
-
15
-
16
-
17
-
18
-
19
-
20
-
21
-
22
-
23
-
24
-
25
-
26
-
 27
27 -
 28
28 -
 29
29 -
 30
30 -
 31
31 -
 32
32 -
 33
33 -
 34
34 -
 35
35 -
 36
36 -
 37
37 -
38
-
39
-
40
-
41
-
42
-
43
-
44
-
45
-
46
-
47
-
48
-
49
-
50
-
51
-
52
-
53
-
54
-
55
-
56
-
57
-
58
-
59
-
60
-
61
-
62
-
63
-
64
-
65
 |
 |