Sharp XG-P25X XG-P25X Operation Manual - Page 19
Power Supply
 |
View all Sharp XG-P25X manuals
Add to My Manuals
Save this manual to your list of manuals |
Page 19 highlights
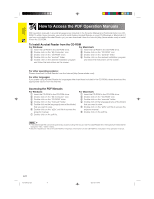
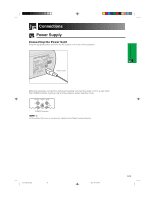
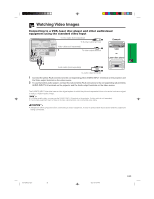
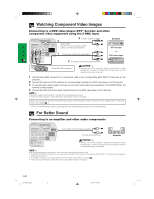
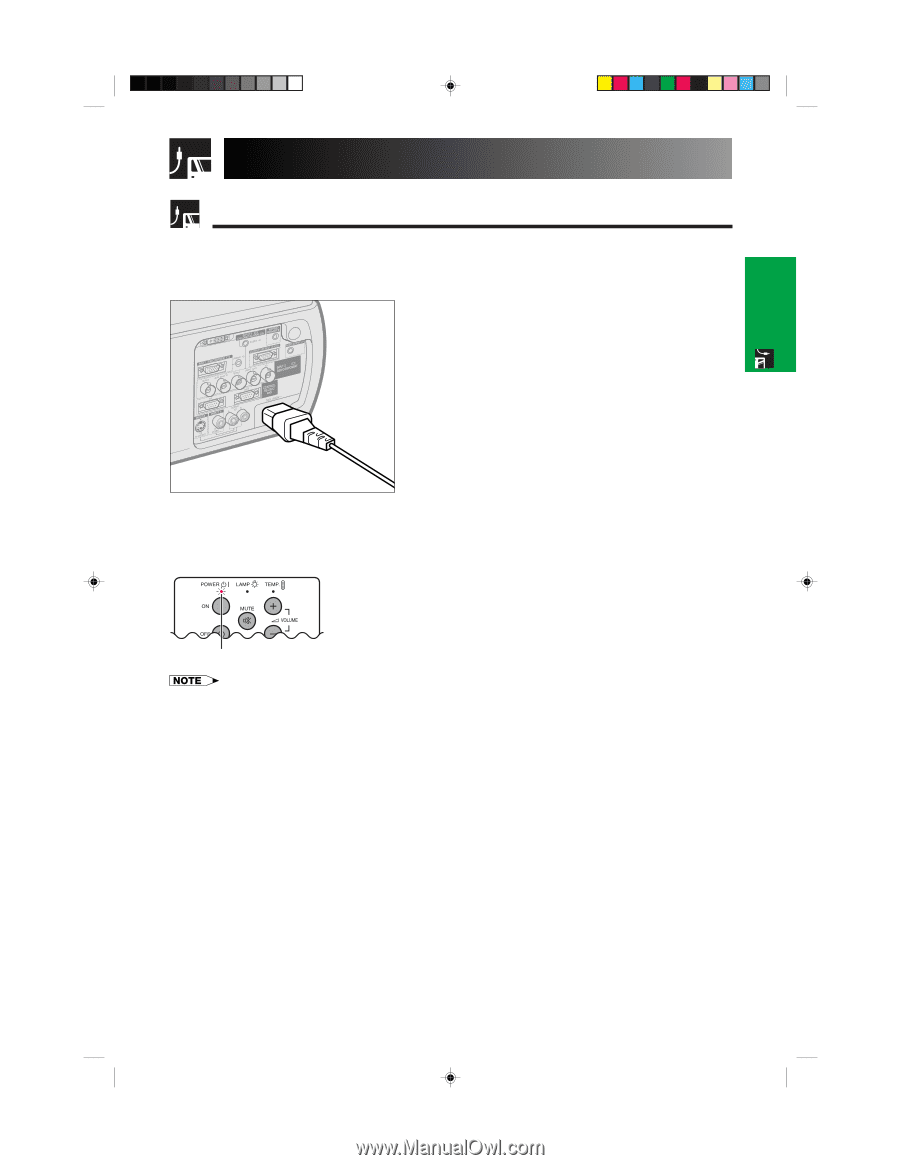
Setup & Connections Connections Power Supply Connecting the Power Cord Plug the supplied power cord into the AC socket on the rear of the projector. Power cord Make the necessary connections before proceeding. Connect the power cord to a wall outlet. The POWER indicator lights up red and the projector enters standby mode. POWER indicator • If the bottom filter cover is not securely installed, the POWER indicator flashes. XG-P25X/CD (E)-b 16 02.3.19, 7:03 PM E-16
-
 1
1 -
2
-
3
-
4
-
5
-
6
-
7
-
8
-
9
-
10
-
11
-
12
-
13
-
 14
14 -
 15
15 -
 16
16 -
 17
17 -
 18
18 -
 19
19 -
 20
20 -
 21
21 -
 22
22 -
 23
23 -
 24
24 -
25
-
26
-
27
-
28
-
29
-
30
-
31
-
32
-
33
-
34
-
35
-
36
-
37
-
38
-
39
-
40
-
41
-
42
-
43
-
44
-
45
-
46
-
47
-
48
-
49
-
50
-
51
-
52
-
53
-
54
-
55
-
56
-
57
-
58
-
59
-
60
-
61
-
62
-
63
-
64
-
65
-
66
-
67
-
68
-
69
-
70
-
71
-
72
-
73
-
74
-
75
-
76
-
77
-
78
-
79
-
80
 |
 |
E-16
Setup & Connections
Connecting the Power Cord
Plug the supplied power cord into the AC socket on the rear of the projector.
Power cord
Make the necessary connections before proceeding. Connect the power cord to a wall outlet.
The POWER indicator lights up red and the projector enters standby mode.
Connections
POWER indicator
• If the bottom filter cover is not securely installed, the POWER indicator flashes.
Power Supply
XG-P25X/CD (E)-b
02.3.19, 7:03 PM
16