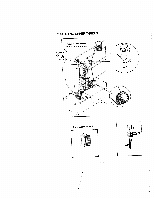
Singer 1409 Promise Instruction Manual - Page 7
Before, Sewing
 |
View all Singer 1409 Promise manuals
Add to My Manuals
Save this manual to your list of manuals |
Page 7 highlights
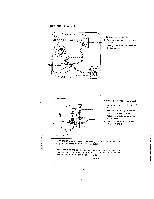
BEFORE SEWING 1. Fit plug into the macnine. 2. Plug the macnine tc he power supply 3. Sewing speed can be varied by the toot control. Sewing lamp REMOVE ORHNSTALL BULB 1. Qoen face cover in direction of arrow. 2. emove bulb by unscrew ing it counter-clockwise. 3. install a new bulb y screwing it in clockwise. 4. Use a screw type bulb with 120/1 5W(Max). lMPOTANT : When leaving the sewing macnine unattended, the plug must be removed from the socket outlet. When servicing the sewing machine, or wnen removing covers or changing amps, the macnine must ce disconnected from the supply by removing the plug from the socket outlet. -4- I
-
 1
1 -
 2
2 -
 3
3 -
 4
4 -
 5
5 -
 6
6 -
 7
7 -
 8
8 -
 9
9 -
 10
10 -
 11
11 -
 12
12 -
13
-
14
-
15
-
16
-
17
-
18
-
19
-
20
-
21
-
22
-
23
-
24
-
25
-
26
-
27
-
28
-
29
-
30
 |
 |
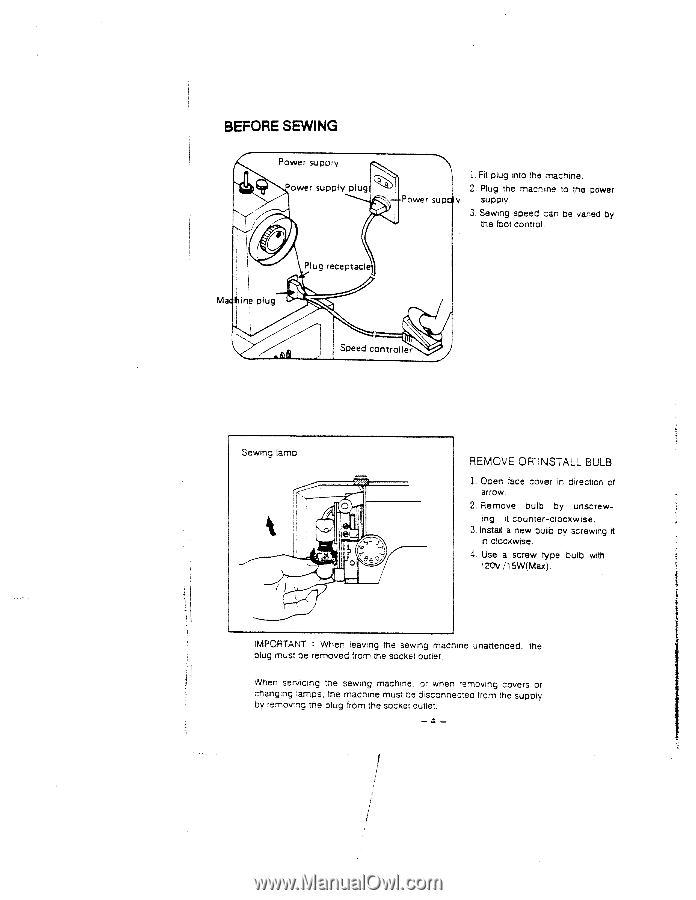
1.
Fit
plug
into
the
macnine.
2.
Plug
the
macnine
tc
he
power
supply
3.
Sewing
speed
can
be
varied
by
the
toot
control.
REMOVE
ORHNSTALL
BULB
1.
Qoen
face
cover
in
direction
of
arrow.
2.
emove
bulb
by
unscrew
ing
it
counter-clockwise.
3.
install
a
new
bulb
y
screwing
it
in
clockwise.
4.
Use
a
screw
type
bulb
with
120/1
5W(Max).
lMPOTANT
:
When
leaving
the
sewing
macnine
unattended,
the
plug
must
be
removed
from
the
socket
outlet.
When
servicing
the
sewing
machine,
or
wnen
removing
covers
or
changing
amps,
the
macnine
must
ce
disconnected
from
the
supply
by
removing
the
plug
from
the
socket
outlet.
I
—4—
BEFORE
SEWING
Sewing
lamp