Sony Ericsson K608i User Guide - Page 22
Contacts, Transfer sound, Demo clip, Phone contacts, SIM contacts, Options, Advanced, Default contacts - insert sim
 |
View all Sony Ericsson K608i manuals
Add to My Manuals
Save this manual to your list of manuals |
Page 22 highlights
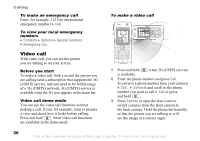
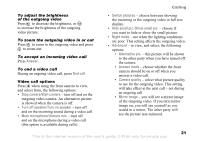
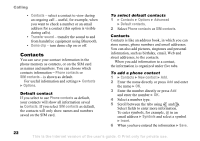
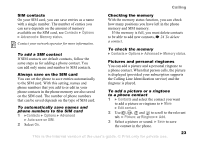
Calling • Contacts - select a contact to view during an ongoing call - useful, for example, when you want to check a number or an email address for a contact (this option is visible during calls). • Transfer sound - transfer the sound to and from handsfree equipment using Bluetooth. • Demo clip - turn demo clip on or off. Contacts You can save your contact information in the phone memory as contacts, or on the SIM card as names and numbers. You can choose which contacts information - Phone contacts or SIM contacts - is shown as default. For useful information and settings } Contacts } Options. Default contact If you select to use Phone contacts as default, your contacts will show all information saved in Contacts. If you select SIM contacts as default, the contacts will only show names and numbers saved on the SIM card. To select default contacts 1 } Contacts } Options } Advanced } Default contacts. 2 Select Phone contacts or SIM contacts. Contacts Contacts is like an address book, in which you can store names, phone numbers and email addresses. You can also add pictures, ringtones and personal information, such as birthday, email, Web and street addresses, to the contacts. When you add information to a contact, the information is organized under five tabs. To add a phone contact 1 } Contacts } New contact } Add. 2 Enter the name directly or press Add and enter the name } OK. 3 Enter the number directly or press Add and enter the number } OK. 4 Select a number type. 5 Scroll between the tabs using and . Select fields to enter more information. To enter symbols, for example, @ in an email address } Symbols and select a symbol } Insert. 6 When you have entered the information } Save. 22 This is the Internet version of the user's guide. © Print only for private use.
-
 1
1 -
2
-
3
-
4
-
5
-
6
-
7
-
8
-
9
-
10
-
11
-
12
-
13
-
14
-
15
-
16
-
 17
17 -
 18
18 -
 19
19 -
 20
20 -
 21
21 -
 22
22 -
 23
23 -
 24
24 -
 25
25 -
 26
26 -
 27
27 -
28
-
29
-
30
-
31
-
32
-
33
-
34
-
35
-
36
-
37
-
38
-
39
-
40
-
41
-
42
-
43
-
44
-
45
-
46
-
47
-
48
-
49
-
50
-
51
-
52
-
53
-
54
-
55
-
56
-
57
-
58
-
59
-
60
-
61
-
62
-
63
-
64
-
65
-
66
-
67
-
68
-
69
-
70
-
71
-
72
-
73
-
74
-
75
-
76
-
77
-
78
-
79
-
80
-
81
-
82
-
83
-
84
-
85
-
86
-
87
-
88
-
89
-
90
-
91
-
92
-
93
-
94
-
95
-
96
 |
 |