Sony DAV-HDX285 Operating Instructions - Page 75
Establishing sound transmission between the unit and S-AIR sub unit (ID setting) - installation instructions
 |
UPC - 027242753495
View all Sony DAV-HDX285 manuals
Add to My Manuals
Save this manual to your list of manuals |
Page 75 highlights
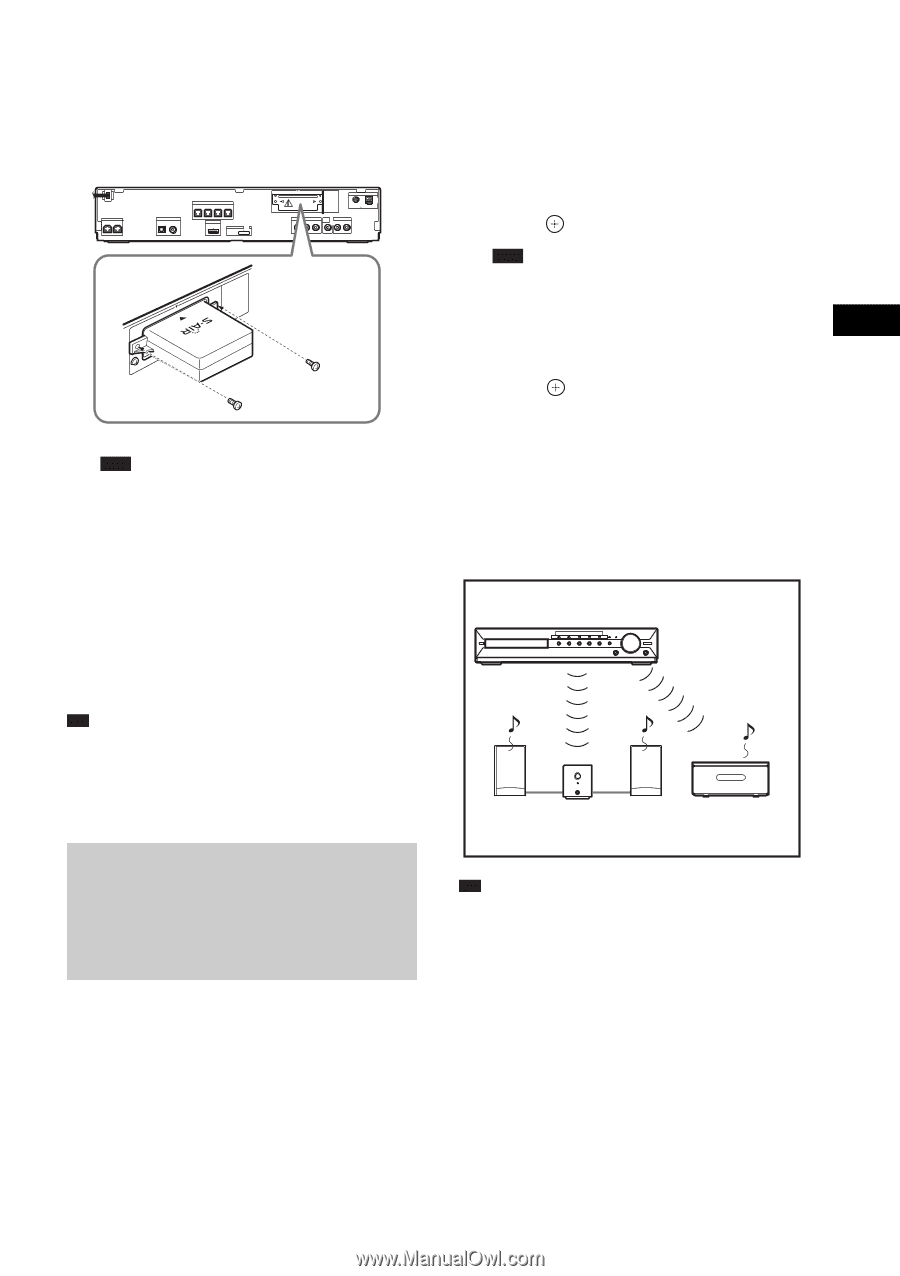
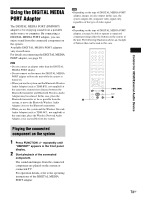
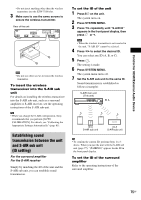
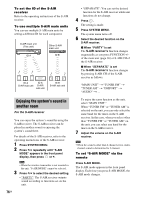
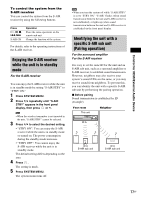
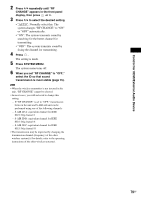
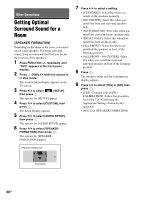
Control for HDMI/External Audio Device • Do not insert anything other than the wireless transmitter into the EZW-T100 slot. 3 Make sure to use the same screws to secure the wireless transmitter. Rear of the unit SPEAKER CENTER SUBWOOFER TV DIGITAL IN OPTICAL COAXIAL SPEAKER FRONT R FRONT L SUR R HDMI OUT SUR L DMPORT DC5V 0.7A MAX EZW-T100 ANTENNA FM AM COAXIAL 75 COMPONENT VIDEO OUT VIDEO OUT TV/VIDEO Y PB/CB PR/CR R AUDIO IN L EZW-T100 Note • Do not use other screws to fasten the wireless transmitter. To insert the wireless transceiver into the S-AIR sub unit For details on installing the wireless transceiver into the S-AIR sub unit, such as a surround amplifier or S-AIR receiver, see the operating instructions of the S-AIR sub unit. Tip • When you change the S-AIR configuration, Sony recommends that you perform [AUTO CALIBRATION]. For details, see "Calibrating the Appropriate Settings Automatically" (page 81). Establishing sound transmission between the unit and S-AIR sub unit (ID setting) For the surround amplifier For the S-AIR receiver Simply by matching the ID of the unit and the S-AIR sub unit, you can establish sound transmission. To set the ID of the unit 1 Press "/1 on the unit. The system turns on. 2 Press SYSTEM MENU. 3 Press X/x repeatedly until "S-AIR ID" appears in the front panel display, then press or c. Note • When the wireless transmitter is not inserted in the unit, "S-AIR ID" cannot be selected. 4 Press X/x to select the desired ID. You can select any ID (A, B, or C). 5 Press . The setting is made. 6 Press SYSTEM MENU. The system menu turns off. 7 Set the S-AIR sub unit to the same ID. Sound transmission is established as follows (example): S-AIR main unit (This unit) ID A ID A S-AIR sub unit ID A S-AIR sub unit Tip • To confirm the current ID, perform Steps 1 to 3 above. When you pair the unit with the S-AIR sub unit (page 77), "(PAIRING)" appears beside ID in the front panel display. To set the ID of the surround amplifier Refer to the operating instructions of the surround amplifier. 75GB
-
 1
1 -
2
-
3
-
4
-
5
-
6
-
7
-
8
-
9
-
10
-
11
-
12
-
13
-
14
-
15
-
16
-
17
-
18
-
19
-
20
-
21
-
22
-
23
-
24
-
25
-
26
-
27
-
28
-
29
-
30
-
31
-
32
-
33
-
34
-
35
-
36
-
37
-
38
-
39
-
40
-
41
-
42
-
43
-
44
-
45
-
46
-
47
-
48
-
49
-
50
-
51
-
52
-
53
-
54
-
55
-
56
-
57
-
58
-
59
-
60
-
61
-
62
-
63
-
64
-
65
-
66
-
67
-
68
-
69
-
 70
70 -
 71
71 -
 72
72 -
 73
73 -
 74
74 -
 75
75 -
 76
76 -
 77
77 -
 78
78 -
 79
79 -
 80
80 -
81
-
82
-
83
-
84
-
85
-
86
-
87
-
88
-
89
-
90
-
91
-
92
-
93
-
94
-
95
-
96
-
97
-
98
-
99
-
100
-
101
-
102
-
103
-
104
-
105
-
106
-
107
-
108
-
109
-
110
-
111
-
112
-
113
-
114
-
115
-
116
 |
 |