Sony DCR SX41 Operating Guide - Page 26
Creating a disc with one touch (One Touch Disc Burn), One Touch Disc Burn - usb cable
 |
UPC - 027242767898
View all Sony DCR SX41 manuals
Add to My Manuals
Save this manual to your list of manuals |
Page 26 highlights
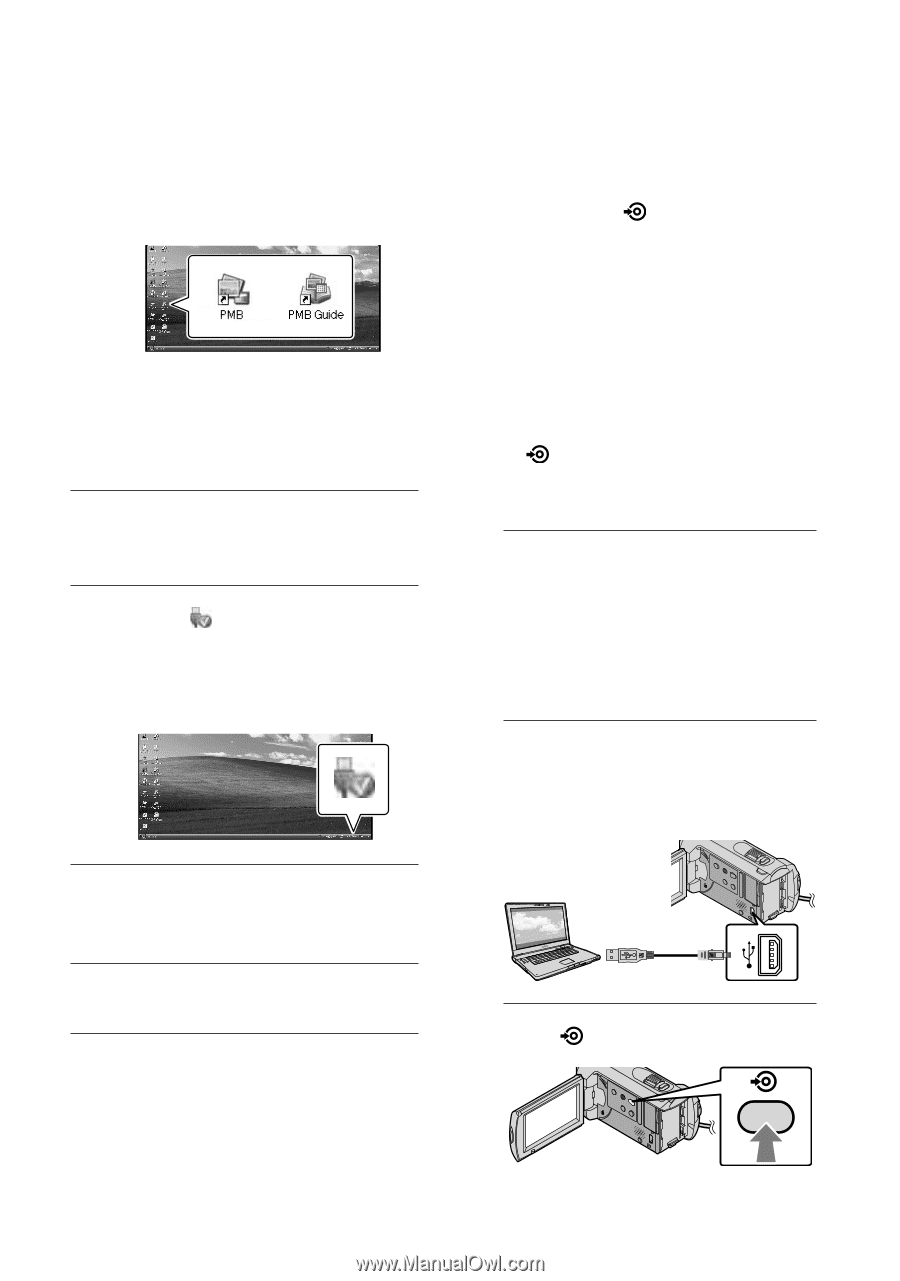
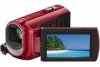
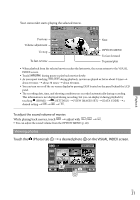
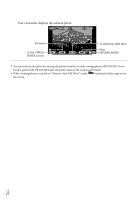
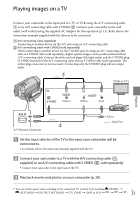
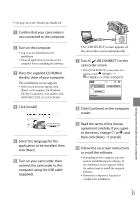
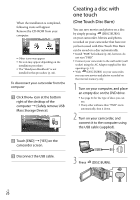
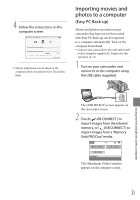
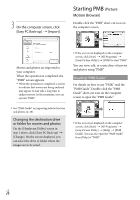
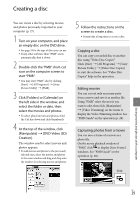
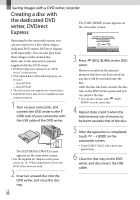
When the installation is completed, following icons will appear. Remove the CD-ROM from your computer. Other icons may appear. No icon may appear depending on the installation procedure. The "Handycam Handbook" is not installed in this procedure (p. 44). To disconnect your camcorder from the computer Click the icon at the bottom right of the desktop of the computer [Safely remove USB Mass Storage Device]. Touch [END] [YES] on the camcorder screen. Disconnect the USB cable. Creating a disc with one touch (One Touch Disc Burn) You can save movies and photos on a disc by simply pressing (DISC BURN) on your camcorder. Movies and photos recorded on your camcorder that have not yet been saved with One Touch Disc Burn can be saved on a disc automatically. Install "PMB" beforehand (p. 24), however, do not start "PMB." Connect your camcorder to the wall outlet (wall socket) using the AC Adaptor supplied for this operation (p. 13). With (DISC BURN) on your camcorder, you can save movies and photos recorded on the internal memory only. 1 Turn on your computer, and place an empty disc on the DVD drive. See page 24 for the type of discs you can use. If any other software than "PMB" starts automatically, shut it down. 2 Turn on your camcorder, and connect it to the computer using the USB cable (supplied). 3 Press (DISC BURN). US 26
-
 1
1 -
2
-
3
-
4
-
5
-
6
-
7
-
8
-
9
-
10
-
11
-
12
-
13
-
14
-
15
-
16
-
17
-
18
-
19
-
20
-
 21
21 -
 22
22 -
 23
23 -
 24
24 -
 25
25 -
 26
26 -
 27
27 -
 28
28 -
 29
29 -
 30
30 -
 31
31 -
32
-
33
-
34
-
35
-
36
-
37
-
38
-
39
-
40
-
41
-
42
-
43
-
44
-
45
-
46
-
47
-
48
-
49
-
50
-
51
-
52
-
53
-
54
-
55
-
56
-
57
-
58
-
59
-
60
-
61
-
62
-
63
-
64
-
65
-
66
-
67
-
68
-
69
-
70
-
71
-
72
-
73
-
74
-
75
-
76
-
77
-
78
-
79
-
80
-
81
-
82
-
83
-
84
-
85
-
86
-
87
-
88
-
89
-
90
-
91
-
92
-
93
-
94
-
95
-
96
-
97
-
98
-
99
-
100
-
101
-
102
-
103
-
104
-
105
-
106
-
107
-
108
 |
 |