Sony DCR-TRV460 Camera Operations Guide - Page 25
Recording, Indicators displayed during recording, on a tape, on a Memory Stick, Memory Stick.
 |
UPC - 027242643116
View all Sony DCR-TRV460 manuals
Add to My Manuals
Save this manual to your list of manuals |
Page 25 highlights
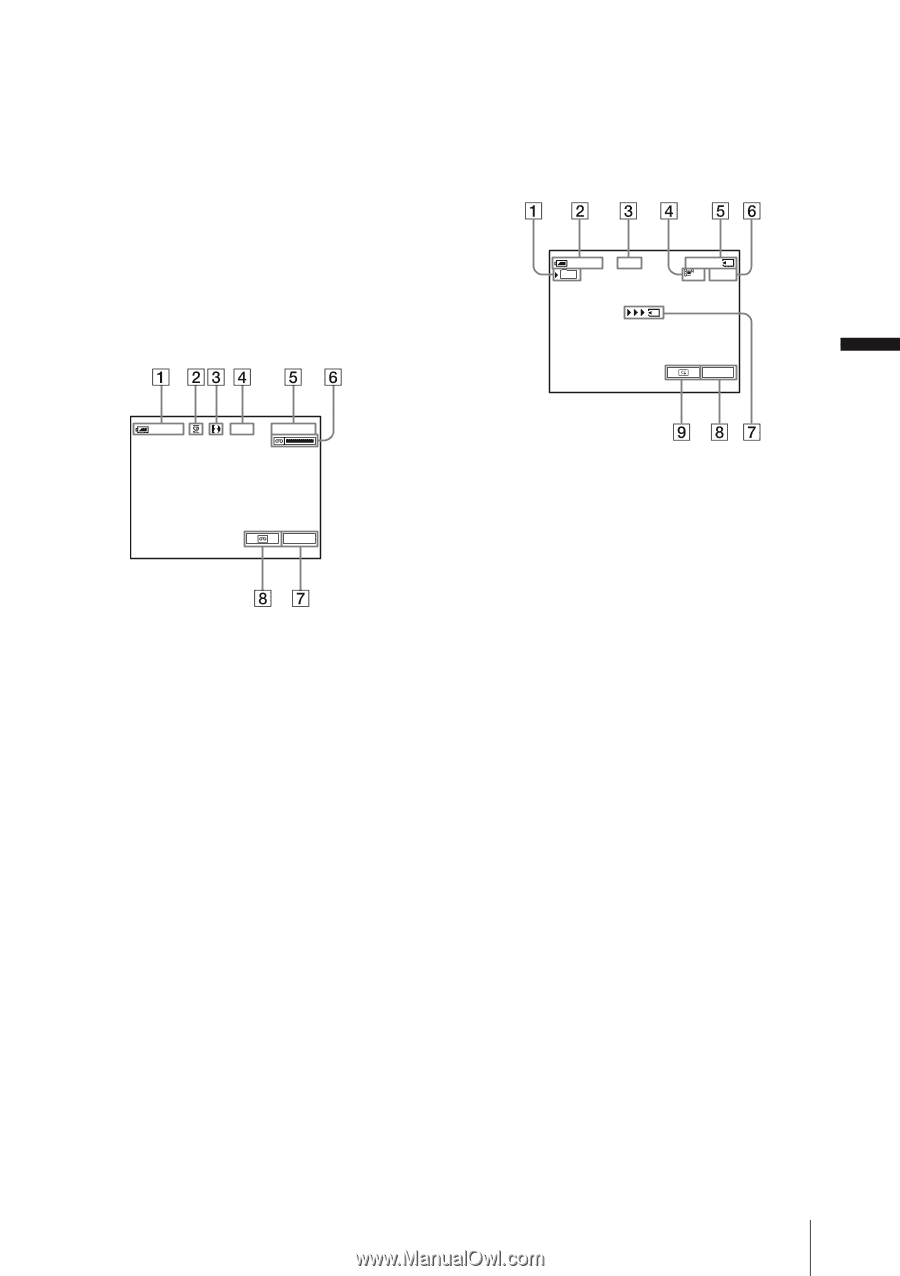
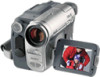
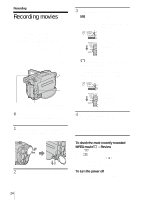
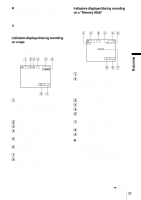
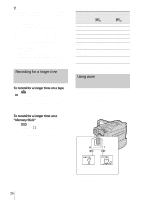
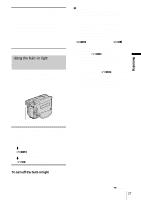
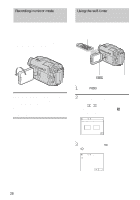
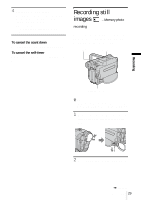
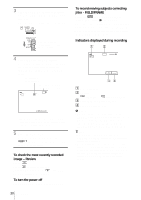
Recording b Note • While recording movies on a "Memory Stick," the only menu items available will be those with short cuts on the Personal Menu. In order to use other menu items, add them to the Personal Menu. z Tip • If you do not use your camcorder for a long time, remove the cassette and store it. Indicators displayed during recording on a tape The indicators will not be recorded on the tape. Date/time and the camera settings data (p. 54) will not be displayed during recording. Indicators displayed during recording on a "Memory Stick" The indicators will not be recorded on the "Memory Stick." Date/time (p. 54) will not be displayed during recording. 60min REC 101 0:00:00 320 2min P-MENU 60min REC 0:00:00 P-MENU A Remaining battery The indicated time may not be correct depending on the environment of use. When you opened or closed the LCD panel, it takes about 1 minute to display the correct remaining battery time. B Recording mode (SP or LP) C Format indicator D Recording status ([STBY] (standby) or [REC] (recording)) E Time code or tape counter (hour: minute: second) F Recording capacity of the tape Displayed after you run the tape for a while. G Personal Menu button (p. 59) H END SEARCH/EDIT SEARCH/Rec review display switch button (p. 44) A Recording folder B Remaining battery The indicated time may not be correct depending on the environment of use. When you opened or closed the LCD panel, it takes about 1 minute to display the correct remaining battery time. C Recording status ([REC] (recording)) D Movie size E Recorded time (hour: minute: second) F Recording capacity of the "Memory Stick" G "Memory Stick" recording start indicator (appears for about 5 seconds) H Personal Menu button (p. 59) I Review button (p. 24) b Notes • Before changing the battery pack, slide the POWER switch up to (CHG) OFF. • In the default setting, when you do not operate the camcorder for more than about 5 minutes, the power will automatically turn off to prevent battery loss ([A.SHUT OFF], p. 81). To restart recording, slide the POWER switch down to select CAMERATAPE or CAMERA-MEMORY, and then press REC START/STOP. ,continued Recording 25
-
 1
1 -
2
-
3
-
4
-
5
-
6
-
7
-
8
-
9
-
10
-
11
-
12
-
13
-
14
-
15
-
16
-
17
-
18
-
19
-
 20
20 -
 21
21 -
 22
22 -
 23
23 -
 24
24 -
 25
25 -
 26
26 -
 27
27 -
 28
28 -
 29
29 -
 30
30 -
31
-
32
-
33
-
34
-
35
-
36
-
37
-
38
-
39
-
40
-
41
-
42
-
43
-
44
-
45
-
46
-
47
-
48
-
49
-
50
-
51
-
52
-
53
-
54
-
55
-
56
-
57
-
58
-
59
-
60
-
61
-
62
-
63
-
64
-
65
-
66
-
67
-
68
-
69
-
70
-
71
-
72
-
73
-
74
-
75
-
76
-
77
-
78
-
79
-
80
-
81
-
82
-
83
-
84
-
85
-
86
-
87
-
88
-
89
-
90
-
91
-
92
-
93
-
94
-
95
-
96
-
97
-
98
-
99
-
100
-
101
-
102
-
103
-
104
-
105
-
106
-
107
-
108
-
109
-
110
-
111
-
112
-
113
-
114
-
115
-
116
-
117
-
118
-
119
-
120
-
121
-
122
-
123
-
124
-
125
-
126
-
127
-
128
-
129
-
130
-
131
-
132
-
133
-
134
-
135
-
136
 |
 |