Sony DCR-TRV460 Camera Operations Guide - Page 80
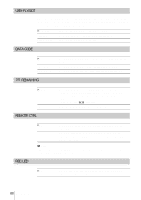
USB-PLY/EDT, DATA CODE, REMAINING, REMOTE CTRL, REC LED, refer to the Computer Applications Guide.
 |
UPC - 027242643116
View all Sony DCR-TRV460 manuals
Add to My Manuals
Save this manual to your list of manuals |
Page 80 highlights
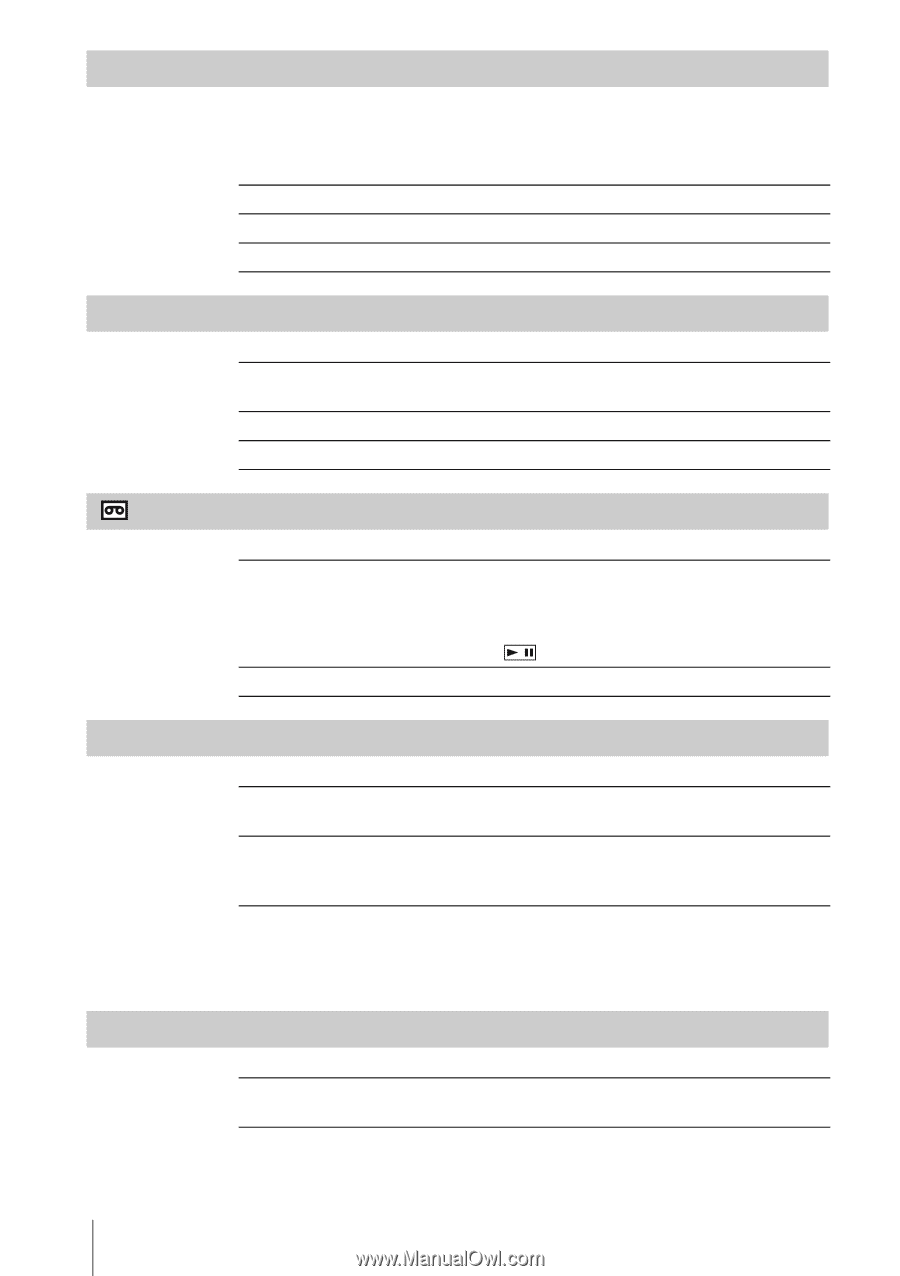
USB-PLY/EDT You can connect a USB cable (supplied) to your camcorder, and view the picture on the tape or "Memory Stick" in your camcorder on your computer. For details, refer to the "Computer Applications Guide." GSTD-USB PictBridge USB STREAM Select to view the picture on the "Memory Stick." Select to connect the PictBridge compliant printer (p. 101). Select to view the picture on the tape. DATA CODE GOFF DATE/TIME CAMERA DATA Select not to display date, time and the camera settings data during playback. Select to display the date and time during playback (p. 54). Select to display the camera settings data during playback (p. 54). REMAINING GAUTO ON REMOTE CTRL Select to display the remaining tape indicator for about 8 seconds: • After you select the CAMERA-TAPE mode with the cassette inserted, and your camcorder calculates the remaining amount of tape. • When you touch (play/pause). Select to always display the remaining tape indicator. REC LED GON OFF Select when using the Remote Commander supplied with your camcorder. Select to deactivate the Remote Commander to prevent your camcorder from responding to a command sent by another VCR remote control unit. b Note • The setting returns to [ON] when you have the power source disconnected from your camcorder for more than 5 minutes. GON Select to turn on the camera recording lamp on the front of your camcorder during recording. 80 Using the Menu
-
 1
1 -
2
-
3
-
4
-
5
-
6
-
7
-
8
-
9
-
10
-
11
-
12
-
13
-
14
-
15
-
16
-
17
-
18
-
19
-
20
-
21
-
22
-
23
-
24
-
25
-
26
-
27
-
28
-
29
-
30
-
31
-
32
-
33
-
34
-
35
-
36
-
37
-
38
-
39
-
40
-
41
-
42
-
43
-
44
-
45
-
46
-
47
-
48
-
49
-
50
-
51
-
52
-
53
-
54
-
55
-
56
-
57
-
58
-
59
-
60
-
61
-
62
-
63
-
64
-
65
-
66
-
67
-
68
-
69
-
70
-
71
-
72
-
73
-
74
-
 75
75 -
 76
76 -
 77
77 -
 78
78 -
 79
79 -
 80
80 -
 81
81 -
 82
82 -
 83
83 -
 84
84 -
 85
85 -
86
-
87
-
88
-
89
-
90
-
91
-
92
-
93
-
94
-
95
-
96
-
97
-
98
-
99
-
100
-
101
-
102
-
103
-
104
-
105
-
106
-
107
-
108
-
109
-
110
-
111
-
112
-
113
-
114
-
115
-
116
-
117
-
118
-
119
-
120
-
121
-
122
-
123
-
124
-
125
-
126
-
127
-
128
-
129
-
130
-
131
-
132
-
133
-
134
-
135
-
136
 |
 |