Sony DPP-EX50 Operating Instructions - Page 88
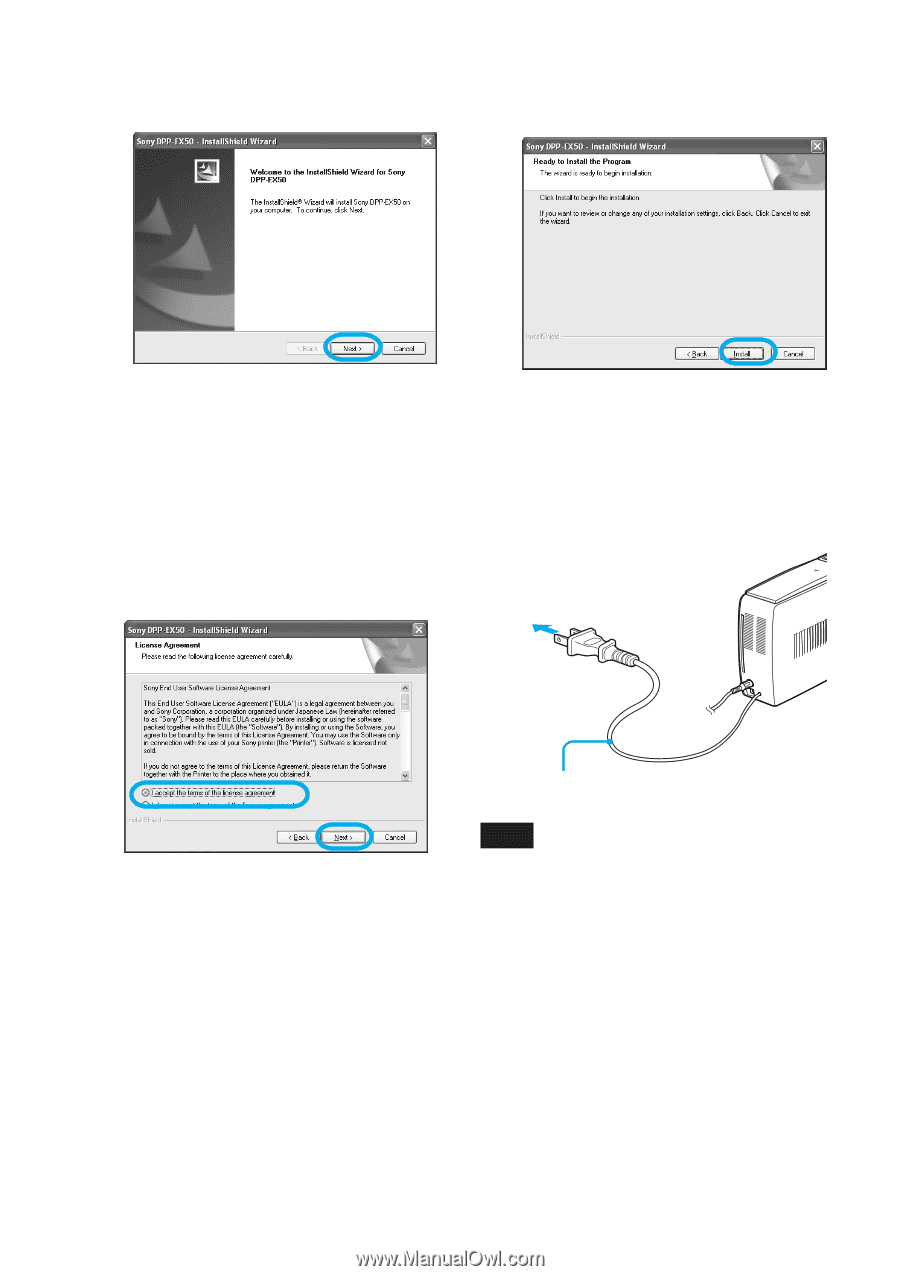
Click Next., Click Install. - installation
 |
UPC - 027242639546
View all Sony DPP-EX50 manuals
Add to My Manuals
Save this manual to your list of manuals |
Page 88 highlights
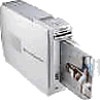
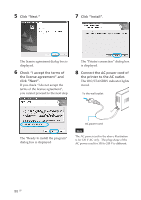
5 Click "Next." 7 Click "Install". The license agreement dialog box is displayed. 6 Check "I accept the terms of the license agreement" and click "Next". If you check "I do not accept the terms of the license agreement", you cannot proceed to the next step. The "Printer connection" dialog box is displayed. 8 Connect the AC power cord of the printer to the AC outlet. The ON/STANDBY indicator lights in red. To the wall outlet The "Ready to install the program" dialog box is displayed. AC power cord Note The AC power cord in the above illustration is for 120 V AC only. The plug shape of the AC power cord for 100 to 240 V is different. 88 GB
-
 1
1 -
2
-
3
-
4
-
5
-
6
-
7
-
8
-
9
-
10
-
11
-
12
-
13
-
14
-
15
-
16
-
17
-
18
-
19
-
20
-
21
-
22
-
23
-
24
-
25
-
26
-
27
-
28
-
29
-
30
-
31
-
32
-
33
-
34
-
35
-
36
-
37
-
38
-
39
-
40
-
41
-
42
-
43
-
44
-
45
-
46
-
47
-
48
-
49
-
50
-
51
-
52
-
53
-
54
-
55
-
56
-
57
-
58
-
59
-
60
-
61
-
62
-
63
-
64
-
65
-
66
-
67
-
68
-
69
-
70
-
71
-
72
-
73
-
74
-
75
-
76
-
77
-
78
-
79
-
80
-
81
-
82
-
 83
83 -
 84
84 -
 85
85 -
 86
86 -
 87
87 -
 88
88 -
 89
89 -
 90
90 -
 91
91 -
 92
92 -
 93
93 -
94
-
95
-
96
-
97
-
98
-
99
-
100
-
101
-
102
-
103
-
104
-
105
-
106
-
107
-
108
-
109
-
110
-
111
-
112
-
113
-
114
-
115
-
116
-
117
-
118
-
119
-
120
-
121
-
122
-
123
-
124
-
125
-
126
-
127
-
128
-
129
-
130
-
131
-
132
-
133
-
134
-
135
-
136
-
137
-
138
-
139
-
140
-
141
-
142
-
143
-
144
 |
 |
88
GB
5
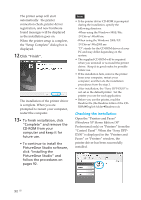
Click “Next.”
The license agreement dialog box is
displayed.
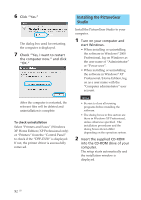
6
Check “I accept the terms of
the license agreement” and
click “Next”.
If you check “I do not accept the
terms of the license agreement”,
you cannot proceed to the next step.
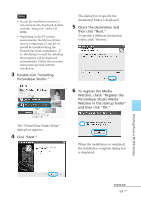
The “Ready to install the program”
dialog box is displayed.
7
Click “Install”.
The “Printer connection” dialog box
is displayed.
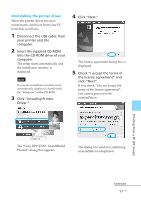
8
Connect the AC power cord of
the printer to the AC outlet.
The ON/STANDBY indicator lights
in red.
To the wall outlet
AC power cord
Note
The AC power cord in the above illustration
is for 120 V AC only.
The plug shape of the
AC power cord for 100 to 240 V is different.