Sony DPP-EX50 Operating Instructions - Page 92
Installing the PictureGear Studio, Click Yes.
 |
UPC - 027242639546
View all Sony DPP-EX50 manuals
Add to My Manuals
Save this manual to your list of manuals |
Page 92 highlights
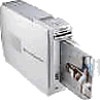
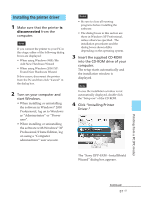
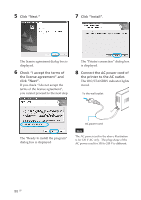
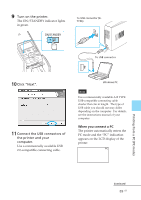
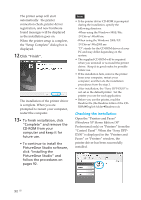
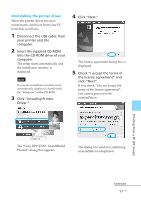
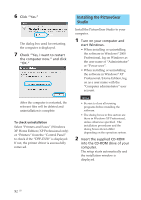
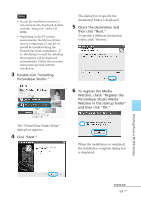
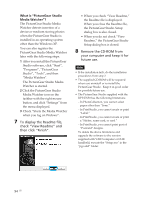
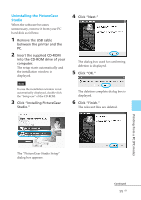
6 Click "Yes." The dialog box used for restarting the computer is displayed. 7 Check "Yes, I want to restart the computer now." and click "OK." After the computer is restarted, the relevant files will be deleted and uninstallation is complete. To check uninstallation Select "Printers and Faxes" (Windows XP Home Edition/XP Professional only) or "Printers" from the "Control Panel" to check if the "DPP-EX50" is displayed. If not, the printer driver is successfully removed. Installing the PictureGear Studio Install the PictureGear Studio to your computer. 1 Turn on your computer and start Windows. • When installing or uninstalling the software in Windows® 2000 Professional, log on Windows as the user name of "Administrator" or "Power user". • When installing or uninstalling the software in Windows® XP Professional/Home Edition, log on as a user name with the "Computer administrator" user account. Notes • Be sure to close all running programs before installing the software. • The dialog boxes in this section are those in Windows XP Professional, unless otherwise specified. The installation procedures and the dialog boxes shown differ depending on the operation system. 2 Insert the supplied CD-ROM into the CD-ROM drive of your computer. The setup starts automatically and the installation window is displayed. 92 GB
-
 1
1 -
2
-
3
-
4
-
5
-
6
-
7
-
8
-
9
-
10
-
11
-
12
-
13
-
14
-
15
-
16
-
17
-
18
-
19
-
20
-
21
-
22
-
23
-
24
-
25
-
26
-
27
-
28
-
29
-
30
-
31
-
32
-
33
-
34
-
35
-
36
-
37
-
38
-
39
-
40
-
41
-
42
-
43
-
44
-
45
-
46
-
47
-
48
-
49
-
50
-
51
-
52
-
53
-
54
-
55
-
56
-
57
-
58
-
59
-
60
-
61
-
62
-
63
-
64
-
65
-
66
-
67
-
68
-
69
-
70
-
71
-
72
-
73
-
74
-
75
-
76
-
77
-
78
-
79
-
80
-
81
-
82
-
83
-
84
-
85
-
86
-
 87
87 -
 88
88 -
 89
89 -
 90
90 -
 91
91 -
 92
92 -
 93
93 -
 94
94 -
 95
95 -
 96
96 -
 97
97 -
98
-
99
-
100
-
101
-
102
-
103
-
104
-
105
-
106
-
107
-
108
-
109
-
110
-
111
-
112
-
113
-
114
-
115
-
116
-
117
-
118
-
119
-
120
-
121
-
122
-
123
-
124
-
125
-
126
-
127
-
128
-
129
-
130
-
131
-
132
-
133
-
134
-
135
-
136
-
137
-
138
-
139
-
140
-
141
-
142
-
143
-
144
 |
 |
