Sony DPP-EX50 Operating Instructions - Page 93
PictureGear Studio Media, Double-click Installing
 |
UPC - 027242639546
View all Sony DPP-EX50 manuals
Add to My Manuals
Save this manual to your list of manuals |
Page 93 highlights
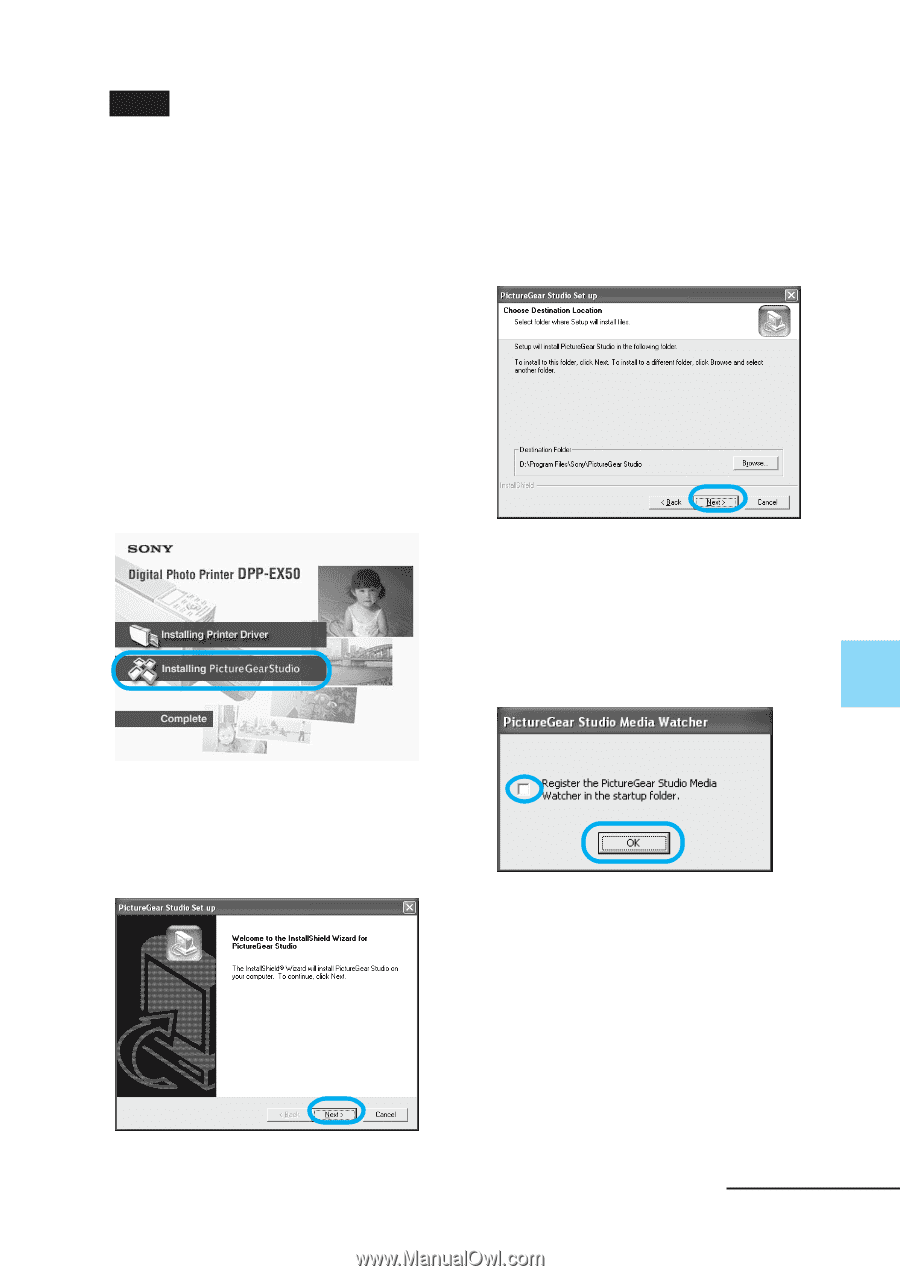
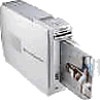
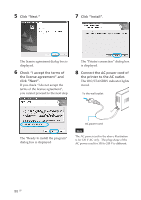
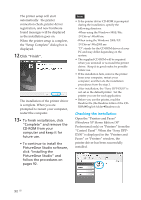
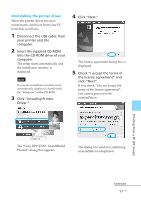
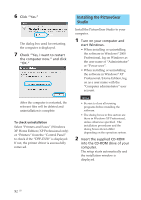
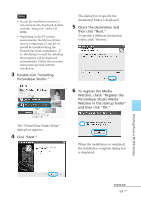
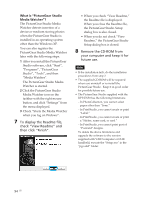
Notes • In case the installation window is not automatically displayed, doubleclick the "Setup.exe" of the CDROM. • Depending on the PC system environments, the Microsoft Data Access Component 2.7 and Jet 1.0 should be installed during the PictureGear Studio installation. If so, the dialog box used for installing the programs will be displayed automatically; Follow the on-screen instructions proceed with the installation. 3 Double-click "Installing PictureGear Studio." The dialog box to specify the destination folder is displayed. 5 Check the destination and then click "Next." To specify a different destination folder, click "Browse," The "PictureGear Studio media watch tool" dialog box is displayed. 6 To register the Media Watcher, check "Register the PictureGear Studio Media Watcher in the startup folder" and then click "OK." The "PictureGear Studio Setup" dialog box appears. 4 Click "Next." When the installation is completed, the installation complete dialog box is displayed. Printing from a PC (PC mode) Continued 93 GB
-
 1
1 -
2
-
3
-
4
-
5
-
6
-
7
-
8
-
9
-
10
-
11
-
12
-
13
-
14
-
15
-
16
-
17
-
18
-
19
-
20
-
21
-
22
-
23
-
24
-
25
-
26
-
27
-
28
-
29
-
30
-
31
-
32
-
33
-
34
-
35
-
36
-
37
-
38
-
39
-
40
-
41
-
42
-
43
-
44
-
45
-
46
-
47
-
48
-
49
-
50
-
51
-
52
-
53
-
54
-
55
-
56
-
57
-
58
-
59
-
60
-
61
-
62
-
63
-
64
-
65
-
66
-
67
-
68
-
69
-
70
-
71
-
72
-
73
-
74
-
75
-
76
-
77
-
78
-
79
-
80
-
81
-
82
-
83
-
84
-
85
-
86
-
87
-
 88
88 -
 89
89 -
 90
90 -
 91
91 -
 92
92 -
 93
93 -
 94
94 -
 95
95 -
 96
96 -
 97
97 -
 98
98 -
99
-
100
-
101
-
102
-
103
-
104
-
105
-
106
-
107
-
108
-
109
-
110
-
111
-
112
-
113
-
114
-
115
-
116
-
117
-
118
-
119
-
120
-
121
-
122
-
123
-
124
-
125
-
126
-
127
-
128
-
129
-
130
-
131
-
132
-
133
-
134
-
135
-
136
-
137
-
138
-
139
-
140
-
141
-
142
-
143
-
144
 |
 |