Sony DSC F828 Operating Instructions - Page 48
Changing items in the SET UP screen, How to use the command dial, To turn off the SET UP screen - auto bracketing
 |
UPC - 027242634237
View all Sony DSC F828 manuals
Add to My Manuals
Save this manual to your list of manuals |
Page 48 highlights
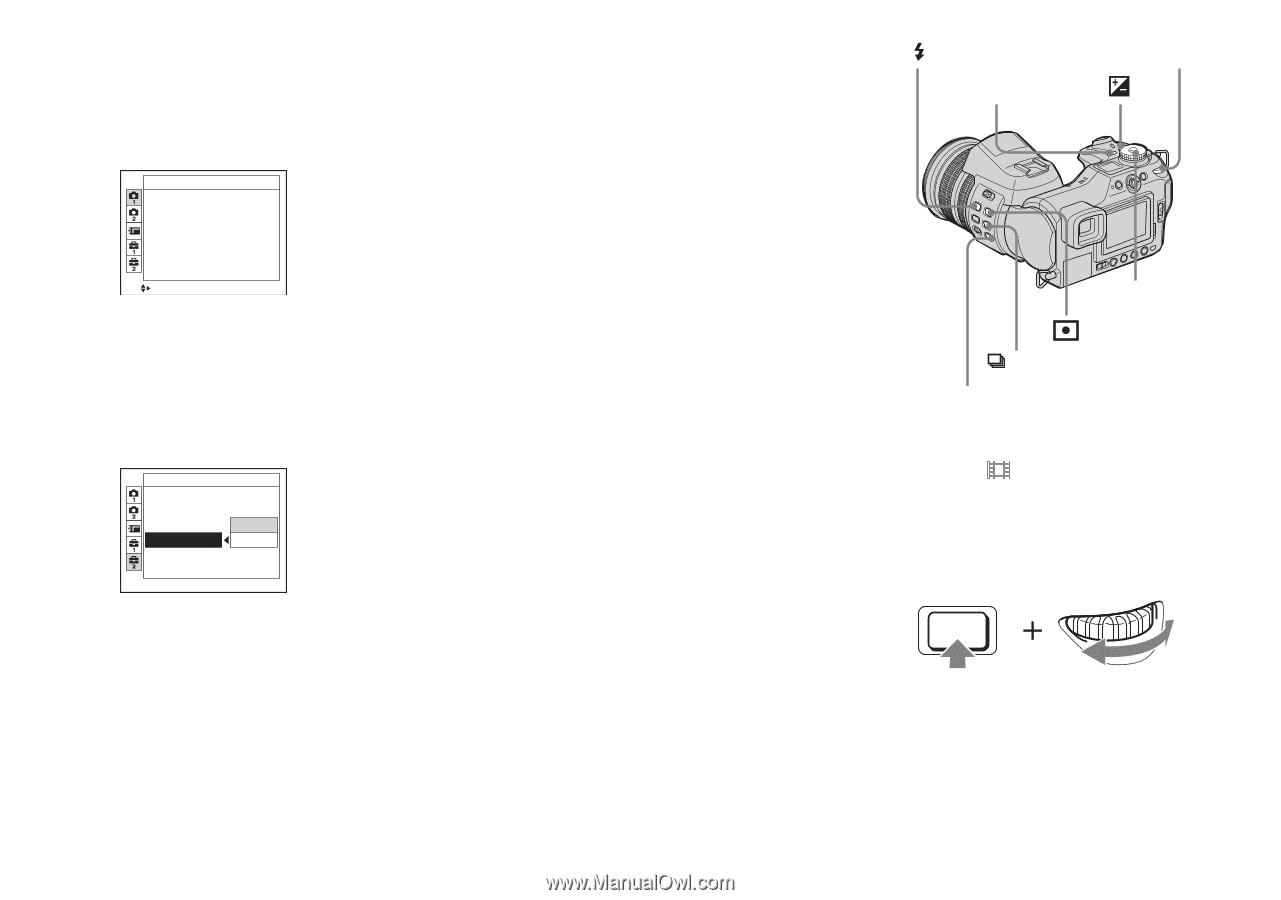
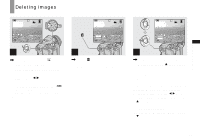
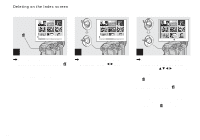
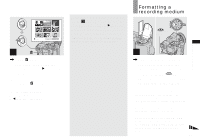
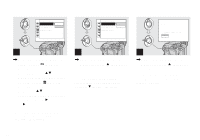
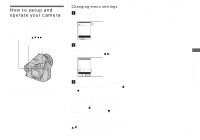
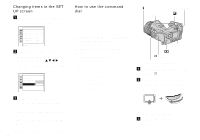
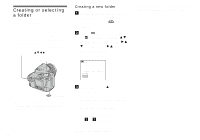
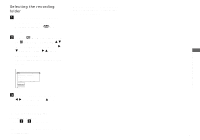
Changing items in the SET UP screen a Set the mode dial to SET UP. The SET UP screen appears. Camera 1 AF Mode: Digital Zoom: Date/Time: Red Eye Reduction: Hologram AF: Auto Review: Monitor Precision Off Off Auto Off SELECT b Select the setting item you want to change by moving the multi-selector to v/V/b/B. The frame of the item you select turns yellow. Setup 2 File Number: USB Connect: Video Out: OK Clock Set: Cancel How to use the command dial There are two methods for operating the command dial. One is using only the command dial and the other is using the command dial in combination with other buttons. This section describes the method used when operating the commnad dial in combination with other buttons. This method is used for the following functions. • Manual exposure (page 57) • Metering mode (page 58) • Exposure adjustment (page 59) • Exposure Bracket (page 63) • Flash mode (page 68) • White balance (page 73) • Burst (page 75) • Multi Burst (page 76) • Nightshot/Nightframing (page 77) c Press the center of the multiselector to enter the setting. To turn off the SET UP screen display Set the mode dial to any position other than SET UP. • For details on the SET UP items, see page 140. 48 Command dial WB Mode dial /BRK NIGHTSHOT/NIGHTFRAMING a Set the mode dial to P, S, A, M, SCN or . b Press and hold the button you want to operate and turn the command dial. The value or setting that is indicated on the screen is entered. c Release the button. The indicators disappears from the screen.
-
 1
1 -
2
-
3
-
4
-
5
-
6
-
7
-
8
-
9
-
10
-
11
-
12
-
13
-
14
-
15
-
16
-
17
-
18
-
19
-
20
-
21
-
22
-
23
-
24
-
25
-
26
-
27
-
28
-
29
-
30
-
31
-
32
-
33
-
34
-
35
-
36
-
37
-
38
-
39
-
40
-
41
-
42
-
 43
43 -
 44
44 -
 45
45 -
 46
46 -
 47
47 -
 48
48 -
 49
49 -
 50
50 -
 51
51 -
 52
52 -
 53
53 -
54
-
55
-
56
-
57
-
58
-
59
-
60
-
61
-
62
-
63
-
64
-
65
-
66
-
67
-
68
-
69
-
70
-
71
-
72
-
73
-
74
-
75
-
76
-
77
-
78
-
79
-
80
-
81
-
82
-
83
-
84
-
85
-
86
-
87
-
88
-
89
-
90
-
91
-
92
-
93
-
94
-
95
-
96
-
97
-
98
-
99
-
100
-
101
-
102
-
103
-
104
-
105
-
106
-
107
-
108
-
109
-
110
-
111
-
112
-
113
-
114
-
115
-
116
-
117
-
118
-
119
-
120
-
121
-
122
-
123
-
124
-
125
-
126
-
127
-
128
-
129
-
130
-
131
-
132
-
133
-
134
-
135
-
136
-
137
-
138
-
139
-
140
-
141
-
142
-
143
-
144
-
145
-
146
-
147
-
148
-
149
-
150
-
151
-
152
-
153
-
154
-
155
-
156
-
157
-
158
-
159
-
160
 |
 |