Sony DSC F828 Operating Instructions - Page 93
Still image printing (PictBridge printer), Connecting to a PictBridge printer, Preparing the camera - ptp
 |
UPC - 027242634237
View all Sony DSC F828 manuals
Add to My Manuals
Save this manual to your list of manuals |
Page 93 highlights
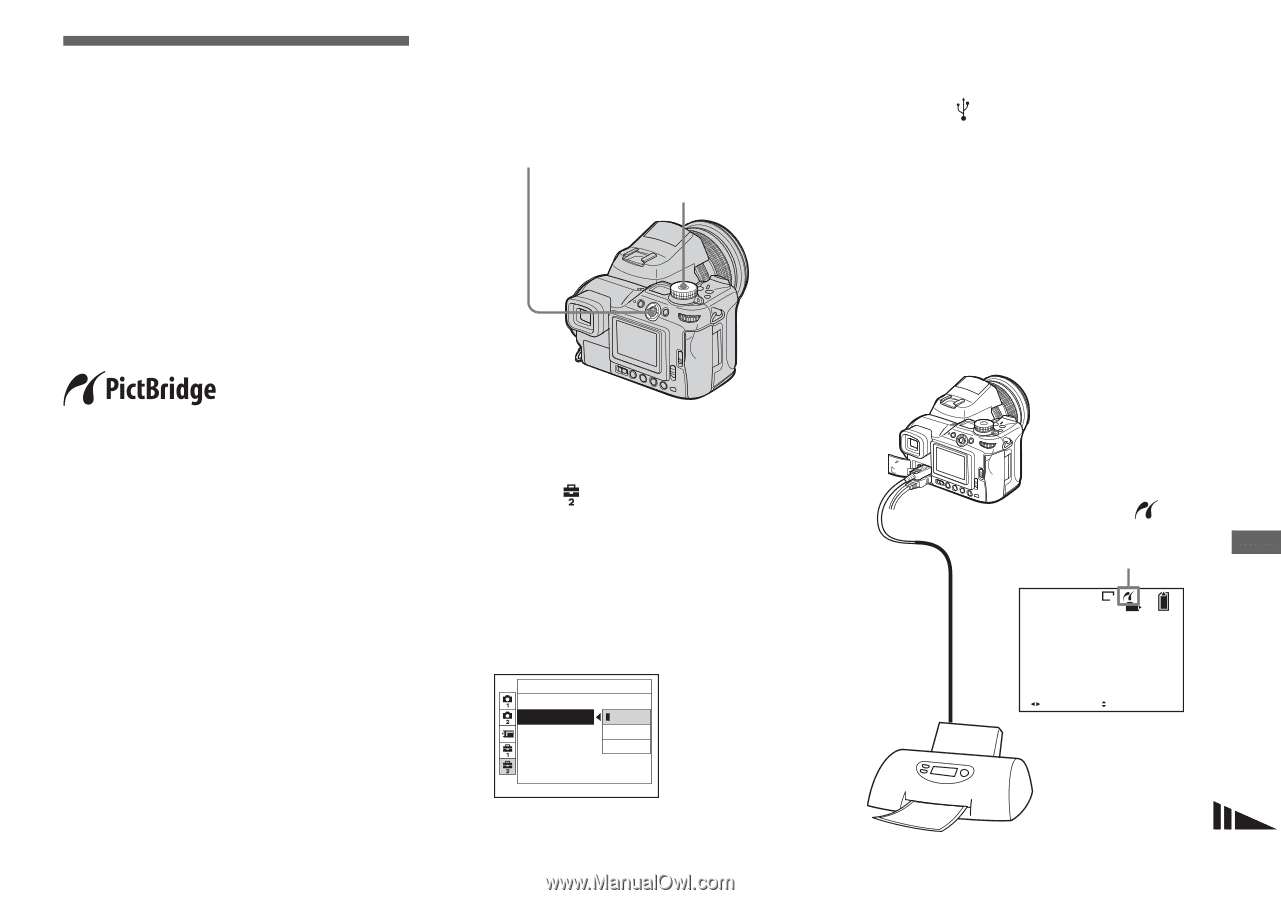
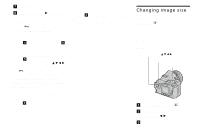
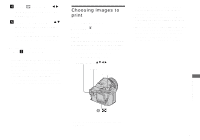
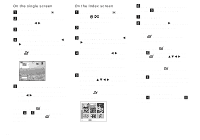
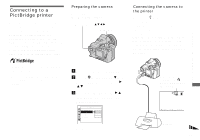
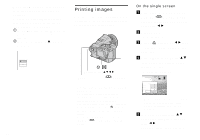
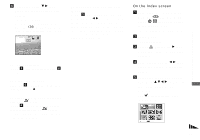
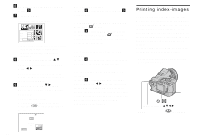
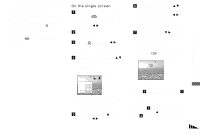
Connecting to a PictBridge printer Even if you do not have a computer, you can easily print images shot using your camera by connecting the camera to a PictBridge-compliant printer. For preparation, you only need to select the USB connection in the SET UP settings and connect the camera to the printer. Using a PictBridge-compliant printer allows you to easily print the Index prints*. Preparing the camera Set the USB mode on the camera to connect the camera with a printer. Multi-selector (v/V/b/B) Mode dial Still image printing (PictBridge printer) Connecting the camera to the printer Connect the (USB) jack on the camera and the USB connector on the printer using a USB cable. The connection can be made regardless of whether the camera is turned on or off. When the camera is turned on, the camera turns to playback mode regardless of the mode dial position and the newest image in the selected recording folder is displayed on the screen. Still image printing (PictBridge printer) * An Index print function may not be provided depending on the printer. • When printing images, we recommend that you use the AC Adaptor to prevent the camera turning off. a Set the mode dial to SET UP. b Select (Setup 2) with V, then select [USB Connect] with B/ v/V. c Select [PictBridge] with B/v, then press the center of the multi-selector. Setup 2 File Number: USB Connect: PictBridge Video Out: PTP Clock Set: Normal The USB mode is set. After the connection is made, the mark is indicated on the screen. 8M 101 2/9 101-0002 2004 1 1 10:30AM BACK/NEXT VOLUME Printer 93
-
 1
1 -
2
-
3
-
4
-
5
-
6
-
7
-
8
-
9
-
10
-
11
-
12
-
13
-
14
-
15
-
16
-
17
-
18
-
19
-
20
-
21
-
22
-
23
-
24
-
25
-
26
-
27
-
28
-
29
-
30
-
31
-
32
-
33
-
34
-
35
-
36
-
37
-
38
-
39
-
40
-
41
-
42
-
43
-
44
-
45
-
46
-
47
-
48
-
49
-
50
-
51
-
52
-
53
-
54
-
55
-
56
-
57
-
58
-
59
-
60
-
61
-
62
-
63
-
64
-
65
-
66
-
67
-
68
-
69
-
70
-
71
-
72
-
73
-
74
-
75
-
76
-
77
-
78
-
79
-
80
-
81
-
82
-
83
-
84
-
85
-
86
-
87
-
 88
88 -
 89
89 -
 90
90 -
 91
91 -
 92
92 -
 93
93 -
 94
94 -
 95
95 -
 96
96 -
 97
97 -
 98
98 -
99
-
100
-
101
-
102
-
103
-
104
-
105
-
106
-
107
-
108
-
109
-
110
-
111
-
112
-
113
-
114
-
115
-
116
-
117
-
118
-
119
-
120
-
121
-
122
-
123
-
124
-
125
-
126
-
127
-
128
-
129
-
130
-
131
-
132
-
133
-
134
-
135
-
136
-
137
-
138
-
139
-
140
-
141
-
142
-
143
-
144
-
145
-
146
-
147
-
148
-
149
-
150
-
151
-
152
-
153
-
154
-
155
-
156
-
157
-
158
-
159
-
160
 |
 |