Sony HCD-E300 Operating Instructions - Page 67
Setting the Speakers, Speaker Settings]
 |
View all Sony HCD-E300 manuals
Add to My Manuals
Save this manual to your list of manuals |
Page 67 highlights
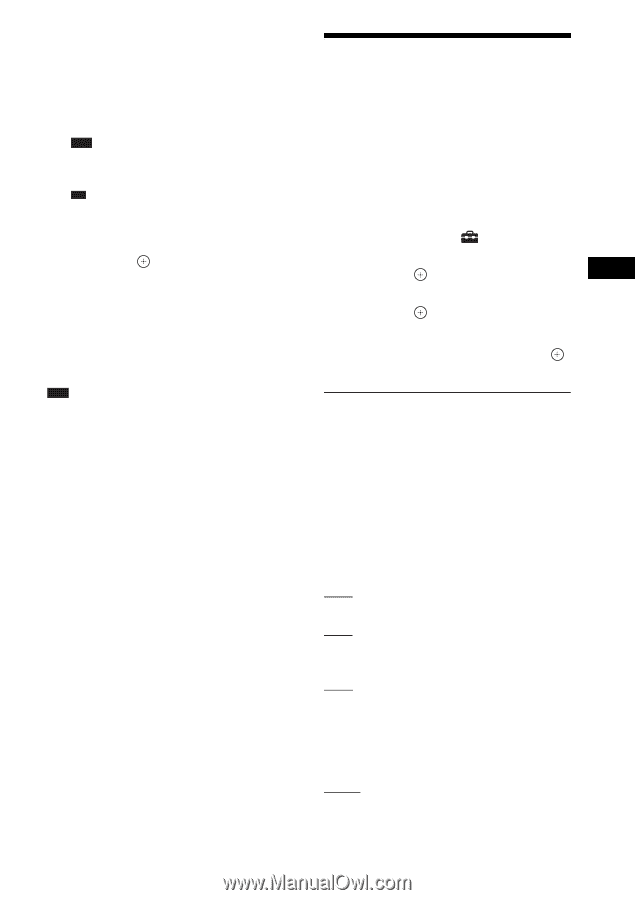
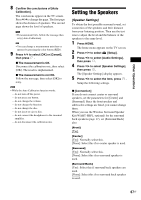
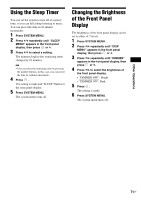
Other Operations 8 Confirm the conclusions of [Auto Calibration]. The conclusions appear on the TV screen. Press C/c to change the page. The first page shows the distance of speakers. The second page shows the level of speakers. Note • If measurement fails, follow the message then retry [Auto Calibration]. Tip • You can change a measurement unit (feet or meters) by pressing the color button (RED). 9 Press X/x to select [OK] or [Cancel], then press . x The measurement is OK. Disconnect the calibration mic, then select [OK]. The result is implemented. x The measurement is not OK. Follow the message, then select [OK] to retry. Note • While the Auto Calibration function works: - do not turn off the power. - do not press any button. - do not change the volume. - do not change the function. - do not change the disc. - do not insert or eject a disc. - do not connect the headphones to the surround amplifier. - do not disconnect the calibration mic. Setting the Speakers [Speaker Settings] To obtain the best possible surround sound, set connection of the speakers and their distance from your listening position. Then use the test tone to adjust the level and the balance of the speakers to the same level. 1 Press HOME. The home menu appears on the TV screen. 2 Press C/c to select [Setup]. 3 Press X/x to select [Audio Settings], then press . 4 Press X/x to select [Speaker Settings], then press . The [Speaker Settings] display appears. 5 Press X/x to select the item, press . Setup the following settings. x [Connection] If you do not connect center or surround speakers, set the parameters for [Center] and [Surround]. Since the front speaker and subwoofer settings are fixed, you cannot change them. When you use the Wireless Surround Speaker Kit (WAHT-SBP1, optional) for the surround back speakers (page 17), set [Surround Back] also. [Front] [Yes] [Center] [Yes]: Normally select this. [None]: Select this if no center speaker is used. [Surround] [Yes]: Normally select this. [None]: Select this if no surround speaker is used. [Surround Back] [Yes]: Select this if surround back speakers are used. [None]: Select this if no surround back speaker is used. 67US
-
 1
1 -
2
-
3
-
4
-
5
-
6
-
7
-
8
-
9
-
10
-
11
-
12
-
13
-
14
-
15
-
16
-
17
-
18
-
19
-
20
-
21
-
22
-
23
-
24
-
25
-
26
-
27
-
28
-
29
-
30
-
31
-
32
-
33
-
34
-
35
-
36
-
37
-
38
-
39
-
40
-
41
-
42
-
43
-
44
-
45
-
46
-
47
-
48
-
49
-
50
-
51
-
52
-
53
-
54
-
55
-
56
-
57
-
58
-
59
-
60
-
61
-
 62
62 -
 63
63 -
 64
64 -
 65
65 -
 66
66 -
 67
67 -
 68
68 -
 69
69 -
 70
70 -
 71
71 -
 72
72 -
73
-
74
-
75
-
76
-
77
-
78
-
79
-
80
-
81
-
82
-
83
-
84
-
85
-
86
-
87
-
88
-
89
-
90
-
91
-
92
-
93
-
94
-
95
-
96
-
97
-
98
-
99
-
100
-
101
-
102
-
103
-
104
-
105
-
106
-
107
-
108
-
109
-
110
-
111
-
112
-
113
-
114
-
115
-
116
-
117
-
118
-
119
 |
 |