Sony HDR-SR5/C Operating Guide
Sony HDR-SR5/C - Handycam Avchd High Definition Hdd Camcorder Manual
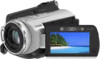 |
View all Sony HDR-SR5/C manuals
Add to My Manuals
Save this manual to your list of manuals |
Sony HDR-SR5/C manual content summary:
- Sony HDR-SR5/C | Operating Guide - Page 1
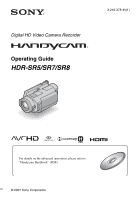
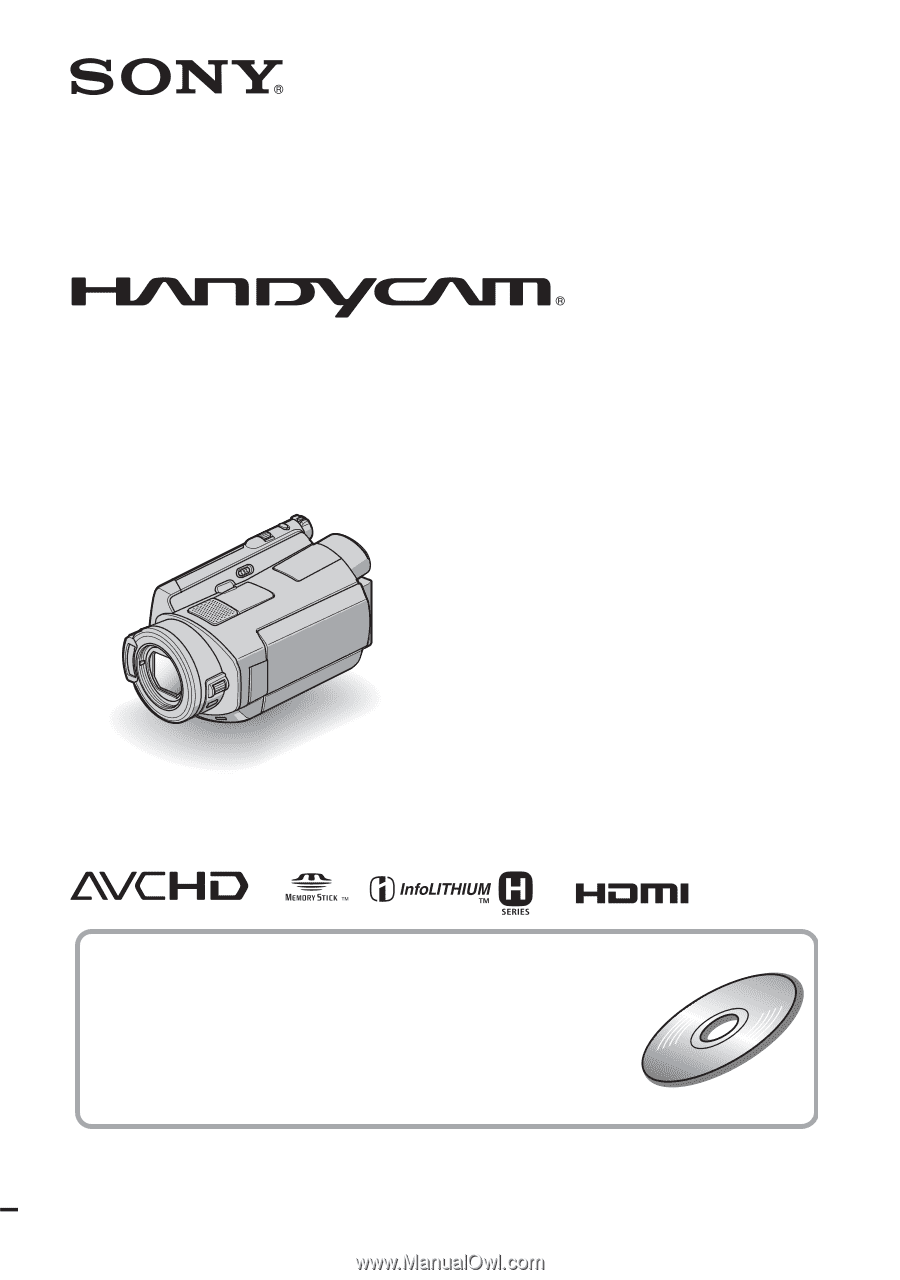
Digital HD Video Camera Recorder Operating Guide HDR-SR5/SR7/SR8 3-210-378-11(1) For details on the advanced operations, please refer to "Handycam Handbook" (PDF). © 2007 Sony Corporation - Sony HDR-SR5/C | Operating Guide - Page 2
servicing) instructions in the literature accompanying the appliance. IMPORTANT SAFEGUARDS For your protection, please read these safety instructions completely before operating the appliance, and keep this manual from battery power, or other sources, refer to the operating instructions. - Sony HDR-SR5/C | Operating Guide - Page 3
Accessories cable system. This will prevent damage to the set due to lightning and power-line surges. Service Damage Requiring Service Unplug the set from the wall outlet and refer servicing to qualified service instructions. Adjust only those controls that are specified in the operating instructions - Sony HDR-SR5/C | Operating Guide - Page 4
manual thoroughly, and retain it for future reference. CAUTION Replace the battery with the specified type only. Otherwise, fire or injury may result. For customers in the U.S.A. and CANADA RECYCLING LITHIUM-ION BATTERIES Lithium-Ion batteries SONY Model No.: HDR-SR5 Responsible Party: Sony - Sony HDR-SR5/C | Operating Guide - Page 5
that may cause undesired operation. Notes HDR-SR5, HDR-SR7 and HDR-SR8 are to be used with the Handycam Station Model DCRAC181 and AC Adaptor Model AC-L200/L200B. CAUTION You are cautioned that any changes or modifications not expressly approved in this manual could void your authority to operate - Sony HDR-SR5/C | Operating Guide - Page 6
appears in the viewfinder (HDR-SR7/SR8) or on the LCD screen (p. 33). When the camcorder is connected to a computer • Do not try to format the hard disk of the camcorder using a computer. If you do so, your camcorder may not operate correctly. Note on using the camcorder at high altitudes • Do not - Sony HDR-SR5/C | Operating Guide - Page 7
the camcorder 17 Indicators displayed during recording/playback 20 Performing various functions - " HOME" and " OPTION 22 Saving images 25 Deleting images 25 Enjoying with a computer Viewing "Handycam Handbook" (PDF 26 What you can do with a Windows computer 27 Troubleshooting Troubleshooting - Sony HDR-SR5/C | Operating Guide - Page 8
9) Handycam Station (1) (p. 9) Rechargeable battery pack NP-FH60 (1) (p. 9) Component video cable (1) (p. 16) A/V connecting cable (1) (p. 16) USB cable (1) (p. 30) CD-ROM "Handycam Application Software" (1) (p. 26) - Picture Motion Browser (Software) - Picture Motion Browser Guide - Handycam - Sony HDR-SR5/C | Operating Guide - Page 9
(charge) lamp turns off when the battery pack is fully charged. Remove the camcorder from the Handycam Station. To remove the battery pack Slide the POWER switch to OFF (CHG). Slide the BATT (battery release) lever and remove the battery pack. BATT (battery release) lever 3 Slide the POWER switch - Sony HDR-SR5/C | Operating Guide - Page 10
battery pack. "HD" stands for high definition image quality, and "SD" stands for standard image quality. NP-FH60: HDR-SR5 HD SD (Unit:min.) HDR-SR7/ SR8 HD supplied from the battery as long as the AC Adaptor is connected to the DC IN jack of your camcorder or the Handycam Station, even when the - Sony HDR-SR5/C | Operating Guide - Page 11
the button on the LCD screen. POWER switch When using the camcorder for the first time, the [CLOCK SET] screen appears on date and time do not appear during recording, but they are automatically recorded on the hard disk, and can be displayed during playback. To reset the date and time Touch (HOME - Sony HDR-SR5/C | Operating Guide - Page 12
Fastening the grip belt Fasten the grip belt and hold your camcorder correctly. DISP/BATT INFO 2180 degrees (max.) Adjusting the Viewfinder (HDRSR7/SR8) You can view images using the viewfinder to avoid wearing down the battery, or when the image seen on the LCD screen is poor. Viewfinder - Sony HDR-SR5/C | Operating Guide - Page 13
on the hard disk in the default setting. b Notes • If the ACCESS lamp is lit or flashing after recording is finished, it means data is still being written onto the hard disk or "Memory Stick Duo." Do not apply shock or vibration to your camcorder, and do not remove the battery or AC Adaptor - Sony HDR-SR5/C | Operating Guide - Page 14
follows (with recording mode [HD SP]); HDR-SR5: approx. 11 hours and 50 minutes HDR-SR7: approx. 17 hours and 50 minutes HDR-SR8: approx. 30 hours • Use the supplied application software to store recorded movies as still images. For details, see "Picture Motion Browser Guide" on the supplied CD-ROM - Sony HDR-SR5/C | Operating Guide - Page 15
movies with HD (high definition) image quality* 6 Displays still images on the hard disk 7 Displays still images on a "Memory Stick Duo" 8 Searches for images by date 9 (OPTION) * appears for movies with SD (standard definition) image quality. 1 Slide the POWER switch D to turn on your camcorder - Sony HDR-SR5/C | Operating Guide - Page 16
the power source (p. 9). Refer also to the instruction manuals supplied with the device to be connected. For details camcorder. b Notes • When the A/V connecting cable is used to output images, images are output with SD (standard definition) image quality. • The Handycam Station and your camcorder - Sony HDR-SR5/C | Operating Guide - Page 17
Parts and functions used for the camcorder The numbers in ( ) are reference pages. Recording/Playback Handycam Station 1 Power zoom lever To use the zoom, move the power zoom lever. the center of the displayed frame. 2 PHOTO button (13) 3 Eyecup (HDR-SR7/SR8) 4 Viewfinder (12) (HDR-SR7/SR8) 17 - Sony HDR-SR5/C | Operating Guide - Page 18
microphone. The accessory can be turned on or off as you operate the POWER switch on your camcorder. qk JACK COVER OPEN/CLOSE knob ql Remote sensor/Infrared port Receive the signal from the Remote Commander. w; Camera recording lamp Lights up in red during recording. Flashes when remaining hard disk - Sony HDR-SR5/C | Operating Guide - Page 19
ON ( appears). ra CAM CTRL dial (HDR-SR7/SR8) You can assign one menu item you often use to the CAM CTRL dial. rs MANUAL button (HDR-SR7/SR8) You the camcorder to a computer. For details, see "Picture Motion Browser Guide." rj Interface connector rk (USB) jack Connect with the USB cable. 19 - Sony HDR-SR5/C | Operating Guide - Page 20
images Viewing movies Viewing still images 20 A Recording quality (HD/SD) and Recording mode (XP/HQ/SP/LP) B HOME button C Remaining battery (approx.) D Recording status ([STBY] (standby) or [ playing still image number/ Number of total recorded still images V Slide show button W Data file name - Sony HDR-SR5/C | Operating Guide - Page 21
/ SPOT METER AE SHIFT* WB SHIFT* TELE MACRO ZEBRA X.V.COLOR Face Index set * HDR-SR7/SR8 b Notes • The recording date and time is recorded automatically on the hard disk and "Memory Stick Duo." They are not displayed while recording. However, you can check them as [DATA CODE] during playback. 21 - Sony HDR-SR5/C | Operating Guide - Page 22
bottom of (HELP) turns orange. You can change the recording functions and the operating settings for your convenience. For details, see "Handycam Handbook" (PDF). 1 Turn on your camcorder, then press (HOME) A (or B). 3 Touch the item you want to learn about. When you touch an item, its explanation - Sony HDR-SR5/C | Operating Guide - Page 23
of your camcorder at the time. • Some items appear without a tab. • The (OPTION) MENU cannot be used during Easy Handycam operation (p. [ PRINT], [ PRINT] COMPUTER [ COMPUTER], [ COMPUTER], [DISC BURN] TV CONNECT Guide*1 (MANAGE HDD/MEMORY) category FORMAT*1 FORMAT*1 INFO REPAIR IMG.DB F. (SETTINGS) - Sony HDR-SR5/C | Operating Guide - Page 24
LAMP], [CALIBRATION], [A.SHUT OFF], [REMOTE CTRL], [DROP SENSOR] *1 You can set these items also during Easy Handycam operation (p. 14). *2 The menu name is changed to [SOUND SETTINGS] during Easy Handycam operation. *3 HDR-SR7/SR8 Items of the OPTION MENU Items you can set only on the OPTION MENU - Sony HDR-SR5/C | Operating Guide - Page 25
. You can also edit those images. Saving images by connecting your camcorder to other devices You can dub images to VCR or DVD/HDD devices. For details, see "Handycam Handbook" (PDF). Deleting the images on the hard disk 1 On the (HOME MENU), touch (OTHERS) t [DELETE]. 2 Touch [ DELETE]. 3 Touch - Sony HDR-SR5/C | Operating Guide - Page 26
Handbook" (PDF) For details on using your camcorder, see "Handycam Handbook" (PDF). To view "Handycam Handbook" (PDF), you need to install Adobe Reader on your computer. For Windows users 1 Turn on the computer. 2 Place the CD-ROM (supplied) in the - Sony HDR-SR5/C | Operating Guide - Page 27
"Picture Motion Browser Guide." Attention This camcorder captures high definition footage in the AVCHD format. Using the enclosed PC software, high definition footage can be copied onto DVD media. However, DVD media containing AVCHD footage should not be used with DVD based players or recorders, as - Sony HDR-SR5/C | Operating Guide - Page 28
view or edit movies recorded in HD (high definition) format. Otherwise, the software will not work properly due to the power saving function of the PC. Installing software You need to install the software to your Windows computer before connecting your camcorder to the computer. The installation is - Sony HDR-SR5/C | Operating Guide - Page 29
the (USB) jack of the Handycam Station to the (USB) jack of the computer using the supplied USB cable. 4 Touch [ COMPUTER] on the LCD screen of your camcorder. 9 Click [Next] on the connection confirmation screen of the computer. 10Follow the on-screen instructions to install the software. One - Sony HDR-SR5/C | Operating Guide - Page 30
1 Connect the AC Adaptor to the Handycam Station and a wall outlet. 2 Set the camcorder onto the Handycam Station, then slide the POWER switch to turn on. 3 Connect the (USB) jack of the Handycam Station to a computer using the supplied USB cable (p. 28). The [USB SELECT] screen appears on the LCD - Sony HDR-SR5/C | Operating Guide - Page 31
ACCESS lamp is lit. • Before turning off your camcorder, disconnect the USB cable following the proper procedures described above. • Disconnect the USB cable using the proper procedures described above. Otherwise, files stored on the hard disk of your camcorder or in a "Memory Stick Duo" may not be - Sony HDR-SR5/C | Operating Guide - Page 32
minimum amount of data stored on the hard disk in order to investigate the problem. However, your Sony dealer will neither copy nor retain your data. • For the symptoms of your camcorder, see "Handycam Handbook" (PDF) and for connecting to the computer, see "Picture Motion Browser Guide." Menu items - Sony HDR-SR5/C | Operating Guide - Page 33
Sony service facility. C:04:00 C:(or E:) ss:ss (Self-diagnosis display) C:04:ss • The battery pack is not an "InfoLITHIUM" battery pack (H series). Use an "InfoLITHIUM" battery pack (H series) (p. 9). • Connect the DC plug of the AC Adaptor to the DC IN jack of the Handycam Station or your camcorder - Sony HDR-SR5/C | Operating Guide - Page 34
have occurred with the hard disk drive in your camcorder. E (Battery level warning) Slow flashing • The battery pack is nearly used up. • Depending on the operating environment or battery conditions, E may flash, even if there are approximately 20 minutes remaining. (High temperature warning) Slow - Sony HDR-SR5/C | Operating Guide - Page 35
damages the inside of the viewfinder (HDR-SR7/SR8) or the LCD screen. • Operate your camcorder on DC 6.8 V/7.2 V (battery pack) or DC 8.4 V (AC Adaptor). • For DC or AC operation, use the accessories recommended in these operating instructions. • Do not let your camcorder get wet, for example, from - Sony HDR-SR5/C | Operating Guide - Page 36
battery Your camcorder has a pre-installed rechargeable battery to battery becomes weak, the operating distance of the Remote Commander may shorten, or the Remote Commander may not function properly. In this case, replace the battery with a Sony CR2025 lithium battery. Use of another battery - Sony HDR-SR5/C | Operating Guide - Page 37
Hard disk HDR-SR5: 40 GB HDR-SR7: 60 GB HDR-SR8: 100 GB When measuring media capacity, 1 GB equals 1 billion bytes, a portion of which is used for data management. Recording format Movie (HD): AVCHD your camcorder's setting information at the time of recording. *2 The unique pixel array of Sony's - Sony HDR-SR5/C | Operating Guide - Page 38
HDR-SR5: 460 g (1 lb) main unit only 540 g (1 lb 3 oz) including the NP-FH60 rechargeable battery pack HDR-SR7/SR8: 530 g (1 lb 2 oz) main unit only 610 g (1 lb 5 oz) including the NP-FH60 rechargeable battery pack Supplied accessories See page 8. Handycam Station Ω (ohms) USB jack mini-B AC Adaptor AC-L200 - Sony HDR-SR5/C | Operating Guide - Page 39
and specifications are subject to change without notice. • Your camcorder is produced under the license of Dolby Laboratories. On trademarks • "Handycam" and are registered trademarks of Sony Corporation. • "AVCHD" and "AVCHD" logotype are trademarks of Matsushita Electric Industrial Co., Ltd - Sony HDR-SR5/C | Operating Guide - Page 40
US Additional information on this product and answers to frequently asked questions can be found at our Customer Support Website. Printed on 70% or more recycled paper using VOC (Volatile Organic Compound)free vegetable oil based ink. Printed in Japan
-
 1
1 -
 2
2 -
 3
3 -
 4
4 -
 5
5 -
 6
6 -
 7
7 -
8
-
9
-
10
-
11
-
12
-
13
-
14
-
15
-
16
-
17
-
18
-
19
-
20
-
21
-
22
-
23
-
24
-
25
-
26
-
27
-
28
-
29
-
30
-
31
-
32
-
33
-
34
-
35
-
36
-
37
-
38
-
39
-
40
 |
 |
3-210-378-
11
(1)
© 2007 Sony Corporation
Digital HD Video Camera Recorder
Operating Guide
HDR-SR5/SR7/SR8
For details on the advanced operations, please refer to
“Handycam Handbook” (PDF).