Sony ICD-UX512 Operating Instructions - Page 12
Left-click Eject IC, the computer. - 2 gb
 |
UPC - 027242807624
View all Sony ICD-UX512 manuals
Add to My Manuals
Save this manual to your list of manuals |
Page 12 highlights
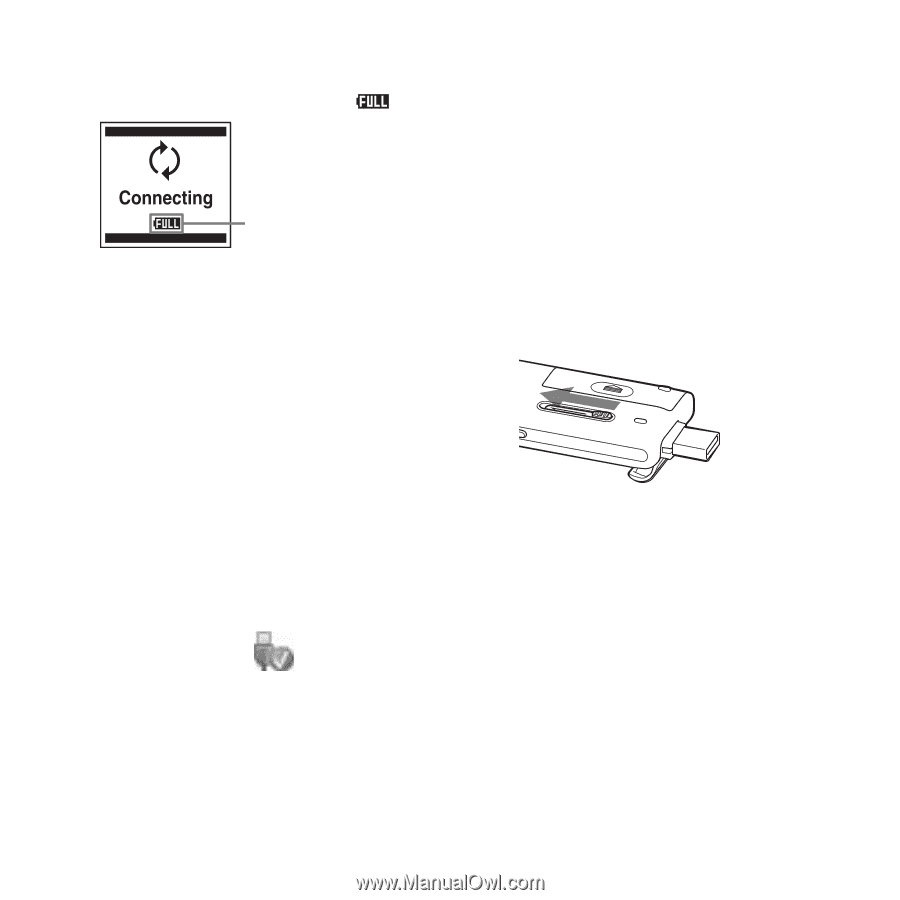
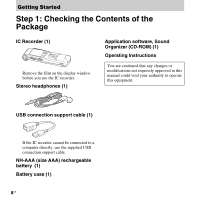
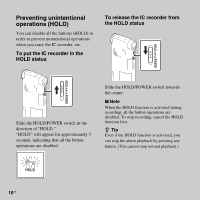
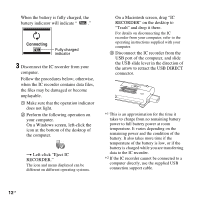
When the battery is fully charged, the battery indicator will indicate " ." Fully charged indicator 3 Disconnect the IC recorder from your computer. Follow the procedures below; otherwise, when the IC recorder contains data files, the files may be damaged or become unplayable. 1 Make sure that the operation indicator does not light. 2 Perform the following operation on your computer. On a Windows screen, left-click the icon at the bottom of the desktop of the computer. t Left-click "Eject IC RECORDER." The icon and menu displayed can be different on different operating systems. On a Macintosh screen, drag "IC RECORDER" on the desktop to "Trash" and drop it there. For details on disconnecting the IC recorder from your computer, refer to the operating instructions supplied with your computer. 3 Disconnect the IC recorder from the USB port of the computer, and slide the USB slide lever in the direction of the arrow to retract the USB DIRECT connector. *1 This is an approximation for the time it takes to charge from no remaining battery power to full battery power at room temperature. It varies depending on the remaining power and the condition of the battery. It also takes more time if the temperature of the battery is low, or if the battery is charged while you are transferring data to the IC recorder. *2 If the IC recorder cannot be connected to a computer directly, use the supplied USB connection support cable. 12 GB
-
 1
1 -
2
-
3
-
4
-
5
-
6
-
 7
7 -
 8
8 -
 9
9 -
 10
10 -
 11
11 -
 12
12 -
 13
13 -
 14
14 -
 15
15 -
 16
16 -
 17
17 -
18
-
19
-
20
-
21
-
22
-
23
-
24
-
25
-
26
-
27
-
28
-
29
-
30
-
31
-
32
-
33
-
34
-
35
-
36
-
37
-
38
-
39
-
40
-
41
-
42
-
43
-
44
-
45
-
46
-
47
-
48
-
49
-
50
-
51
-
52
-
53
-
54
-
55
-
56
-
57
-
58
-
59
-
60
-
61
-
62
-
63
-
64
-
65
-
66
-
67
-
68
-
69
-
70
-
71
-
72
-
73
-
74
-
75
-
76
-
77
-
78
-
79
-
80
-
81
-
82
-
83
-
84
-
85
-
86
-
87
-
88
-
89
-
90
-
91
-
92
-
93
-
94
-
95
-
96
-
97
-
98
-
99
-
100
-
101
-
102
-
103
-
104
-
105
-
106
-
107
-
108
-
109
-
110
-
111
-
112
-
113
-
114
-
115
-
116
-
117
-
118
-
119
-
120
-
121
-
122
-
123
-
124
-
125
-
126
-
127
-
128
 |
 |