Sony KDL-52VL150 Operating Instructions - Page 11
Inserting Batteries into the Remote Control, Initial Setup, Retail, Program, Auto Program
 |
View all Sony KDL-52VL150 manuals
Add to My Manuals
Save this manual to your list of manuals |
Page 11 highlights
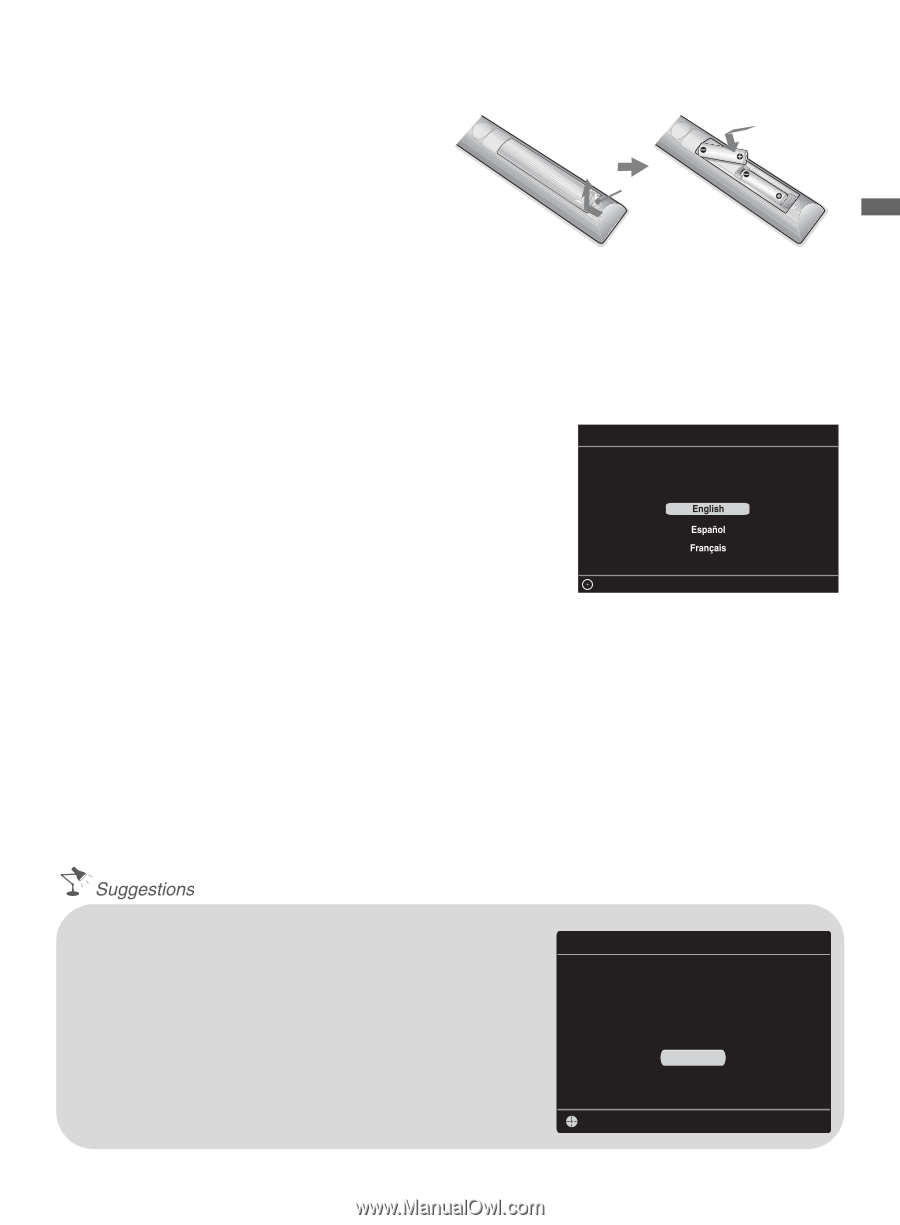
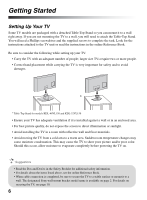
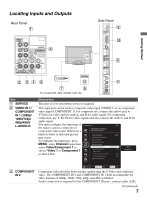
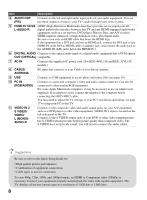
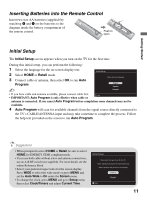
Getting Started Inserting Batteries into the Remote Control Insert two size AA batteries (supplied) by matching e and E on the batteries to the diagram inside the battery compartment of the remote control. Push to open Initial Setup The Initial Setup screen appears when you turn on the TV for the first time. During this initial setup, you can perform the following: 1 Select the language for the on-screen display text. 2 Select HOME or Retail mode. 3 Connect cable or antenna, then select OK to run Auto Program. Initial Setup Please select your language: ~ • If you have cable and antenna available, please connect cable first. Set • IMPORTANT: Auto Program is only effective when cable or antenna is connected. If you cancel Auto Program before completion some channels may not be available. 4 Auto Program will scan for available channels from the signal source directly connected to the TV's CABLE/ANTENNA input and may take sometime to complete the process. Follow the help text provided on the screen to run Auto Program. • When prompted to select HOME or Retail, be sure to select HOME for ENERGY STAR compliant mode. • If you use both cable without a box and antenna connections, use an A-B RF switch (not supplied). For more details see the online Reference Book. • Select your preferred aspect ratio for the screen display. Press WIDE to select the wide mode or press MENU and set the Auto Wide to On under the Screen menu. • To change the clock, press MENU and go to Setup menu then select Clock/Timers and adjust Current Time. Initial Setup Please select the type of use for this TV. "Home" optimizes the picture for normal home use. "Retail" optimizes the picture for store display. Home Retail Set 11
-
 1
1 -
2
-
3
-
4
-
5
-
 6
6 -
 7
7 -
 8
8 -
 9
9 -
 10
10 -
 11
11 -
 12
12 -
 13
13 -
 14
14 -
 15
15 -
 16
16 -
17
-
18
-
19
-
20
-
21
-
22
-
23
-
24
 |
 |