Sony PS-LX300USB Operating Instructions - Page 10
Installing the supplied software, Connecting the USB cable, Setting your computer - manual
 |
UPC - 027242731271
View all Sony PS-LX300USB manuals
Add to My Manuals
Save this manual to your list of manuals |
Page 10 highlights
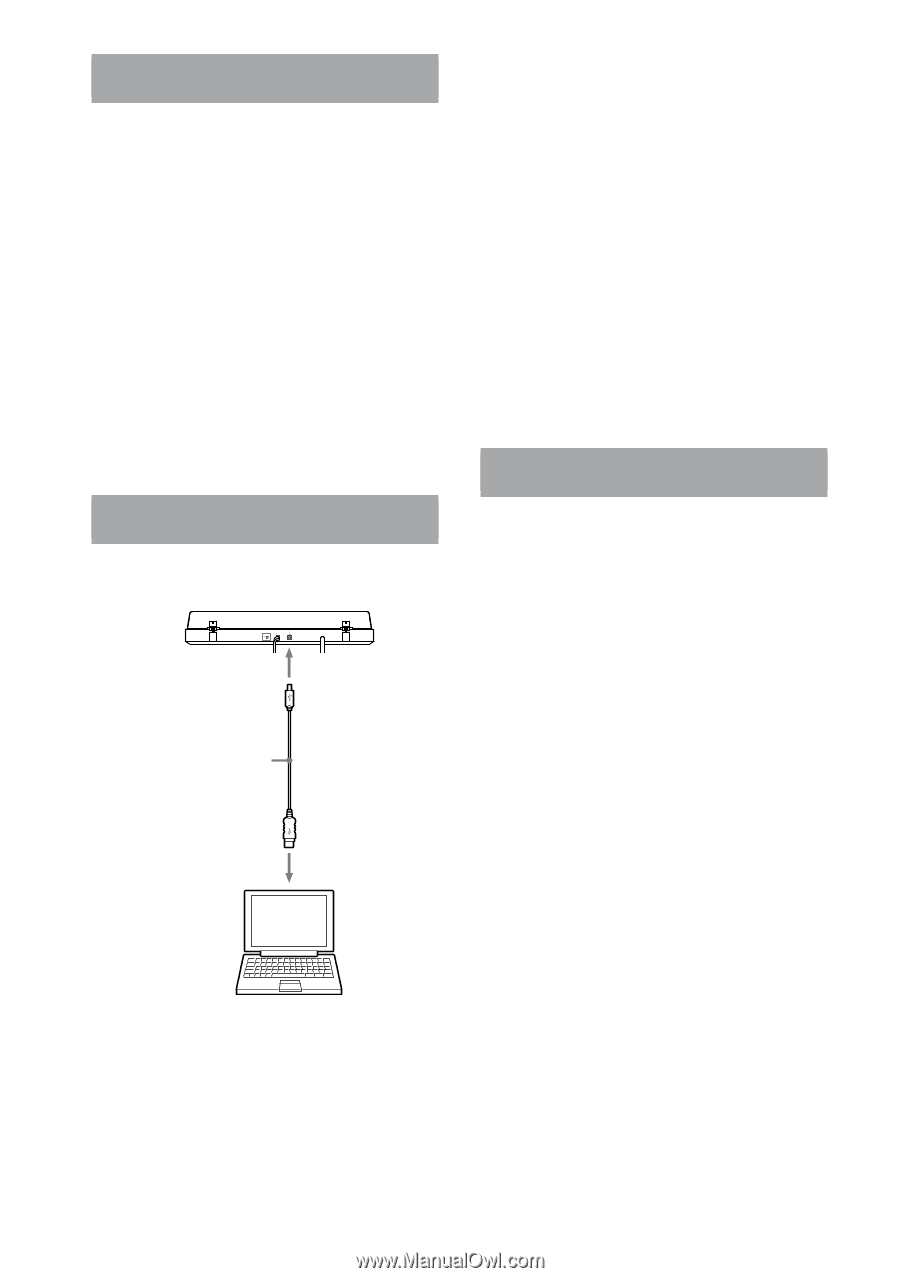
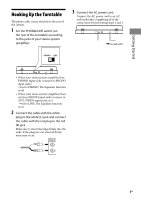
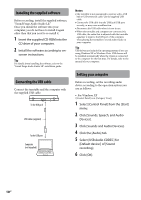
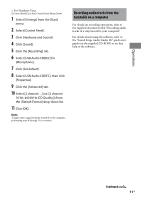
Installing the supplied software Before recording, install the supplied software, "Sound Forge Audio Studio LE." Once you install the software into your computer, you do not have to install it again other than that you need to re-install it. 1 Insert the supplied CD-ROM into the CD drive of your computer. 2 Install the software according to on- screen instructions. Tip For details about installing the software, refer to the "Sound Forge Audio Studio LE" installation guide. Connecting the USB cable Connect the turntable and the computer with the supplied USB cable. To the USB jack USB cable (supplied) To the USB port Computer (not supplied) Notes The turntable is not guaranteed to operate with a USB hub or USB extension cable. Use the supplied USB cable. Connect the USB cable into the USB jack/USB port securely, or may cause a malfunction. Disconnect the USB cable when it is not in use. When the turntable and computer are connected via USB cable, the audio that is adjusted with the turntable equalizer is input to the USB port of the computer, when playing the turntable to record audio tracks on your computer. Tip USB drivers are included in operating systems if you are using Windows XP or Windows Vista. USB drivers will be installed automatically when the system is connected to the computer for the first time. For details, refer to the manual of your computer. Setting your computer Before recording, set the recording audio device according to the operation system you use as follows: For Windows XP ([Control Panel] is in [Category View]) 1 Select [Control Panel] from the [Start] menu. 2 Click [Sounds, Speech, and Audio Devices]. 3 Click [Sounds and Audio Devices]. 4 Click the [Audio] tab. 5 Select [USB Audio CODEC] for [Default device:] of [Sound recording]. 6 Click [OK]. 10GB
-
 1
1 -
2
-
3
-
4
-
 5
5 -
 6
6 -
 7
7 -
 8
8 -
 9
9 -
 10
10 -
 11
11 -
 12
12 -
 13
13 -
 14
14 -
 15
15 -
16
-
17
-
18
-
19
-
20
 |
 |