Sony STR-DG600 Operating Instructions - Page 31
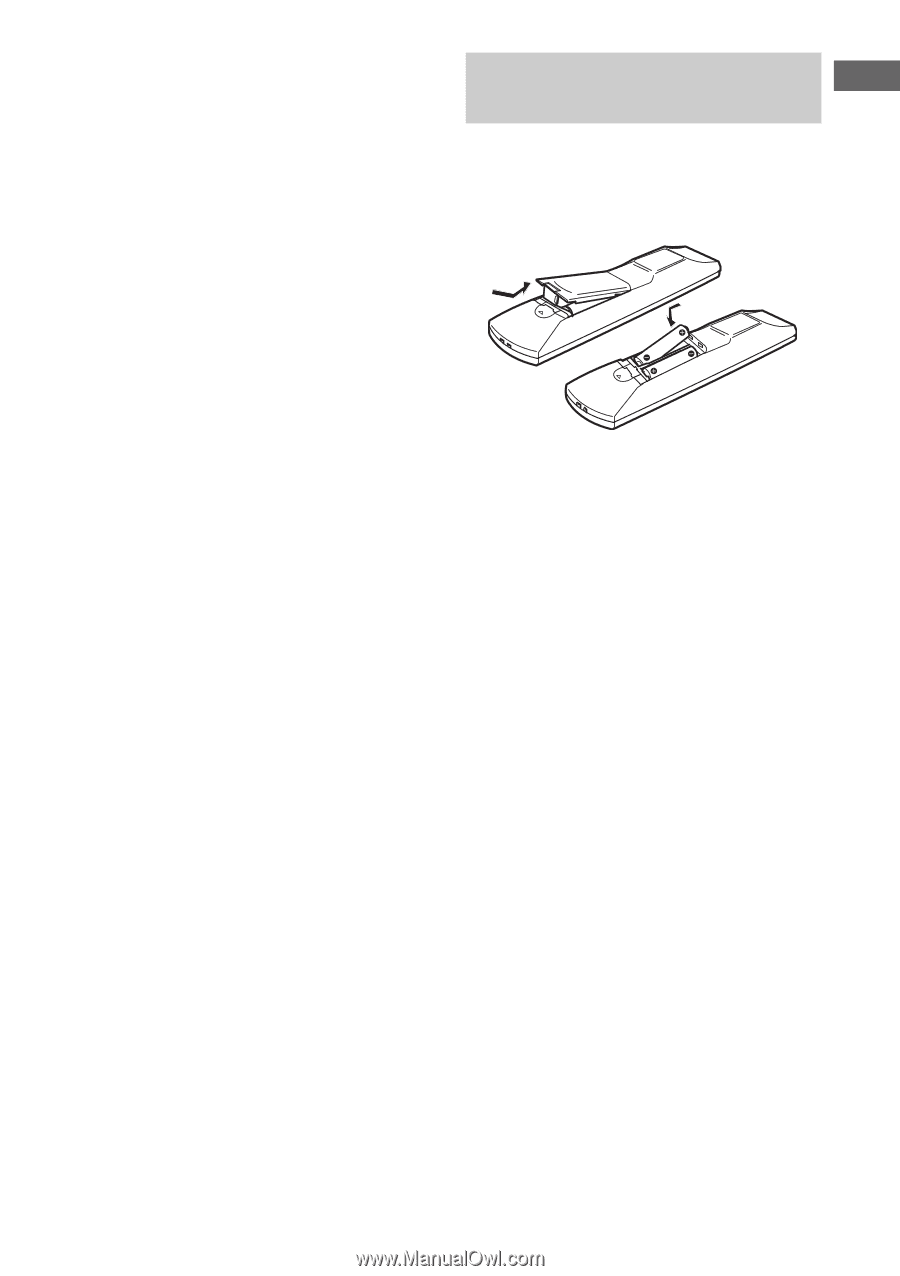
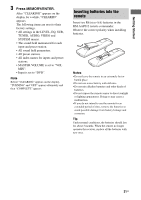
Inserting batteries into the, remote, Press MEMORY/ENTER.
 |
View all Sony STR-DG600 manuals
Add to My Manuals
Save this manual to your list of manuals |
Page 31 highlights
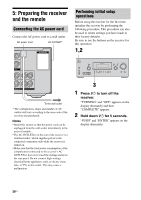
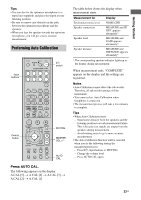
Getting Started 3 Press MEMORY/ENTER. After "CLEARING" appears on the display for a while, "CLEARED" appears. The following items are reset to their factory settings. • All settings in the LEVEL, EQ, SUR, TUNER, AUDIO, VIDEO and SYSTEM menus. • The sound field memorized for each input and preset station. • All sound field parameters. • All preset stations. • All index names for inputs and preset stations. • MASTER VOLUME is set to "VOL MIN". • Input is set to "DVD". Note Before "CLEARING" appears on the display, "TURNING" and "OFF" appears alternately and then "COMPLETE" appears. Inserting batteries into the remote Insert two R6 (size-AA) batteries in the RM-AAP012 remote commander. Observe the correct polarity when installing batteries. Notes • Do not leave the remote in an extremely hot or humid place. • Do not use a new battery with old ones. • Do not mix alkaline batteries and other kinds of batteries. • Do not expose the remote sensor to direct sunlight or lighting apparatuses. Doing so may cause a malfunction. • If you do not intend to use the remote for an extended period of time, remove the batteries to avoid possible damage from battery leakage and corrosion. Tip Under normal conditions, the batteries should last for about 3 months. When the remote no longer operates the receiver, replace all the batteries with new ones. 31US
-
 1
1 -
2
-
3
-
4
-
5
-
6
-
7
-
8
-
9
-
10
-
11
-
12
-
13
-
14
-
15
-
16
-
17
-
18
-
19
-
20
-
21
-
22
-
23
-
24
-
25
-
 26
26 -
 27
27 -
 28
28 -
 29
29 -
 30
30 -
 31
31 -
 32
32 -
 33
33 -
 34
34 -
 35
35 -
 36
36 -
37
-
38
-
39
-
40
-
41
-
42
-
43
-
44
-
45
-
46
-
47
-
48
-
49
-
50
-
51
-
52
-
53
-
54
-
55
-
56
-
57
-
58
-
59
-
60
-
61
-
62
-
63
-
64
-
65
-
66
-
67
-
68
-
69
-
70
-
71
-
72
-
73
-
74
-
75
-
76
-
77
-
78
-
79
-
80
-
81
-
82
-
83
-
84
-
85
-
86
-
87
-
88
 |
 |