TP-Link TL-MR3420 User Guide - Page 63
DHCP, 4.7.1 DHCP Settings, TL-MR3420, MAC Address, Current Status, Received Packets, Sent Packets
 |
UPC - 845973051495
View all TP-Link TL-MR3420 manuals
Add to My Manuals
Save this manual to your list of manuals |
Page 63 highlights
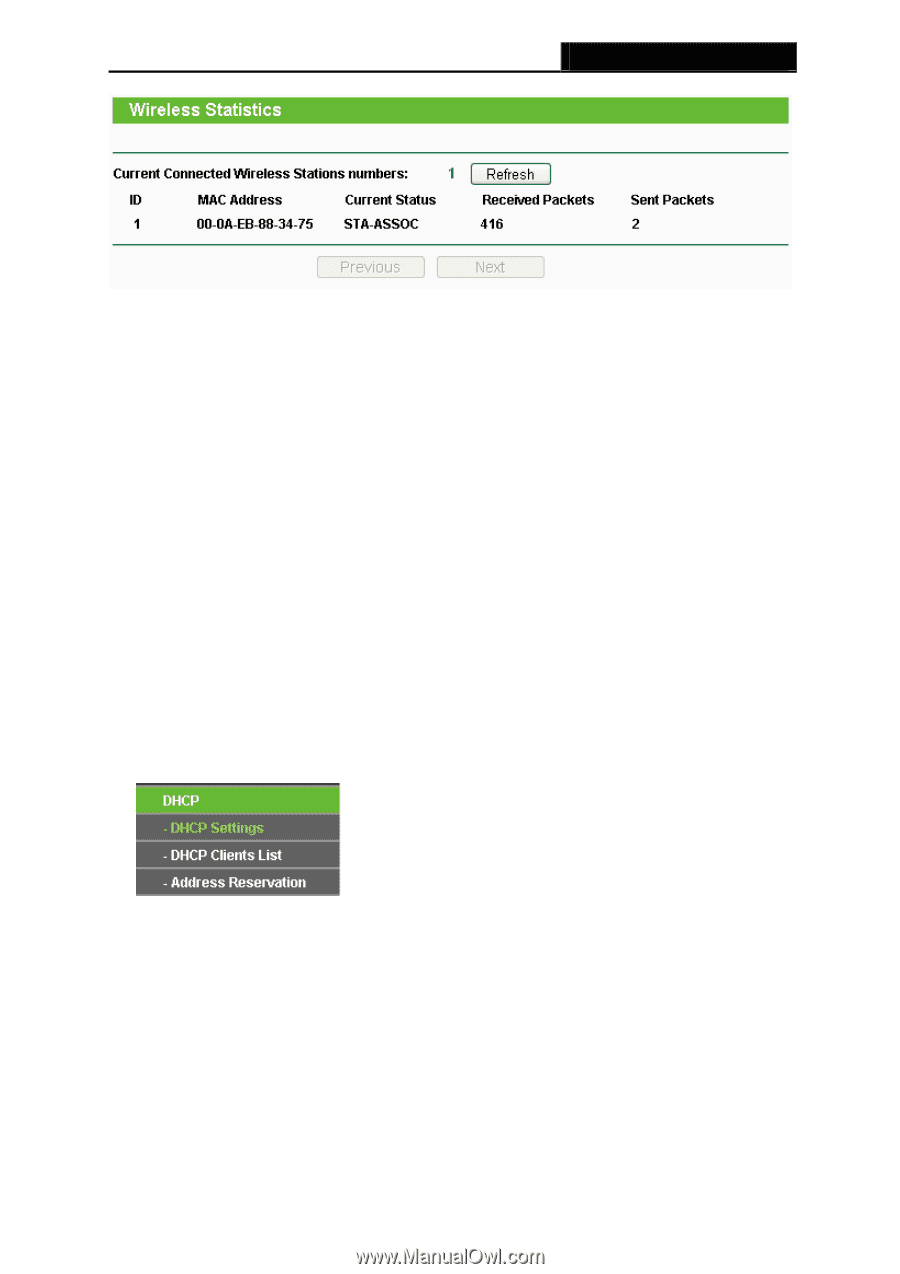
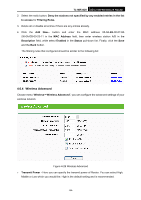
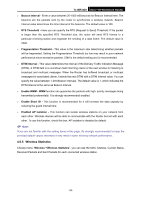
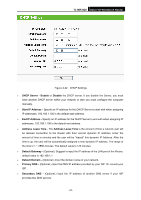
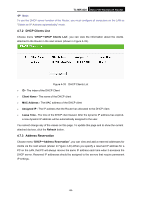
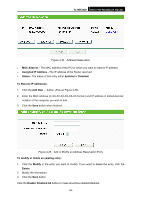
TL-MR3420 3G/3.75G Wireless N Router Figure 4-30 The Router attached wireless stations ¾ MAC Address - The connected wireless station's MAC address ¾ Current Status - The connected wireless station's running status, one of STA-AUTH / STA-ASSOC / STA-JOINED / WPA / WPA-PSK / WPA2 / WPA2-PSK / AP-UP / AP-DOWN / Disconnected ¾ Received Packets - Packets received by the station ¾ Sent Packets - Packets sent by the station You cannot change any of the values on this page. To update this page and to show the current connected wireless stations, click on the Refresh button. If the numbers of connected wireless stations go beyond one page, click the Next button to go to the next page and click the Previous button to return the previous page. ) Note: This page will be refreshed automatically every 5 seconds. 4.7 DHCP Figure 4-31 The DHCP menu There are three submenus under the DHCP menu (shown in Figure 4-31): DHCP Settings, DHCP Clients List and Address Reservation. Click any of them, and you will be able to configure the corresponding function. 4.7.1 DHCP Settings Choose menu "DHCP→DHCP Settings", you can configure the DHCP Server on the page (shown in Figure 4-32).The Router is set up by default as a DHCP (Dynamic Host Configuration Protocol) server, which provides the TCP/IP configuration for all the PC(s) that are connected to the Router on the LAN. -56-
-
 1
1 -
2
-
3
-
4
-
5
-
6
-
7
-
8
-
9
-
10
-
11
-
12
-
13
-
14
-
15
-
16
-
17
-
18
-
19
-
20
-
21
-
22
-
23
-
24
-
25
-
26
-
27
-
28
-
29
-
30
-
31
-
32
-
33
-
34
-
35
-
36
-
37
-
38
-
39
-
40
-
41
-
42
-
43
-
44
-
45
-
46
-
47
-
48
-
49
-
50
-
51
-
52
-
53
-
54
-
55
-
56
-
57
-
 58
58 -
 59
59 -
 60
60 -
 61
61 -
 62
62 -
 63
63 -
 64
64 -
 65
65 -
 66
66 -
 67
67 -
 68
68 -
69
-
70
-
71
-
72
-
73
-
74
-
75
-
76
-
77
-
78
-
79
-
80
-
81
-
82
-
83
-
84
-
85
-
86
-
87
-
88
-
89
-
90
-
91
-
92
-
93
-
94
-
95
-
96
-
97
-
98
-
99
-
100
-
101
-
102
-
103
-
104
-
105
-
106
-
107
-
108
-
109
-
110
-
111
-
112
-
113
-
114
-
115
-
116
-
117
-
118
-
119
-
120
-
121
 |
 |