TP-Link TL-MR3420 User Guide - Page 82
Click Here To Add New Host List
 |
UPC - 845973051495
View all TP-Link TL-MR3420 manuals
Add to My Manuals
Save this manual to your list of manuals |
Page 82 highlights
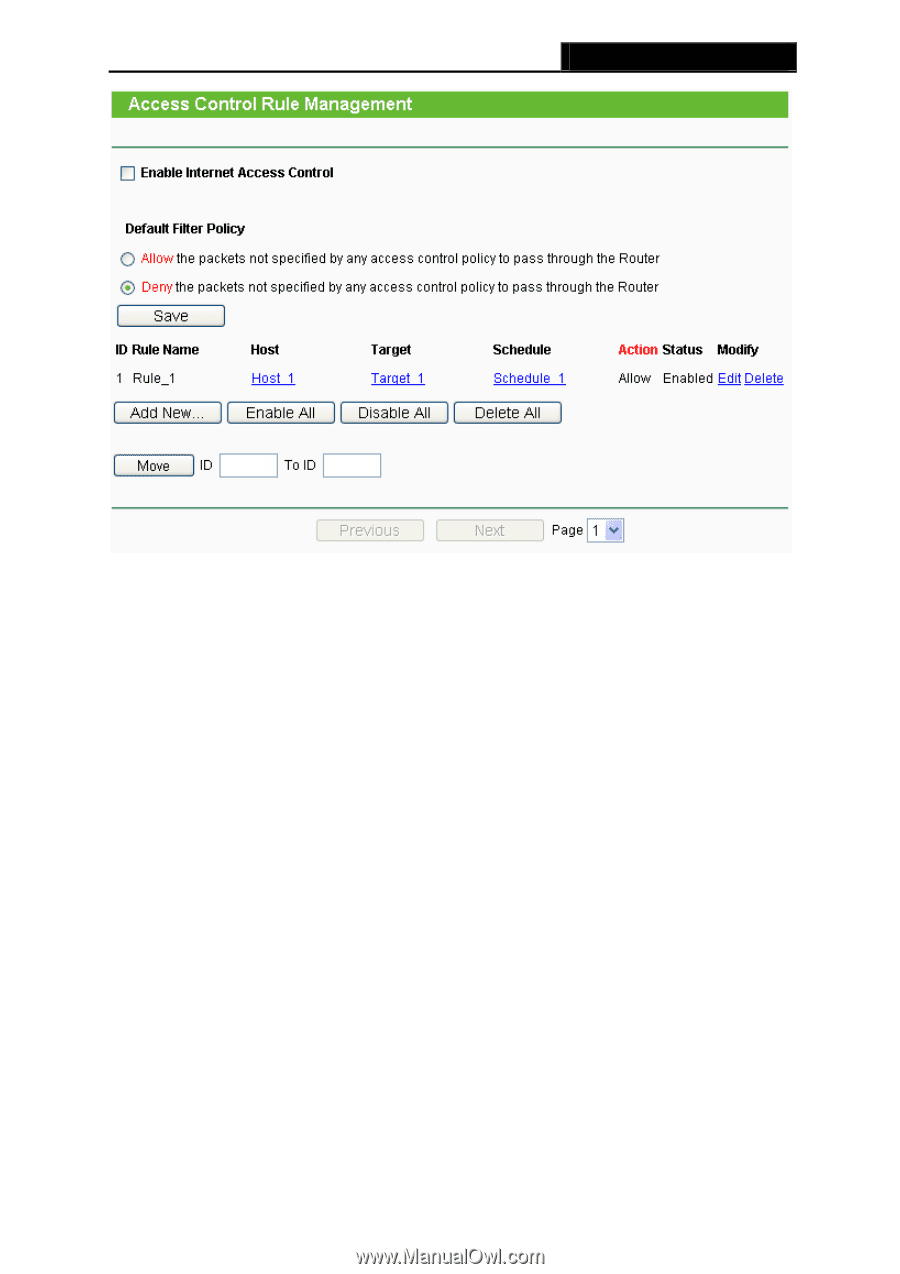
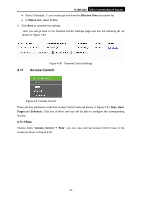
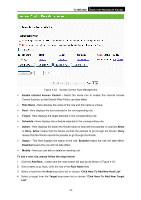
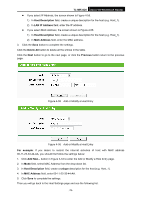
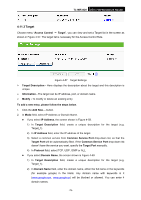
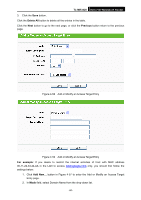
TL-MR3420 3G/3.75G Wireless N Router Figure 4-52 Access Control Rule Management ¾ Enable Internet Access Control - Select the check box to enable the Internet Access Control function, so the Default Filter Policy can take effect. ¾ Rule Name - Here displays the name of the rule and this name is unique. ¾ Host - Here displays the host selected in the corresponding rule. ¾ Target - Here displays the target selected in the corresponding rule. ¾ Schedule - Here displays the schedule selected in the corresponding rule. ¾ Action - Here displays the action the Router takes to deal with the packets. It could be Allow or Deny. Allow means that the Router permits the packets to go through the Router. Deny means that the Router rejects the packets to go through the Router. ¾ Status - This field displays the status of the rule. Enabled means the rule will take effect, Disabled means the rule will not take effect. ¾ Modify - Here you can edit or delete an existing rule. To add a new rule, please follow the steps below. 1. Click the Add New... button and the next screen will pop-up as shown in Figure 4-53. 2. Give a name (e.g. Rule_1) for the rule in the Rule Name field. 3. Select a host from the Host drop-down list or choose "Click Here To Add New Host List". 4. Select a target from the Target drop-sown list or choose "Click Here To Add New Target List". -75-
-
 1
1 -
2
-
3
-
4
-
5
-
6
-
7
-
8
-
9
-
10
-
11
-
12
-
13
-
14
-
15
-
16
-
17
-
18
-
19
-
20
-
21
-
22
-
23
-
24
-
25
-
26
-
27
-
28
-
29
-
30
-
31
-
32
-
33
-
34
-
35
-
36
-
37
-
38
-
39
-
40
-
41
-
42
-
43
-
44
-
45
-
46
-
47
-
48
-
49
-
50
-
51
-
52
-
53
-
54
-
55
-
56
-
57
-
58
-
59
-
60
-
61
-
62
-
63
-
64
-
65
-
66
-
67
-
68
-
69
-
70
-
71
-
72
-
73
-
74
-
75
-
76
-
 77
77 -
 78
78 -
 79
79 -
 80
80 -
 81
81 -
 82
82 -
 83
83 -
 84
84 -
 85
85 -
 86
86 -
 87
87 -
88
-
89
-
90
-
91
-
92
-
93
-
94
-
95
-
96
-
97
-
98
-
99
-
100
-
101
-
102
-
103
-
104
-
105
-
106
-
107
-
108
-
109
-
110
-
111
-
112
-
113
-
114
-
115
-
116
-
117
-
118
-
119
-
120
-
121
 |
 |