Toshiba 50L4300U User's Guide for Model Series L4300U and L7300U TV - Page 95
Normal, Dot by Dot
 |
View all Toshiba 50L4300U manuals
Add to My Manuals
Save this manual to your list of manuals |
Page 95 highlights
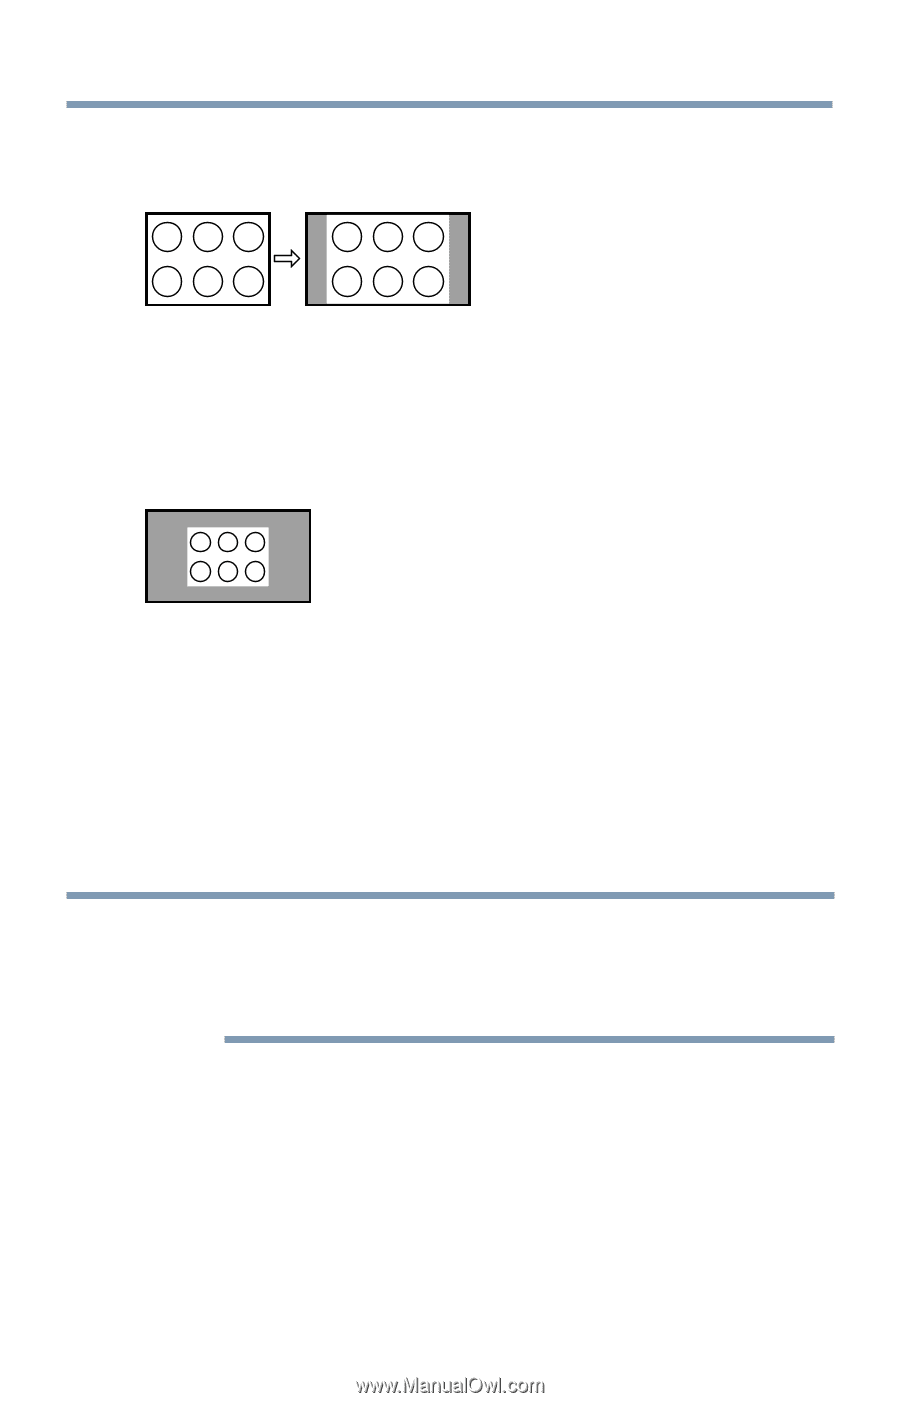
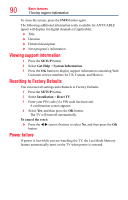
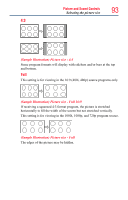
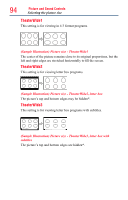
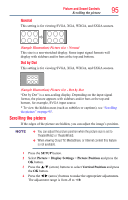
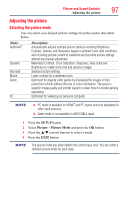
Picture and Sound Controls Scrolling the picture 95 Normal This setting is for viewing SVGA, XGA, WXGA, and SXGA sources. (Sample Illustration) Picture size - Normal This size is a non-stretched display. Some input signal formats will display with sidebars and/or bars at the top and bottom. Dot by Dot This setting is for viewing SVGA, XGA, WXGA, and SXGA sources. (Sample Illustration) Picture size - Dot by Dot "Dot by Dot" is a non-scaling display. Depending on the input signal format, the picture appears with sidebars and/or bars at the top and bottom, for example, SVGA input source. * To view the hidden areas (such as subtitles or captions), see "Scrolling the picture" on page 95. Scrolling the picture If the edges of the picture are hidden, you can adjust the image's position. NOTE v You can adjust the picture position when the picture size is set to TheaterWide2 or TheaterWide3. ❖❖ When viewing Cloud TV, MediaShare, or Internet content this feature is not available. 1 Press the SETUP button. 2 Select Picture > Display Settings > Picture Position and press the OK button. 3 Press the p/q (arrow) buttons to select Vertical Position and press the OK button. 4 Press the t/u (arrow) buttons to make the appropriate adjustments. The adjustment range is from -5 to +10.
-
 1
1 -
2
-
3
-
4
-
5
-
6
-
7
-
8
-
9
-
10
-
11
-
12
-
13
-
14
-
15
-
16
-
17
-
18
-
19
-
20
-
21
-
22
-
23
-
24
-
25
-
26
-
27
-
28
-
29
-
30
-
31
-
32
-
33
-
34
-
35
-
36
-
37
-
38
-
39
-
40
-
41
-
42
-
43
-
44
-
45
-
46
-
47
-
48
-
49
-
50
-
51
-
52
-
53
-
54
-
55
-
56
-
57
-
58
-
59
-
60
-
61
-
62
-
63
-
64
-
65
-
66
-
67
-
68
-
69
-
70
-
71
-
72
-
73
-
74
-
75
-
76
-
77
-
78
-
79
-
80
-
81
-
82
-
83
-
84
-
85
-
86
-
87
-
88
-
89
-
 90
90 -
 91
91 -
 92
92 -
 93
93 -
 94
94 -
 95
95 -
 96
96 -
 97
97 -
 98
98 -
 99
99 -
 100
100 -
101
-
102
-
103
-
104
-
105
-
106
-
107
-
108
-
109
-
110
-
111
-
112
-
113
-
114
-
115
-
116
-
117
-
118
-
119
-
120
-
121
-
122
-
123
-
124
-
125
-
126
-
127
-
128
-
129
-
130
-
131
-
132
-
133
-
134
-
135
-
136
-
137
-
138
-
139
-
140
-
141
-
142
-
143
-
144
-
145
-
146
-
147
-
148
-
149
-
150
-
151
-
152
-
153
-
154
-
155
-
156
-
157
-
158
-
159
-
160
-
161
-
162
-
163
-
164
-
165
-
166
-
167
-
168
-
169
-
170
-
171
-
172
-
173
-
174
-
175
-
176
-
177
-
178
-
179
-
180
-
181
-
182
-
183
-
184
-
185
-
186
 |
 |