Toshiba D-VR600 Owner's Manual - English - Page 53
Recording, ENTER, SETUP, TIMER REC, NOTES
 |
UPC - 022265000748
View all Toshiba D-VR600 manuals
Add to My Manuals
Save this manual to your list of manuals |
Page 53 highlights
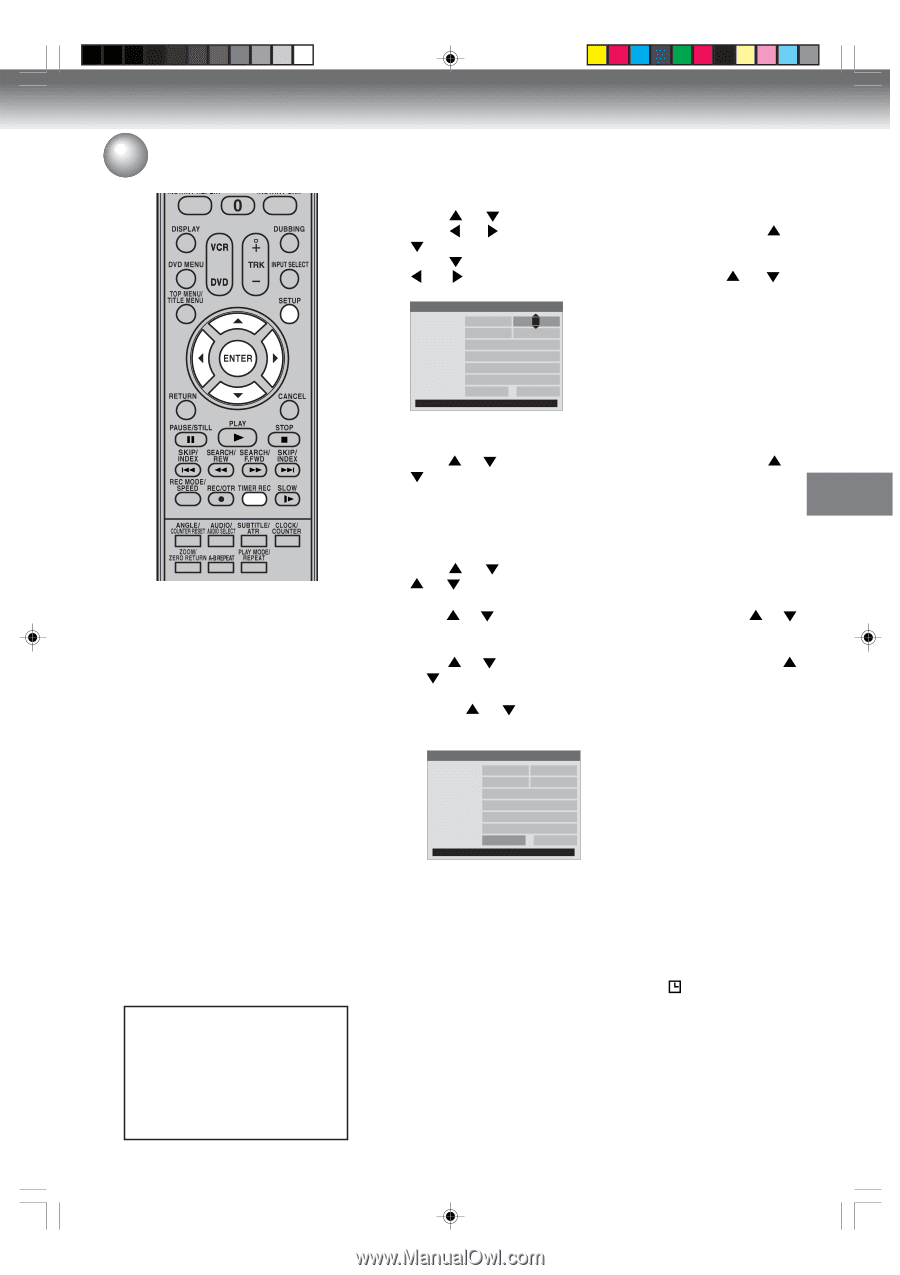
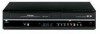
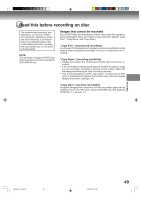
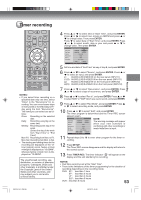
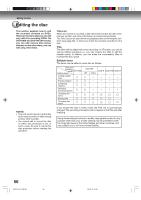
Timer recording NOTES: • If you select timer recording on a specified date only one time, select "Once" in the "Recurrence" for recording. You can record same days of every week or from Monday to Friday using the item "Recurrence". The items you can select are as follows: Once: Recording on the selected date Daily: Recording everyday at the same time Weekly: Recording same day of the week. (Select the day of the week from "Start Time" or "End Time") Mon-Fri: Recording from Mon. to Fri. Mon-Sat: Recording from Mon. to Sat. • The starting and ending times for the recording are displayed on the 12hour (am/pm) clock. Twelve o'clock midnight is displayed as "12:00AM", whereas twelve o'clock noon is displayed as "12:00PM". The unauthorized recording, use, distribution, or revision of television programs, videotapes, DVDs and other materials, is prohibited under the Copyright Laws of the United States and other countries, and may subject you to civil and/or criminal liability. Recording 4 Press or to select time of "Start Time", and press ENTER. Press or to select hour, minute or AM/PM and press or to change value. Then press ENTER. Press to select date of "Start Time", and press ENTER. Press or to select month, date or year and press or to change value. Then press ENTER. New Timer Recording Start Time: 08:00 PM 03/20/07 End Time: 09:00 PM 03/19/07 Source: Line 1 [S] Recurrence: Once Rec To: DVD Rec Mode: XP : 1 hour Add Cancel Press RETURN to CANCEL 5 Set time and date of "End Time" as way of step 4, and press ENTER. 6 Press or to select "Source", and press ENTER. Press or to select an input, and press ENTER. L1: AUDIO (L/R)/VIDEO IN on the rear panel (INPUT1) L1(S): AUDIO (L/R)/S-VIDEO IN on the rear panel (INPUT1) L2: AUDIO (L/R)/VIDEO IN on the front panel (INPUT2) L2(S): AUDIO (L/R)/S-VIDEO IN on the front panel (INPUT2) 7 Press or to select "Recurrence", and press ENTER. Press or to select a type of recurrence, and press ENTER. 8 Press or to select "Rec to", and press ENTER. Press or to select "DVD" or "VCR" which you use to record, and press ENTER. 9 Press or to select "Rec Mode", and press ENTER. Press or to select recording mode, and press ENTER. 10 Press or to select "Add", and press ENTER. The timer program is determined and the Timer REC screen appears again. New Timer Recording Start Time: 08:00 PM 03/20/07 End Time: 09:30 PM 03/20/07 Source: Line 1 Recurrence: Once Rec To: DVD Rec Mode: LP : 4 hours Add Cancel Press RETURN to CANCEL NOTE: The warning message will appear when your new schedule is conflicting with other recordings or invalid date/time is input. 11 Repeat steps 3 to 10 to enter other program for the timer recording. 12 Press SETUP. The Timer REC screen disappears and the display will return to the normal screen. 13 Press TIMER REC. The timer indicator " " will appear on the display and the unit stands by for recording. NOTES: • Past time cannot be set at the "Start Time". • There is the limitations of the timer programming for the duration of recording depending on the recording mode. DVD: XP : less than 1 hour SP : less than 2 hours LP : less than 4 hours SLP : less than 6 hours VCR : less than 6 hours 53 2K70101A_E P52-55 53 08`02`07, 20:45
-
 1
1 -
2
-
3
-
4
-
5
-
6
-
7
-
8
-
9
-
10
-
11
-
12
-
13
-
14
-
15
-
16
-
17
-
18
-
19
-
20
-
21
-
22
-
23
-
24
-
25
-
26
-
27
-
28
-
29
-
30
-
31
-
32
-
33
-
34
-
35
-
36
-
37
-
38
-
39
-
40
-
41
-
42
-
43
-
44
-
45
-
46
-
47
-
 48
48 -
 49
49 -
 50
50 -
 51
51 -
 52
52 -
 53
53 -
 54
54 -
 55
55 -
 56
56 -
 57
57 -
 58
58 -
59
-
60
-
61
-
62
-
63
-
64
-
65
-
66
-
67
-
68
-
69
-
70
-
71
-
72
-
73
-
74
-
75
-
76
-
77
-
78
-
79
-
80
 |
 |