Toshiba DVR620 Owner's Manual - English - Page 25
Initial Setting - dvd recorder manual
 |
UPC - 022265002223
View all Toshiba DVR620 manuals
Add to My Manuals
Save this manual to your list of manuals |
Page 25 highlights
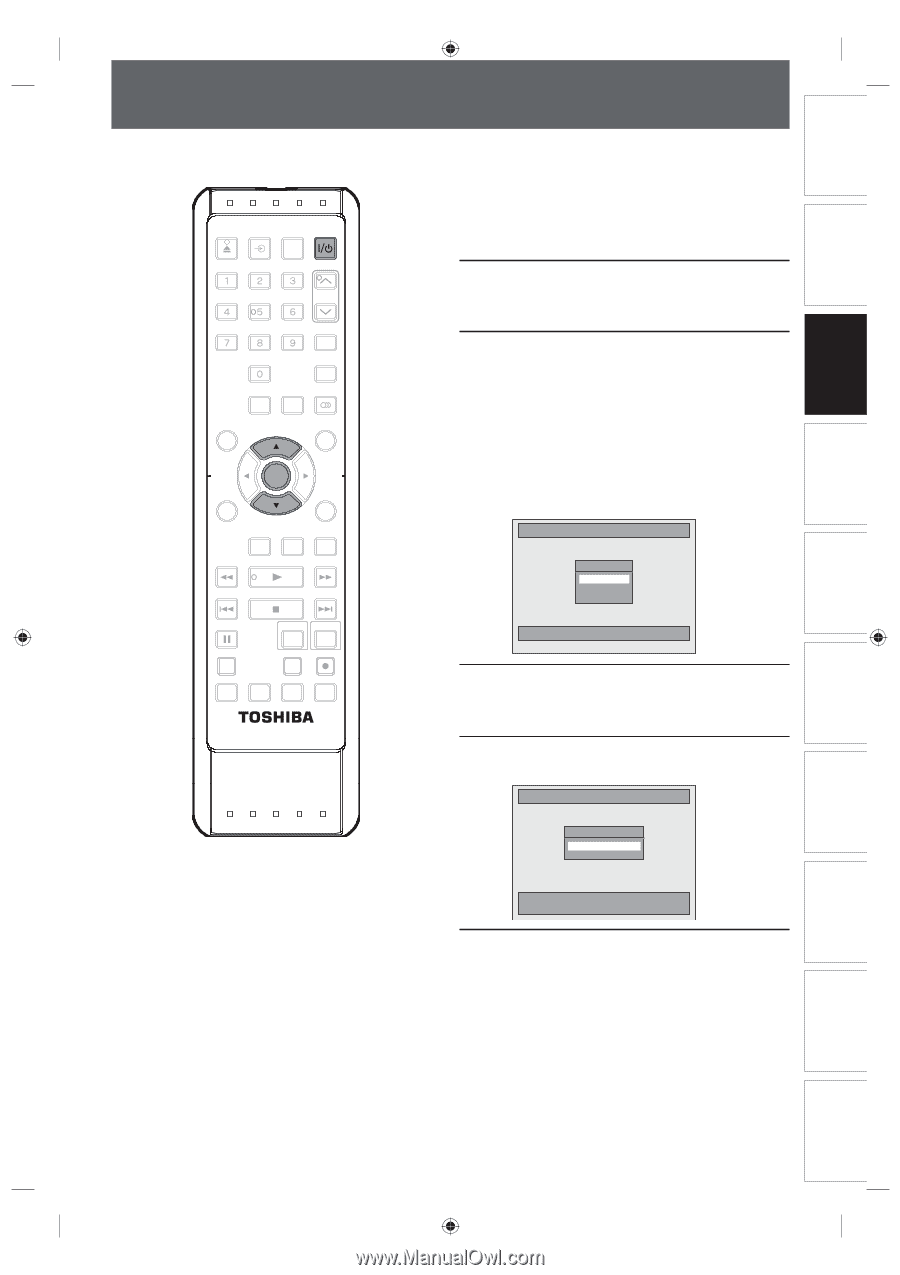
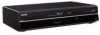
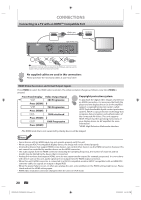
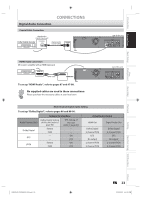
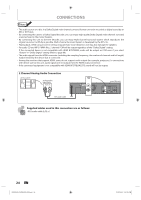
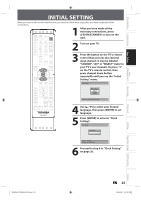
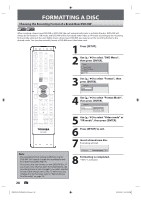
Introduction Connections Basic Setup Disc Management INITIAL SETTING When you turn on this unit for the first time, you need to follow these steps after you have completed all the connections. OPEN/ INPUT CLOSE SELECT HDMI 1 After you have made all the necessary connections, press [I/yON/STANDBY] to turn on the unit. .@/: ABC DEF GHI JKL MNO TRACKING PQRS TUV WXYZ SAT.LINK SPACE TIMER PROG. SETUP DISPLAY AUDIO DISC MENU TOP MENU CLEAR ENTER RETURN INSTANT 1.3x/0.8x SKIP PLAY TIME SLIP 2 Turn on your TV. 3 Press the button on the TV's remote control that accesses the external input channel. It may be labeled "SOURCE", "AV" or "SELECT" (refer to your TV's user manual). Or press "2" on the TV's remote control, then press channel down button repeatedly until you see the "Initial Setting" menu. Initial Setting REV SKIP PLAY STOP FWD SKIP OSD Language English Français Español PAUSE VCR DVD DUBBING REC MODE REC REPEAT TIMER SET SEARCH ZOOM SE-R0295 Select the language for Setup display. 4 Use [K / L] to select your desired language, then press [ENTER] to set language. 5 Press [ENTER] to activate "Clock Setting". Initial Setting Clock Setting ENTER: Set Clock. RETURN: Exit Initial Setting. 6 Proceed to step 4 in "Clock Setting" on page 26. Recording Playback Editing Function Setup VCR Function Others E9PKAUD_DVR620KU_EN.indd 25 EN 25 3/25/2009 3:47:36 PM
-
 1
1 -
2
-
3
-
4
-
5
-
6
-
7
-
8
-
9
-
10
-
11
-
12
-
13
-
14
-
15
-
16
-
17
-
18
-
19
-
 20
20 -
 21
21 -
 22
22 -
 23
23 -
 24
24 -
 25
25 -
 26
26 -
 27
27 -
 28
28 -
 29
29 -
 30
30 -
31
-
32
-
33
-
34
-
35
-
36
-
37
-
38
-
39
-
40
-
41
-
42
-
43
-
44
-
45
-
46
-
47
-
48
-
49
-
50
-
51
-
52
-
53
-
54
-
55
-
56
-
57
-
58
-
59
-
60
-
61
-
62
-
63
-
64
-
65
-
66
-
67
-
68
-
69
-
70
-
71
-
72
-
73
-
74
-
75
-
76
-
77
-
78
-
79
-
80
-
81
-
82
-
83
-
84
-
85
-
86
-
87
-
88
-
89
-
90
-
91
-
92
-
93
-
94
-
95
-
96
-
97
-
98
-
99
-
100
-
101
-
102
-
103
-
104
-
105
-
106
-
107
-
108
-
109
-
110
-
111
-
112
-
113
 |
 |