Uniden BC278CLT English Owners Manual - Page 6
Getting Started - telescopic antenna
 |
UPC - 050633650097
View all Uniden BC278CLT manuals
Add to My Manuals
Save this manual to your list of manuals |
Page 6 highlights
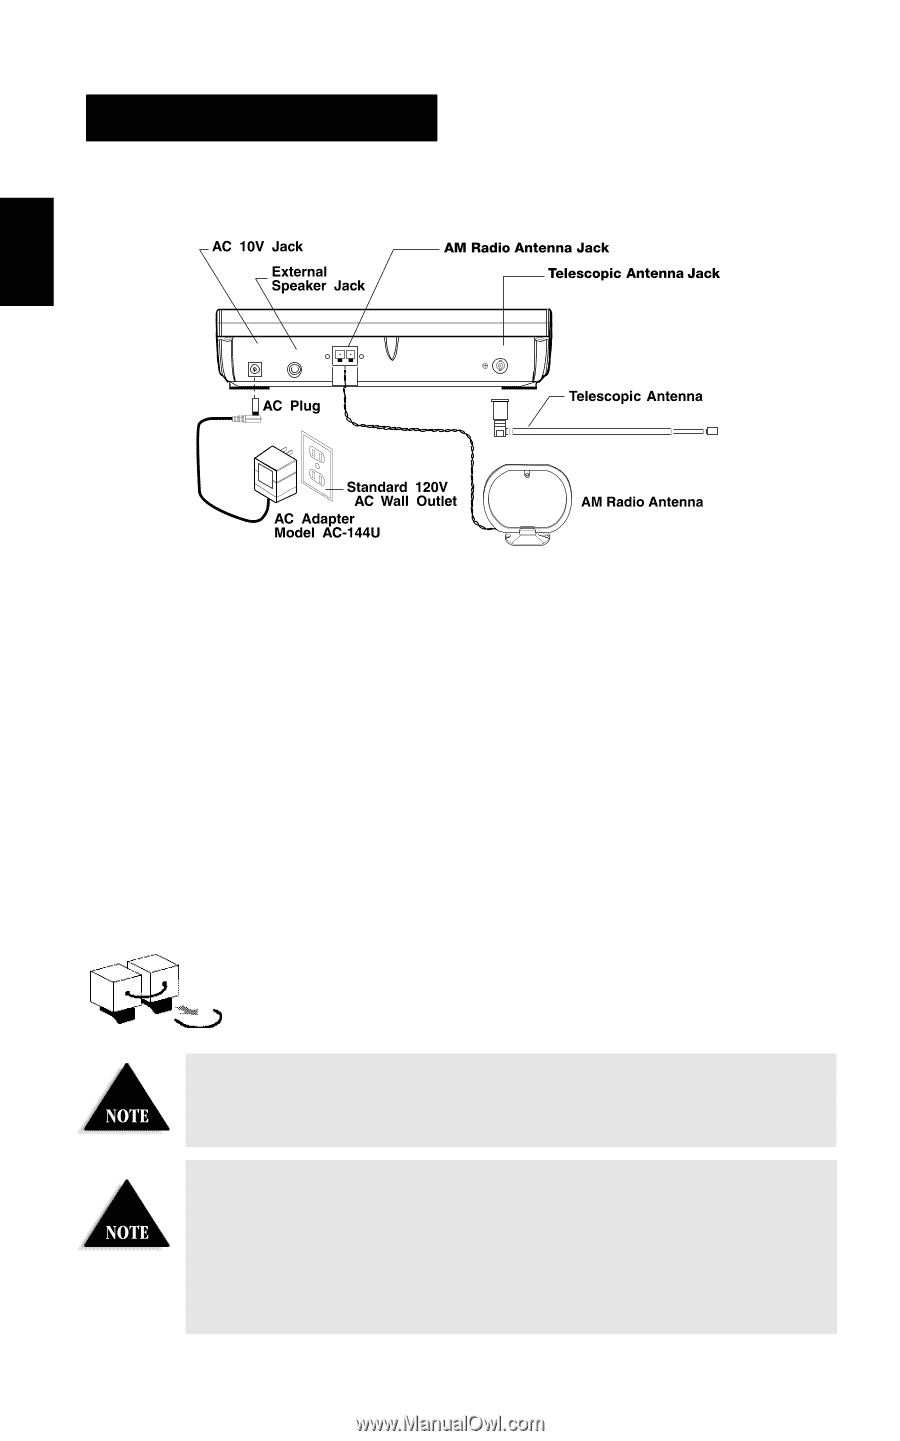
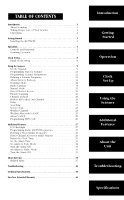
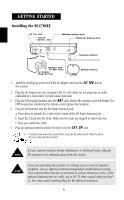
GETTING STARTED Installing the BC278CLT AM RADIO ANT AC 10V USE AC-144U ONLY EXT.SP ANT 1. Insert the small plug at the end of the AC Adapter cord into the AC 10V jack on the scanner. 2. Plug the AC Adapter into any standard 120V AC wall outlet. Do not plug into an outlet controlled by a wall switch; it could cause clock reset. 3. Plug the Telescoping Antenna into the ANT. jack. Extend the antenna to its full height. For UHF frequencies, shortening the antenna may improve the reception. 4. Plug the AM Antenna into the AM Radio Antenna Jack a. Press down to unlatch the 2 tabs at the bottom of the AM Radio Antenna Jack. b. Insert the 2 leads into the holes. Make sure the leads are stripped to expose the wire. c. Press up to latch the 2 tabs. 5. Plug an optional external speaker (8-ohm) into the EXT. SP. jack. *Carefully remove the tube inserted before using the AM Antenna Jack. When the Jack is not in use, keep the tube mounted. If your scanner receives strong interference or electrical noise, relocate the scanner or its antenna away from the source. If you are operating the scanner in a fringe area or need to improve reception, use an optional antenna designed for multi-band coverage. (You can purchase this type of antenna at a local electronics store.) If the optional antenna has no cable, use a 50-70 ohm coaxial cable for leadin. You may need a mating plug for the optional antennas. 3
-
 1
1 -
 2
2 -
 3
3 -
 4
4 -
 5
5 -
 6
6 -
 7
7 -
 8
8 -
 9
9 -
 10
10 -
 11
11 -
 12
12 -
13
-
14
-
15
-
16
-
17
-
18
-
19
-
20
-
21
-
22
-
23
-
24
-
25
-
26
-
27
-
28
-
29
-
30
-
31
-
32
-
33
-
34
-
35
-
36
-
37
-
38
-
39
-
40
-
41
-
42
-
43
-
44
 |
 |