Uniden UDR444 English Owner's Manual - Page 25
Schedule Recording
 |
View all Uniden UDR444 manuals
Add to My Manuals
Save this manual to your list of manuals |
Page 25 highlights
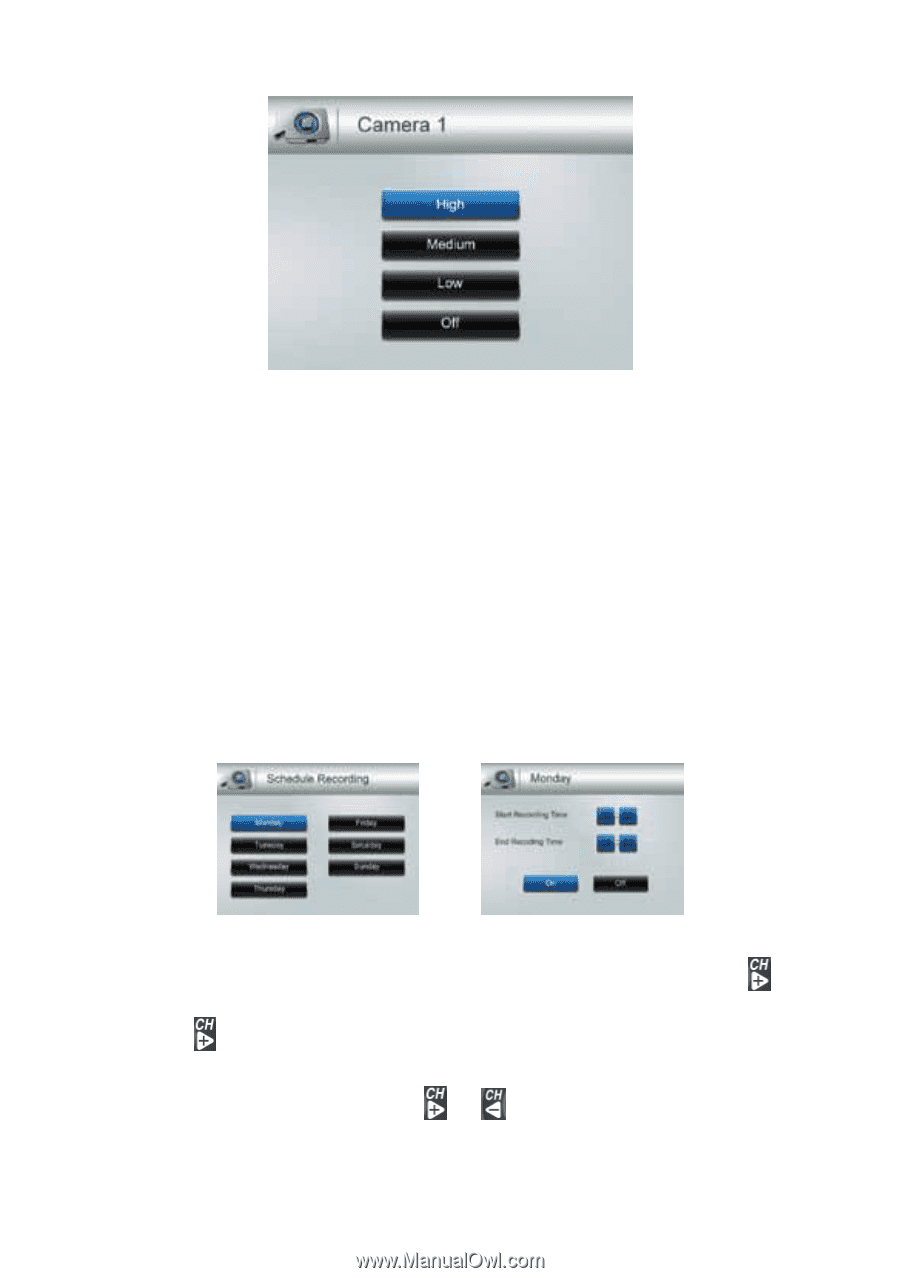
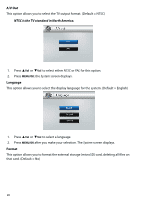
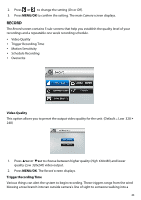
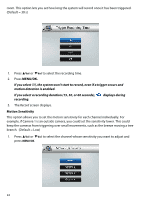
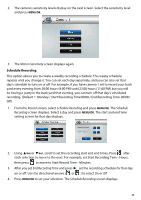
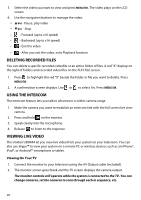
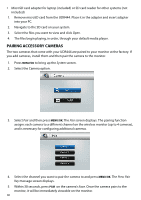
2. The camera's sensitivity levels display on the next screen. Select the sensitivity level and press MENU/OK. 3. The Motion Sensitivity screen displays again. Schedule Recording This option allows you to create a weekly recording schedule. This weeky schedule repeats until you change it. You can set each day separately, and you can also set that day's schedule to turn on or off. For example, if you have camera 1 set to record your back yard every evening from 20:00 hours (8:00 PM) until 23:00 hours (11:00 PM) but you will be having a party in the back yard that evening, you can turn off that day's scheduled recording. (Default = Monday / Start Recording Time:00:00 / End Recording Time: 00:00 / Off) 1. From the Record screen, select Schedule Recording and press MENU/OK. The Schedule Recording screen displays. Select a day and press MENU/OK. The start and end time setting screen for that day displays. 2. Using ▲Vol or ▼Vol , scroll to set the recording start and end times. Press after each selection to move to the next. For example, set Start Recording Time - Hours, then press to move to Start Record Time - Minutes. 3. After you set End Recording Time and press ►; set the recording schedule for that day on or off. Use the directional arrows ( or ) to select On or Off. 4. Press MENU/OK to set your selection. The Schedule Recording screen displays. 25
-
 1
1 -
2
-
3
-
4
-
5
-
6
-
7
-
8
-
9
-
10
-
11
-
12
-
13
-
14
-
15
-
16
-
17
-
18
-
19
-
 20
20 -
 21
21 -
 22
22 -
 23
23 -
 24
24 -
 25
25 -
 26
26 -
 27
27 -
 28
28 -
 29
29 -
 30
30 -
31
-
32
-
33
-
34
-
35
-
36
-
37
-
38
 |
 |