Vivitar 7690 Camera Manual
Vivitar 7690 Manual
 |
View all Vivitar 7690 manuals
Add to My Manuals
Save this manual to your list of manuals |
Vivitar 7690 manual content summary:
- Vivitar 7690 | Camera Manual - Page 1
ViviCam7690 Digital Camera Owner‟s Manual © 2009 Sakar International, Inc. All rights reserved. Windows and the Windows logo are registered trademarks of Microsoft Corporation. All other trademarks are the property of their respective companies. - Vivitar 7690 | Camera Manual - Page 2
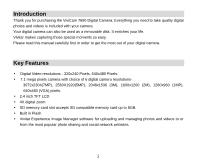
! ...43 Transfer media from my camera to my computer manually (Using Windows 43 Transfer media from my camera to my computer manually (Using Macintosh 44 Maintenance of Your Digital Camera 44 Sakar Warranty Card ...44 Appendix A: Technical Specifications 46 Appendix B: Troubleshooting...47 1 - Vivitar 7690 | Camera Manual - Page 3
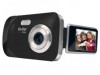
the ViviCam 7690 Digital Camera. Everything you need to take quality digital photos and videos is included with your camera. Your digital camera can also be used as a removable disk. It enriches your life. Vivitar makes capturing those special moments so easy. Please read this manual carefully - Vivitar 7690 | Camera Manual - Page 4
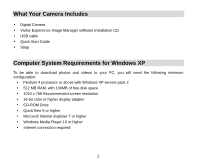
What Your Camera Includes Digital Camera Vivitar Experience Image Manager software Installation CD USB cable Quick Start Guide Strap Computer System Requirements for Windows XP To be able to download photos and videos to your PC, you will need the following minimum configuration: - Vivitar 7690 | Camera Manual - Page 5
configuration: Windows Vista 800MHz processor and 512 MB of system memory 20GB hard drive with at least 15GB of available space Support for Super VGA graphics Available USB Interface CD-ROM drive QuickTime 6 or higher Microsoft Internet Explorer 7 or higher Internet connection - Vivitar 7690 | Camera Manual - Page 6
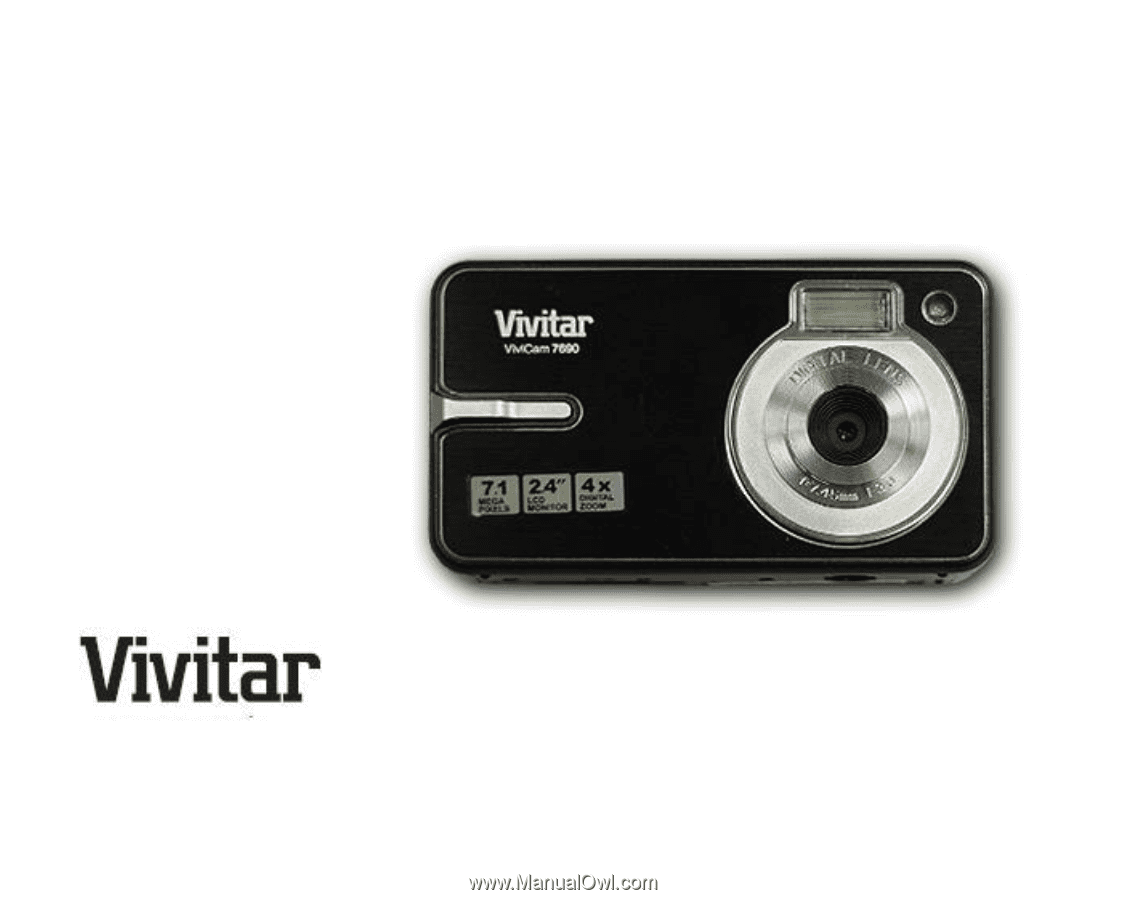
Quick Look at Your Camera 5 - Vivitar 7690 | Camera Manual - Page 7
three AAA batteries (alkaline batteries recommended). Please refer to the following installation instructions: 1. Open the battery compartment on the side of the camera. 2. Insert the alkaline batteries correctly, with the correct polarity as shown on the battery cover. 3. Close the battery - Vivitar 7690 | Camera Manual - Page 8
Do not mix alkaline, standard (carbon-zinc), or rechargeable (nickel-cadmium metal hydride) batteries. Install SD memory card This camera needs SD Memory card for normal use. This camera supports any compatible SD memory card up to 8GB. Limited internal memory is only for you to take test photos and - Vivitar 7690 | Camera Manual - Page 9
Locate the SD memory card slot on the bottom of the camera and insert an SD memory card as above. You will feel and hear a "Click" sound. When the and render it unusable. 5. An SD memory card formatted on a PC or device other than the camera should not be used. Be sure to format the card with your - Vivitar 7690 | Camera Manual - Page 10
there is insufficient battery power, a "Low Battery" message will appear on the LCD screen and the camera will power off automatically after a few seconds. MODE switch Your digital camera has 3 modes - Camera mode, Video mode and Playback mode. Move the mode switch between the 3 modes to select the - Vivitar 7690 | Camera Manual - Page 11
Camera mode is for you to take still photos. You can shoot video files while in Video mode. In Playback mode you can preview the photos/videos you captured, rotate, protect, delete, crop and print your photos. Main buttons on the camera 10 - Vivitar 7690 | Camera Manual - Page 12
Main Icons on the LCD 11 - Vivitar 7690 | Camera Manual - Page 13
quality Fine quality Super quality Flash Force Flash Auto No Flash Modes Camera Video SD card inserted Playback SD card inserted (Locked) Self-timer Self-timer On 2 seconds Normal Capture Macro Capture Date on photo Digital Zoom Protect Protect On Anti-Shake Anti-Shake on Anti-Shake off - Vivitar 7690 | Camera Manual - Page 14
computer as soon as possible using the Vivitar Experience Image Manager software as described below in the section "Transfer photos and videos to your computer" or insert an SD memory card in order to take more images! Short-cut buttons on the camera Digital Zoom function In the Photo, Video and - Vivitar 7690 | Camera Manual - Page 15
to capture objects at very near (macro) or very far distances per your request. 1. Slide the Macro/Far switch on the left side of the camera up to the position. 2. The icon will appear on the left hand side of the LCD screen and indicates that the macro shooting is on - Vivitar 7690 | Camera Manual - Page 16
A "No Power" message will appear on the LCD screen, if you select the flash function when the battery power is insufficient. To continue using the camera with the flash, please install new batteries. Self-Timer You can include yourself in a photo by using this feature to delay the time between your - Vivitar 7690 | Camera Manual - Page 17
toggle between the options: Auto, Night Portrait, Night Scenery, Portrait, Scenery, Sport, Party, Beach or High Sensitivity. Camera mode - Menu setting options To access the Menu setting options for the Camera mode press the Menu button in the center of the Menu dial. 4 menu options each with their - Vivitar 7690 | Camera Manual - Page 18
2. Set the mode to Camera Mode - the icon will appear on the LCD screen. 3. Press the Menu/OK within the selected menu. 6. Press the Menu/OK button to confirm and save the setting. Scene Your camera comes with built-in scenes for you to take photos in almost any environment. You can choose your best - Vivitar 7690 | Camera Manual - Page 19
. 2. Press the Right/Left button until you select the Image Size option. 3. Press the Up/Down button to select the desired image size. 3072x2304(7MP), 2560X1920(5MP), 2048x1536 (3M), 1600x1200 (2M), 1280x960 (1MP), 640x480 (VGA) pixels 4. Press the Menu/OK button to confirm your choice and exit to - Vivitar 7690 | Camera Manual - Page 20
on the right side of the LCD screen. Anti-Shake Your Digital Camera has a function that prevents photos coming out blurry as a side of the LCD screen if you selected Yes. Setup Menu You can manually set your camera for the setting that best suits your present situation: Exposure, White Balance, - Vivitar 7690 | Camera Manual - Page 21
1. Press the Menu/OK button. 2. Press the Right/Left button until you select the Setup menu. Exposure This setting allows you to control the brightness of your images. 1. Press the Up/Down button to select the Exposure option in the Setup menu. 2. Press the Menu/OK button to open the Exposure - Vivitar 7690 | Camera Manual - Page 22
from the ISO submenu that appears: Auto /100 / 200 / 400 4. Press the Menu/OK button to confirm and exit. White Balance This setting allows the camera to adjust the color of your photos according to the color of your light source. 1. Press the Up/Down button to select the White Balance - Vivitar 7690 | Camera Manual - Page 23
3. Press the Up/Down button to choose the best option - Auto / Daylight / Cloudy / Tungsten / Fluorescent 4. Press the Menu/OK button to confirm and exit. Sharpness This setting allows you to adjust the sharpness of your images, making edges more or less distinct. 1. Press the Up/Down button to - Vivitar 7690 | Camera Manual - Page 24
Quality The quality settings determine the number of photos and the amount of memory required for each photo. The better the quality, the more memory each photo will use. The quality will also affect the maximum size you can print your photo effectively. The default value is Fine. 1. Press the Up/ - Vivitar 7690 | Camera Manual - Page 25
2. Press the Menu/OK button. 3. Press the Up/Down button to select: On - displays date on photos Off - won't show date on photos Set date - setting the system date 4. Press the Menu/OK button to confirm. If you wish to change the date press the Set Date option: 1. Press the Menu/OK button to enter - Vivitar 7690 | Camera Manual - Page 26
digits for each of the date, time and format options. 4. Press the Menu/OK button to confirm and exit. Auto Power Off By default your camera Note: If you select None, the camera will not be powered off until the battery power is used up or you turn the camera off manually. 4. Press the Menu/OK button - Vivitar 7690 | Camera Manual - Page 27
Language Your Digital Camera only supports English for now. Format This function reformats the memory card and will erase all files in memory including files that have been protected, please operate - Vivitar 7690 | Camera Manual - Page 28
If you are not sure as to what settings have been activated on your camera you can reset the camera to the original factory settings. 1. Press the Up/Down button to select the is for you to exit the Setup menu manually. Select the Cancel option in the Setup menu and press the Menu/OK button to exit. - Vivitar 7690 | Camera Manual - Page 29
the Vivitar Experience Image Manager software. camera use. The limited internal memory in your camera is provided for test photos and videos only. "Memory Full insert an SD Memory Card to Transfer and Shoot More Test Videos" will appear on the LCD when the memory storage capacity of your camera - Vivitar 7690 | Camera Manual - Page 30
confirm and exit to the video standby mode. 5. The White balance effect you selected appears on the LCD screen. Video Resolution Your camera supports 2 video resolutions- 640x480 (VGA) pixels, 320x240 (QVGA) pixels. The default resolution is VGA. 1. Press the Menu/OK button. 2. Press the Left/Right - Vivitar 7690 | Camera Manual - Page 31
you can rotate, protect, delete and crop your photos and you can protect and delete video clips. You can also print photos directly from your camera using PictBridge technology. NOTE: The message, "No Image" will appear on the LCD screen if there are no photos/videos in the - Vivitar 7690 | Camera Manual - Page 32
Thumbnail and Zoom You can view the images on your camera as thumbnails. You can also press the T and W buttons to zoom in and out of your photos: 1. Pressing the W button once will open the thumbnail - Vivitar 7690 | Camera Manual - Page 33
Note: 1. 2. 3. You cannot zoom in to AVI files. If you select an AVI file, an icon will appear on the LCD If you select a JPEG file, an icon will appear on the LCD screen. Playing the AVI video file Select an AVI file you want to play. 1. Press the Shutter button to begin playing the AVI file. - Vivitar 7690 | Camera Manual - Page 34
Edit photos and videos Select a still photo you want to rotate, protect, delete, crop or print. Select a video you want to protect or delete. Rotate 1. Press the Menu/OK button. 2. Press the Right/Left button to select the Rotate menu option. 3. Press the Up/Down button to select the degree you want - Vivitar 7690 | Camera Manual - Page 35
3. Press the Up/Down button to select the "Lock" option. 4. Press the Menu/OK button to confirm and exit. 5. A lock icon will appear on that image when it appear on the LCD. 6. To unlock a locked image, press the Menu/OK button. 7. At step 3 select "Unlock" and press Menu/OK to unlock the - Vivitar 7690 | Camera Manual - Page 36
3. Press the Up/Down button to select: "This image" (photos) or "This Video" (videos) depending on the file selected to delete the current photo or video "ALL" to delete all unprotect photos or videos "Cancel" to exit. 4. Press the Menu/OK button. 5. The Delete confirmation message will appear to - Vivitar 7690 | Camera Manual - Page 37
3. Press the Up/Down button to select Crop or cancel. 4. Press the Menu/OK button. 5. The Crop feature opens. 6. Press the T/W buttons to out change the size of the rectangle (the area you will crop). 7. Press the Up/Down/Right/Left button to move the rectangle to select the area of the photo you - Vivitar 7690 | Camera Manual - Page 38
button to select Pictbridge. 5. Press the Menu/OK button to confirm. 6. A "Please connect to device" message will appear on the LCD. 7. Connect your camera to a compatible printer with the USB cable. 8. The following menu will appear: 9. Press the Up/Down button to select the "This Image" option and - Vivitar 7690 | Camera Manual - Page 39
11. Select "OK" and press the Menu/OK button to start printing. 10. Wait for the printer to process your request. After a moment the photo is printed. Note: Printing many photos will take more time. Please be patient and wait for all the photos to print. 11. When the print is finished, a Print - Vivitar 7690 | Camera Manual - Page 40
Install the Vivitar Experience Image Manager Software Warning: Do not plug your camera into the computer until the software installation is complete You must be connected to the internet to install and run the Vivitar Experience Image Manager software. 1. Insert the installation CD into your CD-ROM - Vivitar 7690 | Camera Manual - Page 41
the "How to transfer photos and videos from my camera to my computer" button for instructions. 5. If you have internet access, the "Choose your language" window opens, choose your language and click "Next" to open the next window. 6. Select your camera model from the list and click "Next" to open - Vivitar 7690 | Camera Manual - Page 42
the application or close the window and run the Vivitar Experience Image Manager from your computer. Connect your camera to the computer 1. Use the USB cable that came with your camera to connect your camera to your computer. 2. Turn on the camera. 3. MSDC will appear on the LCD indicating that you - Vivitar 7690 | Camera Manual - Page 43
The "Get media from device" window opens. 3. You can select to download photos, videos or both. 4. Select your camera (removable disk) from the device window. If your camera is the only USB device connected then it will be selected automatically. 5. Select a location on the computer where to place - Vivitar 7690 | Camera Manual - Page 44
" with built in Google Maps. For more details on how to use the Vivitar Experience Image Manager open the Help file or click the "Take the Tour" button on the application`s Home page. Transfer media from my camera to my computer manually (Using Windows) 1. Use the USB cable that came with your - Vivitar 7690 | Camera Manual - Page 45
camera to my computer manually (Using Macintosh) 1. Use the USB cable that came with your camera to connect your camera to your computer. 2. The camera‟s your computer. Maintenance of Your Digital Camera The digital camera is a delicate device. Please handle your camera with care to avoid damaging - Vivitar 7690 | Camera Manual - Page 46
the problem. 3. Your return address and telephone number (Daytime) MAIL TO ADDRESS BELOW: Sakar International Attention: Service Department 195 Carter Drive Edison, NJ 08817 TECHNICAL SUPPORT For technical support issues please visit our website at www.vivitar.com. You can find manuals, software and - Vivitar 7690 | Camera Manual - Page 47
Lens Zoom Exposure White Balance (Video Mode) ISO Scene (Camera Mode) Flash Self-timer Anti-Shake PictBridge Interface System Requirements 46 (1M). 93(VGA) 2.4 Inch TFT LCD f=7.45mm, F3.0 (with Macro) 4X Digital Zoom -3.0EV ~ 3.0EV Auto, Daylight, Cloudy, Tungsten, Fluorescent Auto/100/200/400 Auto/ - Vivitar 7690 | Camera Manual - Page 48
Appendix B: Troubleshooting Q: I have taken photos but my computer does not recognize my camera. What do I do? A: First, not meet the minimum system requirements. Please see the System Requirements section of this manual. If your computer does not match these requirements then it is possible that
-
 1
1 -
 2
2 -
 3
3 -
 4
4 -
 5
5 -
 6
6 -
 7
7 -
8
-
9
-
10
-
11
-
12
-
13
-
14
-
15
-
16
-
17
-
18
-
19
-
20
-
21
-
22
-
23
-
24
-
25
-
26
-
27
-
28
-
29
-
30
-
31
-
32
-
33
-
34
-
35
-
36
-
37
-
38
-
39
-
40
-
41
-
42
-
43
-
44
-
45
-
46
-
47
-
48
 |
 |
ViviCam7690 Digital Camera
Owner‟s Manual
© 2009 Sakar International, Inc. All rights reserved.
Windows and the Windows logo are registered trademarks of Microsoft Corporation.
All other trademarks are the property of their respective companies.