Westinghouse LCM19V5 User Manual
Westinghouse LCM19V5 Manual
 |
View all Westinghouse LCM19V5 manuals
Add to My Manuals
Save this manual to your list of manuals |
Westinghouse LCM19V5 manual content summary:
- Westinghouse LCM19V5 | User Manual - Page 1
- Westinghouse LCM19V5 | User Manual - Page 2
4. TURN THE POWER ON ...9 MOUNTING THE MONITOR ON A WALL 10 OSD MENU FUNCTIONS...11 IMAGE MENU ...12 AUDIO MENU ...13 COLOR MENU ...14 MISC MENU ...15 INFO MENU ...16 QUICK ADJUSTMENTS ...17 DISPLAY MODES...18 APPENDIX...19 SPECIFICATIONS ...19 TROUBLESHOOTING ...20 No Power ...20 No Image...20 - Westinghouse LCM19V5 | User Manual - Page 3
, abnormal noise, or a strange odor, immediately turn it off and contact the Westinghouse Service Center. • WARNING - To Reduce The Risk Of Fire Or Electric Shock, Do Not Expose The LCD Monitor To Rain Or Moisture! The LCD Monitor shall not be exposed to dripping or splashing and objects filled with - Westinghouse LCM19V5 | User Manual - Page 4
communications if not installed and used in accordance with the instructions. However, there is no guarantee that interference will not which the receiver is connected. • Consult the Westinghouse Service Center or an experienced radio/Monitor technician for assistance. FCC Warning To assure continued - Westinghouse LCM19V5 | User Manual - Page 5
Digital does not recommend the use of any ammonia or alcohol-based cleaners on the LCD Monitor screen or case. Some chemical cleaners have been reported to damage the screen and/or LCD Monitor case. Westinghouse Digital will not be liable for damage resulting from the use of any ammonia or alcohol - Westinghouse LCM19V5 | User Manual - Page 6
and Play eliminates the complicated and time-consuming installation process. Your computer system will identify and automatically adjust the LCD monitor. The LCD monitor uses Display Data Channel (DDC) to send Extended Display Identification Data (EDID) to the computer system, so the computer system - Westinghouse LCM19V5 | User Manual - Page 7
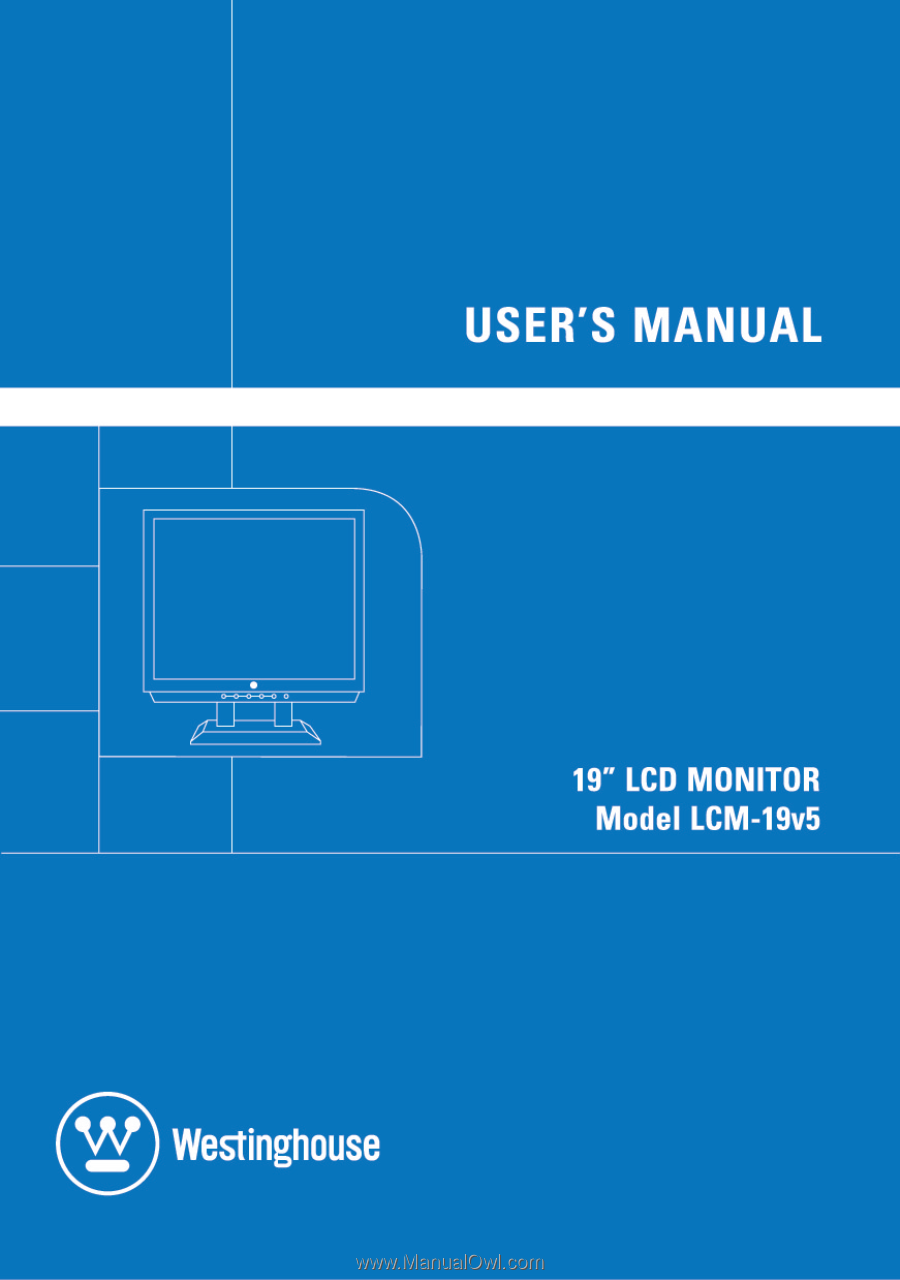
a crisp and clear display optimized for 1280 x 1024 display resolution. Package Contents Your product package includes: • 19" Westinghouse LCD Monitor • Detachable Base Stand • AC Power Cord • VGA (HD15) Male - Male Cable • 3.5 mm Male - Male Stereo Audio Cable • User's Manual • Warranty Card 5 - Westinghouse LCM19V5 | User Manual - Page 8
Use the buttons on the front of the LCD Monitor to display the On Screen Display (OSD). The OSD controls are defined in "OSD Functions" on page 11. English 7 1 2 3 7 6 5 4 1. Turbo/ 2. Auto/ 3. /W 4. /X 5. 6. 7. Speakers • Switch between picture, - Westinghouse LCM19V5 | User Manual - Page 9
Rear View of the LCD Monitor English 1 4 5 2 3 1. AC IN (Power) 2. Audio-IN 3. DVI-D 4. D-SUB (VGA) 5. Lock Hole • Connect the power cord from AC IN to a power source. • Using the cable provided, - Westinghouse LCM19V5 | User Manual - Page 10
neck and remove the base. 2. Connect Audio and Video Cables to a PC Connect one or all of the following into the back of the LCD Monitor IMPORTANT: Before beginning, make sure all devices are turned off. AUDIO CONNECTION: Connect a stereo mini cable from the PC's AUDIO-OUT port to the AUDIO - Westinghouse LCM19V5 | User Manual - Page 11
Connect Power Cables Connect the AC power adapter cord to the LCD Monitor (to the connector labeled "AC-IN") and then connect the 4. Turn the Power On Press the power button on the front of the LCD monitor. The LED light will turn blue if a signal input is detected or it will be orange if no - Westinghouse LCM19V5 | User Manual - Page 12
on a Wall 1. Remove the base from the LCD monitor. 2. Remove the plastic covers and screws to remove the LCD monitor stand neck. 3. Use the 100mm VESA hole pattern on the back of the monitor to secure a Westinghouse Décor Wall Mount to the monitor and mount it on a wall. Step 3 Step 1 Step 2 10 - Westinghouse LCM19V5 | User Manual - Page 13
OSD menu display will disappear automatically after approximately 10 seconds, if no action is taken.) The LCD monitor has been adjusted to optimal settings before shipment. Adjustments to the monitor settings can be made using the OSD menu. • Press the "Menu" button to display the OSD. • Press - Westinghouse LCM19V5 | User Manual - Page 14
Adjust the contrast of the image. Sharpness Adjust the picture sharpness of low resolution pictures. Clock Adjust the LCD monitor clock. (Optional) Phase Adjust the LCD monitor phase. (Optional) H. Position Move the image left or right on the screen. (Optional) V. Position Move the image up - Westinghouse LCM19V5 | User Manual - Page 15
English Audio Menu Function Description Volume Adjust the volume of the audio. Mute Disable the audio. 13 - Westinghouse LCM19V5 | User Manual - Page 16
English Color Menu Function Description Color temp User/9300K/7500K/6500K/sRGB Red Adjust red color. Green Adjust green color. Blue Adjust blue color. 14 - Westinghouse LCM19V5 | User Manual - Page 17
position Move OSD display position to any one of the following 5 positions within the overall screen. 1 2 3 4 5 Reset Restore LCD monitor to factory settings. Input Select Analog / Digital Auto setting Adjust clock, phase and positions automatically. (Optional) CM Engine Color Management - Westinghouse LCM19V5 | User Manual - Page 18
English Info Menu Function Description Resolution Displays resolution. Horizontal frequency Displays horizontal frequency. Vertical frequency Displays vertical frequency. 16 - Westinghouse LCM19V5 | User Manual - Page 19
English Quick Adjustments You can skip the Menu pages and display an adjustment scale directly by using the following button operations: • Brightness: Press the Brightness button when the Menu is not displayed. • Contrast: Press the Contrast button when the Menu is not displayed. • Auto Setting: - Westinghouse LCM19V5 | User Manual - Page 20
English Display Modes The monitor backlighting can be controlled by using the Turbo button on the control keypad. There are 3 modes: Economy, Text, and Picture. To toggle between these modes, - Westinghouse LCM19V5 | User Manual - Page 21
English Appendix Specifications Item Panel Size Type Optimum Resolution Response Time Contrast Ratio Maximum Brightness Viewing Angles Wall/Arm Mount Physical Input Signal Video Audio Speaker Output Power Voltage Operating Conditions Temperature Humidity Altitude Storage Conditions - Westinghouse LCM19V5 | User Manual - Page 22
English Troubleshooting No Power • Make sure the DC cord is plugged into the back of the LCD monitor. • Make sure the AC power cord is . No Image • Make sure the power button is ON. • Check whether the LCD monitor and computer power cords are plugged in and check the power supply. Power is ON but - Westinghouse LCM19V5 | User Manual - Page 23
English Troubleshooting (cont.) Image is Not Centered (size is not scaled correctly) the LCD monitor. • Use professional installation to reduce the risk of injury and damage. Additional Questions • See our website at www.westinghousedigital.com. • Contact Westinghouse Digital Customer Service at ( - Westinghouse LCM19V5 | User Manual - Page 24
-
 1
1 -
 2
2 -
 3
3 -
 4
4 -
 5
5 -
 6
6 -
 7
7 -
8
-
9
-
10
-
11
-
12
-
13
-
14
-
15
-
16
-
17
-
18
-
19
-
20
-
21
-
22
-
23
-
24
 |
 |