Whirlpool RF263LXTQ Owners Manual - Page 4
Feature Guide - 3 manual
 |
View all Whirlpool RF263LXTQ manuals
Add to My Manuals
Save this manual to your list of manuals |
Page 4 highlights
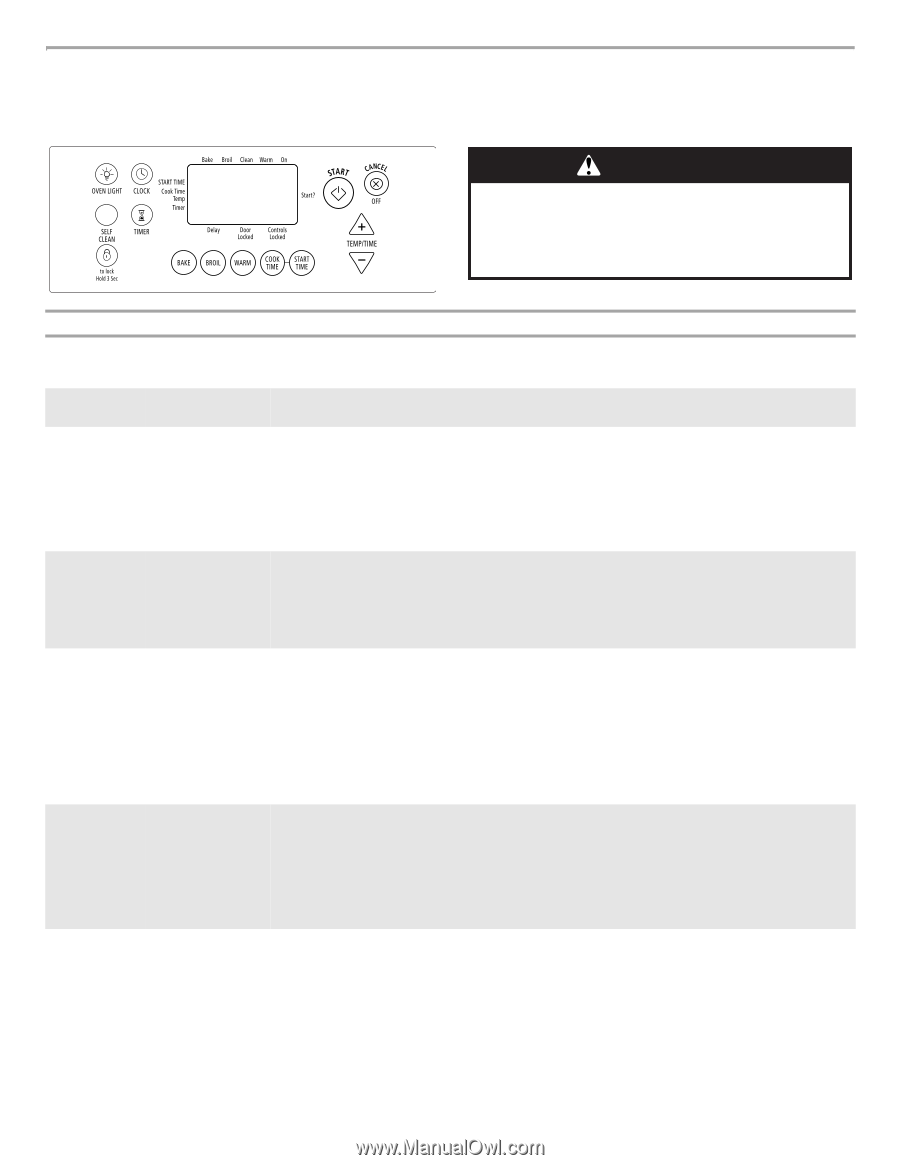
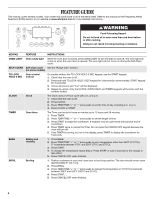
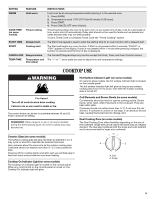
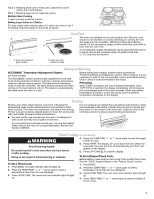
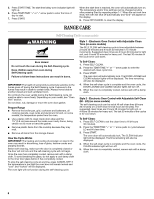
FEATURE GUIDE This manual covers several models. Your model may have some or all of the items listed. Refer to this manual or the Frequently Asked Questions (FAQs) section of our website at www.whirlpool.com for more detailed instructions. WARNING Food Poisoning Hazard Do not let food sit in oven more than one hour before or after cooking. Doing so can result in food poisoning or sickness. KEYPAD FEATURE INSTRUCTIONS OVEN LIGHT Oven cavity light While the oven door is closed, press OVEN LIGHT to turn the light on and off. The oven light will come on when the oven door is opened. The oven light will not come on during the Self-Clean cycle. SELF-CLEAN Self-clean cycle See the "Range Care" section. (on some models) TO LOCK Oven control HOLD 3 SEC lockout On models without the TO LOCK HOLD 3 SEC keypad, use the START keypad. 1. Check that the oven is off. 2. Press and hold TO LOCK HOLD 3 SEC keypad for 3 seconds (on some models, START keypad for 3 seconds). 3. A tone will sound, and "Loc" will be displayed. 4. Repeat to unlock. Only the CLOCK, OVEN LIGHT, and TIMER keypads will function with the controls locked. CLOCK Clock The Clock uses a 12-hour cycle with a.m. and p.m. 1. Check that the oven is off. 2. Press CLOCK. 3. Press TEMP/TIME "+" or "-" arrow pads to set the time of day, including a.m. or p.m. 4. Press CLOCK or START. TIMER Oven timer The Timer can be set in hours or minutes up to 12 hours and 59 minutes. 1. Press TIMER. 2. Press TEMP/TIME "+" or "-" arrow pads to set the length of time. 3. Press START to begin the countdown. If enabled, end-of-cycle tones will sound at end of countdown. 4. Press TIMER twice to cancel the Timer. Do not press the CANCEL/OFF keypad because the oven will turn off. 5. If the TIMER is running, but not in the display, press TIMER to display the countdown for 5 seconds. BAKE Baking and roasting 1. Press BAKE. 2. Press TEMP/TIME "+" or "-" arrow pads to set a temperature other than 350°F (175°C) in 5° increments between 170°F and 525°F (75°C and 275°C). 3. Press START. 4. To change the temperature repeat Step 2. Press START or wait 5 seconds for the change to take effect. 5. Press CANCEL/OFF when finished. BROIL Broiling 1. Position cookware in oven and close door to broil stop position. The door should remain open approximately 5" (12.7 cm). 2. Press BROIL. 3. Press TEMP/TIME "+" or "-" arrow pads to change the temperature in 5°F (5°C) increments between 300°F and 525°F (150°C and 275°C). 4. Press START. 5. Press CANCEL/OFF when finished. 4
-
 1
1 -
 2
2 -
 3
3 -
 4
4 -
 5
5 -
 6
6 -
 7
7 -
 8
8 -
 9
9 -
 10
10 -
11
-
12
 |
 |