Whirlpool WGD5200T Installation Instructions
Whirlpool WGD5200T Manual
 |
View all Whirlpool WGD5200T manuals
Add to My Manuals
Save this manual to your list of manuals |
Whirlpool WGD5200T manual content summary:
- Whirlpool WGD5200T | Installation Instructions - Page 1
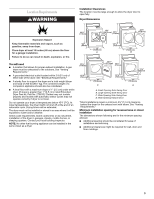
) Table of Contents / Índice DRYER SAFETY 1 INSTALLATION INSTRUCTIONS 2 Tools and Parts 2 Location Requirements 3 Electrical Requirements DRYER SAFETY Your safety and the safety of others are very important. We have provided many important safety messages in this manual and on your appliance - Whirlpool WGD5200T | Installation Instructions - Page 2
used, must not exceed 3 feet. INSTALLATION INSTRUCTIONS Tools and Parts Check that you have everything necessary for correct installation. Proper installation is your responsibility. Parts supplied: Remove parts package from dryer drum. Check that all parts were included. s 8" or 10" pipe wrench - Whirlpool WGD5200T | Installation Instructions - Page 3
to support the dryer and a total weight (dryer and load) of 200 lbs (90.7 kg). The combined weight of a companion appliance should also be considered. s A level floor with a maximum slope of 1" (2.5 cm) under entire dryer. (If slope is greater than 1" [2.5 cm], install Extended Dryer Feet kit, Part - Whirlpool WGD5200T | Installation Instructions - Page 4
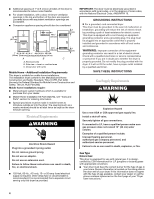
Electrical Code, ANSI/NFPA 70. GROUNDING INSTRUCTIONS s For a grounded, cord-connected dryer: This dryer must be grounded. In the event (33 cm) water column. Examples of a qualified person include: licensed heating personnel, authorized gas company personnel, and authorized service personnel. Failure - Whirlpool WGD5200T | Installation Instructions - Page 5
a qualified technician. No attempt shall be made to convert the appliance from the gas specified on the model/serial rating plate for by calling Whirlpool Parts and Accessories. For more information, see the "Assistance or Service" section of your "Dryer User Instructions." s The dryer exhaust must - Whirlpool WGD5200T | Installation Instructions - Page 6
are available for purchase. Please reference the "Assistance or Service" section of your "Dryer User Instructions." s Over-The-Top Installation: Part Number 4396028 s Periscope Installation (For use with dryer vent to wall vent mismatch): Part Number 4396037 - 0" (0 cm) to 18" (45.72 cm) mismatch - Whirlpool WGD5200T | Installation Instructions - Page 7
to finish turning the legs until the diamond marking is no longer visible. 5. Place a carton corner post under each of the 2 dryer back corners. Stand the dryer up. Slide the dryer on the corner posts until it is close to its final location. Leave enough room to connect the exhaust vent. 6. Once - Whirlpool WGD5200T | Installation Instructions - Page 8
Dryer User Instructions." Level Dryer Check the levelness of the dryer. Check levelness first side to side, then front to back. If the dryer is not level, prop up the dryer in cabinet are in large part of hinge slot. Pull door forward off screws. Set door on top of dryer. Remove top screws from - Whirlpool WGD5200T | Installation Instructions - Page 9
where hinges were just removed. 7. Attach door hinges to door so large part of hinge slot is at bottom of hinge. 10. Remove door strike dryer. 8. Read your "Dryer User Instructions." 9. Wipe the dryer drum interior thoroughly with a damp cloth to remove any dust. 10. Set the dryer on a full heat - Whirlpool WGD5200T | Installation Instructions - Page 10
SEGURIDAD DE LA SECADORA Su seguridad y la seguridad de los demás es muy importante. Hemos incluido muchos mensajes importantes de seguridad en este manual y en su electrodoméstico. Lea y obedezca siempre todos los mensajes de seguridad. Este es el símbolo de advertencia de seguridad. Este símbolo - Whirlpool WGD5200T | Installation Instructions - Page 11
En el estado de Massachusetts se aplican las siguientes instrucciones de instalación: s Las instalaciones y reparaciones se deben efectuar por un contratista, plomero o gasista calificado o licenciado por el estado de Massachusetts. s Si se usa una válvula de bola, debe ser un tipo de manigueta T. s - Whirlpool WGD5200T | Installation Instructions - Page 12
con una puerta, se requieren aberturas de ventilación mínimas en la parte superior e inferior de la puerta. Se aceptan puertas tipo persianas con la seguridad y construcción de casas rodantes, Título 24, HUD Parte 280). Las instalaciones en casas rodantes necesitan: s Herramientas del sistema - Whirlpool WGD5200T | Installation Instructions - Page 13
Requisitos eléctricos ADVERTENCIA Requisitos del suministro de gas ADVERTENCIA Peligro de Choque Eléctrico Conecte a un contacto de pared de conexión a tierra de 3 terminales. No quite el terminal de conexión a tierra. No use un adaptador. No use un cable eléctrico de extensión. No seguir estas - Whirlpool WGD5200T | Installation Instructions - Page 14
incluir una válvula de cierre: Debe instalarse una válvula de cierre individual manual a una distancia de unos seis (6) pies (1,8 m) de la secadora El tubo de gas de la secadora s El tubo de gas que sale por la parte posterior de su secadora tiene una conexión de roscas macho de ³⁄₈". 1¼" (3,2 cm) - Whirlpool WGD5200T | Installation Instructions - Page 15
comprarse en su distribuidor o llamando a Piezas y Accesorios Whirlpool. Para obtener más información tome como referencia la sección ventilación Instalaciones típicas de escape Las instalaciones típicas tienen la ventilación en la parte posterior de la secadora. B C D A E F G B A. Secadora - Whirlpool WGD5200T | Installation Instructions - Page 16
alternas en espacios limitados. Por favor vea los números de servicio ubicados en "Instrucciones para el usuario de la secadora". s Instalación en la parte superior: Pieza número 4396028 s Instalación de periscopio (Para usar si hay desacoplo entre el ducto de escape de la pared y el conducto de - Whirlpool WGD5200T | Installation Instructions - Page 17
ón. 2. Sujete con firmeza el cuerpo de la secadora (no la parte superior o el panel de la consola). Coloque la secadora cuidadosamente el abocinadas. Si se usa tubería flexible de metal, asegúrese que no hay partes retorcidas. NOTA: Para las conexiones de gas L.P., debe usar un pegamento de uni - Whirlpool WGD5200T | Installation Instructions - Page 18
(no extraiga) los tornillos superiores de las bisagras del lado del gabinete. 3. Levante la puerta hasta que los tornillos inferiores del gabinete estén en la parte grande de la ranura de la bisagra. Tire de la puerta hacia adelante para separarla de los tornillos. Coloque la puerta (con el lado de - Whirlpool WGD5200T | Installation Instructions - Page 19
grande de la ranura de la bisagra esté sobre los tornillos. Deslice la puerta hacia arriba para que los tornillos estén en la parte de abajo de las ranuras. Apriete los tornillos. Introduzca y apriete los tornillos superiores en las bisagras. Complete la instalación 1. Revise para cerciorarse de - Whirlpool WGD5200T | Installation Instructions - Page 20
8562582 © 2004. All rights reserved. Todos los derechos reservados. Benton Harbor, Michigan 49022 TM DURASAFE is a trademark of Whirlpool, U.S.A. TM DURASAFE es una marca de comercio de Whirlpool, EE.UU. 4/04 Printed in U.S.A. Impreso en EE.UU.
-
 1
1 -
 2
2 -
 3
3 -
 4
4 -
 5
5 -
 6
6 -
 7
7 -
8
-
9
-
10
-
11
-
12
-
13
-
14
-
15
-
16
-
17
-
18
-
19
-
20
 |
 |
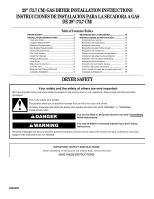
29" (73.7 CM) GAS DRYER INSTALLATION INSTRUCTIONS
INSTRUCCIONES DE INSTALACIÓN PARA LA SECADORA A GAS
DE 29" (73,7 CM)
DRYER SAFETY
Table of Contents / Índice
DRYER SAFETY
.........................................................
1
INSTALLATION INSTRUCTIONS
.............................
2
Tools and Parts
.......................................................
2
Location Requirements
..........................................
3
Electrical Requirements
..........................................
4
Gas Supply Requirements
......................................
4
Venting Requirements
.............................................
5
Plan Vent System
....................................................
6
Install Vent System
.................................................
7
Install Leveling Legs
................................................
7
Level Dryer
..............................................................
8
Make Gas Connection
............................................
8
Connect Vent
..........................................................
8
Reverse Door Swing (Optional)
...............................
8
Complete Installation
..............................................
9
SEGURIDAD DE LA SECADORA
...........................
10
INSTRUCCIONES DE INSTALACIÓN
....................
11
Herramientas y piezas
..........................................
11
Requisitos de localización
...................................
11
Requisitos eléctricos
............................................
13
Requisitos del suministro de gas
.........................
13
Requisitos de ventilación
......................................
15
Planificación del sistema de ventilación
..............
15
Instalación del sistema de ventilación
..................
17
Instalación de las patas niveladoras
....................
17
Nivelación de la secadora
....................................
17
Conexión del suministro de gas
...........................
17
Conexión del ducto de escape
............................
18
Cómo invertir el cierre de la puerta (opcional)
.....
18
Complete la instalación
........................................
19
8562582
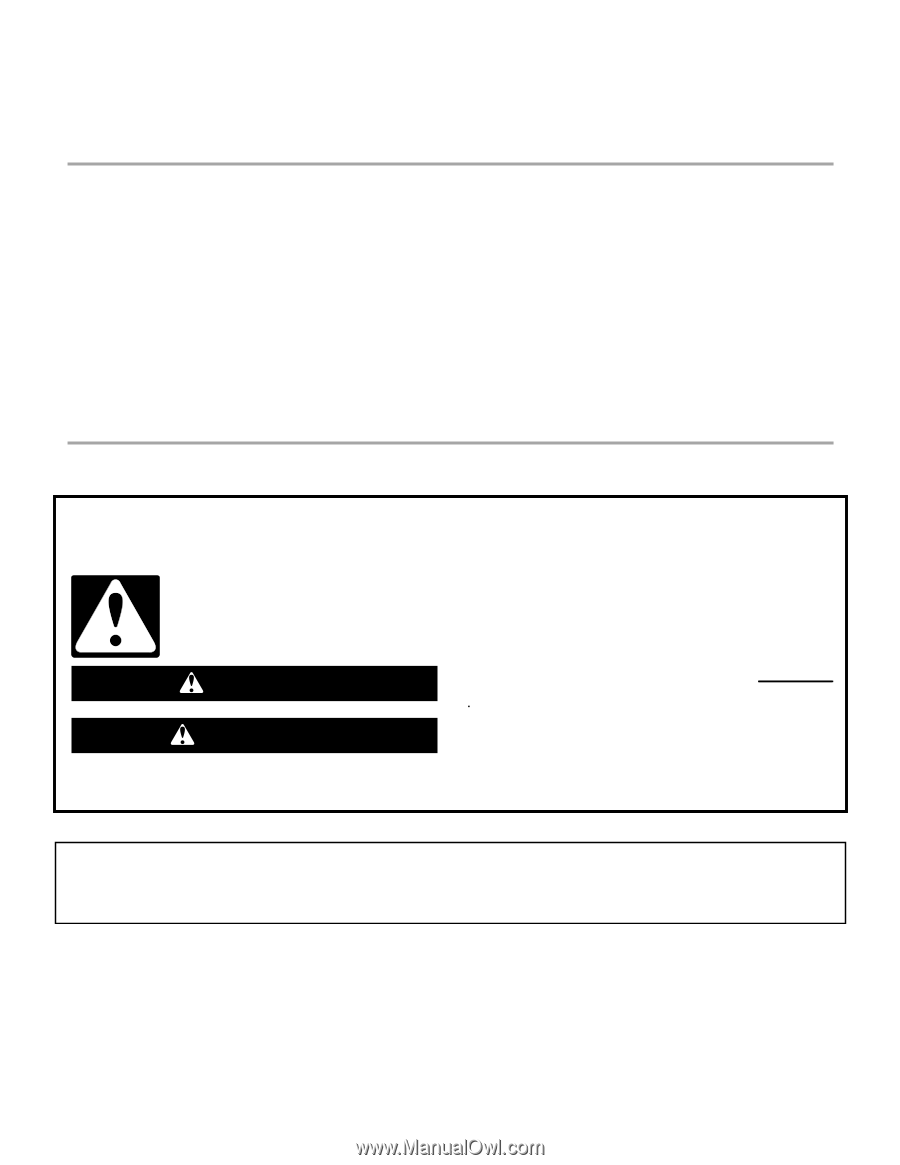
You can be killed or seriously injured if you don't immediately
You can be killed or seriously injured if you don't follow
All safety messages will tell you what the potential hazard is, tell you how to reduce the chance of injury, and tell you what can
happen if the instructions are not followed.
Your safety and the safety of others are very important.
We have provided many important safety messages in this manual and on your appliance. Always read and obey all safety
messages.
This is the safety alert symbol.
This symbol alerts you to potential hazards that can kill or hurt you and others.
All safety messages will follow the safety alert symbol and either the word “DANGER” or “WARNING.”
These words mean:
follow instructions.
instructions.
DANGER
WARNING
IMPORTANT SAFETY INSTRUCTIONS
When discarding or storing your old clothes dryer, remove the door.
SAVE THESE INSTRUCTIONS