Whirlpool WSR57R18D Instruction Sheet
Whirlpool WSR57R18D Manual
 |
View all Whirlpool WSR57R18D manuals
Add to My Manuals
Save this manual to your list of manuals |
Whirlpool WSR57R18D manual content summary:
- Whirlpool WSR57R18D | Instruction Sheet - Page 1
1 Orientation Clip 1 U-shaped Clip 1 Electronic Control 1 Instruction Sheet Tools Needed: ¼" Nut Driver Phillips Screwdriver Wire Cutter Inspection Mirror WARNING Electrical Shock Hazard Disconnect power before servicing. Replace all parts and panels before operating. Failure to do - Whirlpool WSR57R18D | Instruction Sheet - Page 2
7. Install the new harness from the service kit and connect it to the panel mount connector an extension cord. Failure to follow these instructions can result in death, fire, or electrical shock. 20. Plug in refrigerator or reconnect power. © Whirlpool Corporation 2014 ( All Rights Reserved) - - Whirlpool WSR57R18D | Instruction Sheet - Page 3
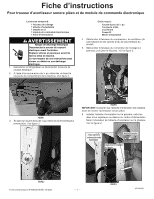
de courant électrique avant l'entretien. Replacer pièces et panneaux avant de faire la mise en marche. Le non-respect de ces instructions peut causer un décès ou une décharge électrique. 1. Débrancher le réfrigérateur ou déconnecter la source de courant électrique. 2. À l'aide d'un tourne-écrou - Whirlpool WSR57R18D | Instruction Sheet - Page 4
ée à la terre. Ne pas enlever la prise de liaison à la terre. Ne pas utiliser d'adaptateur. Ne pas utiliser de rallonge. Le non-respect de ces instructions peut causer un décès, un incendie ou une décharge électrique. 20. Brancher le réfrigérateur ou reconnecter la source de courant électrique - Whirlpool WSR57R18D | Instruction Sheet - Page 5
Hoja de instrucciones Para timbre Piezo y juego de control electrónico El juego contiene: 1 mazo de cables 1 clip de orientación 1 clip en forma de "U" 1 control electrónico 1 hoja de instrucciones Herramientas necesarias: Llave de tuercas de ¼" Destornillador Phillips Tenaza Espejo de inspección - Whirlpool WSR57R18D | Instruction Sheet - Page 6
un cable de extensión. No seguir estas instrucciones puede ocasionar la muerte, incendio o choque eléctrico. 20. Enchufe el refrigerador o reconecte el suministro de energía. © Whirlpool Corporation 2014 (Todos los derechos reservados) - 2 - W10812019 B
-
 1
1 -
 2
2 -
 3
3 -
 4
4 -
 5
5 -
 6
6
 |
 |
Instruction Sheet
For Piezo Buzzer and
Electronic Control
Kit
— 1 —
Instruction Sheet W10812019
Rev.
B
8/24
(continued)
Kit Contains:
1
Wire Harness
1
Orientation Clip
1
U-shaped Clip
1
Electronic Control
1
Instruction Sheet
Tools Needed:
¼” Nut Driver
Phillips Screwdriver
Wire Cutter
Inspection Mirror
1.
Unplug refrigerator or disconnect power.
2.
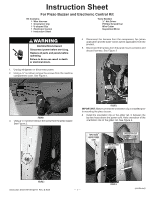
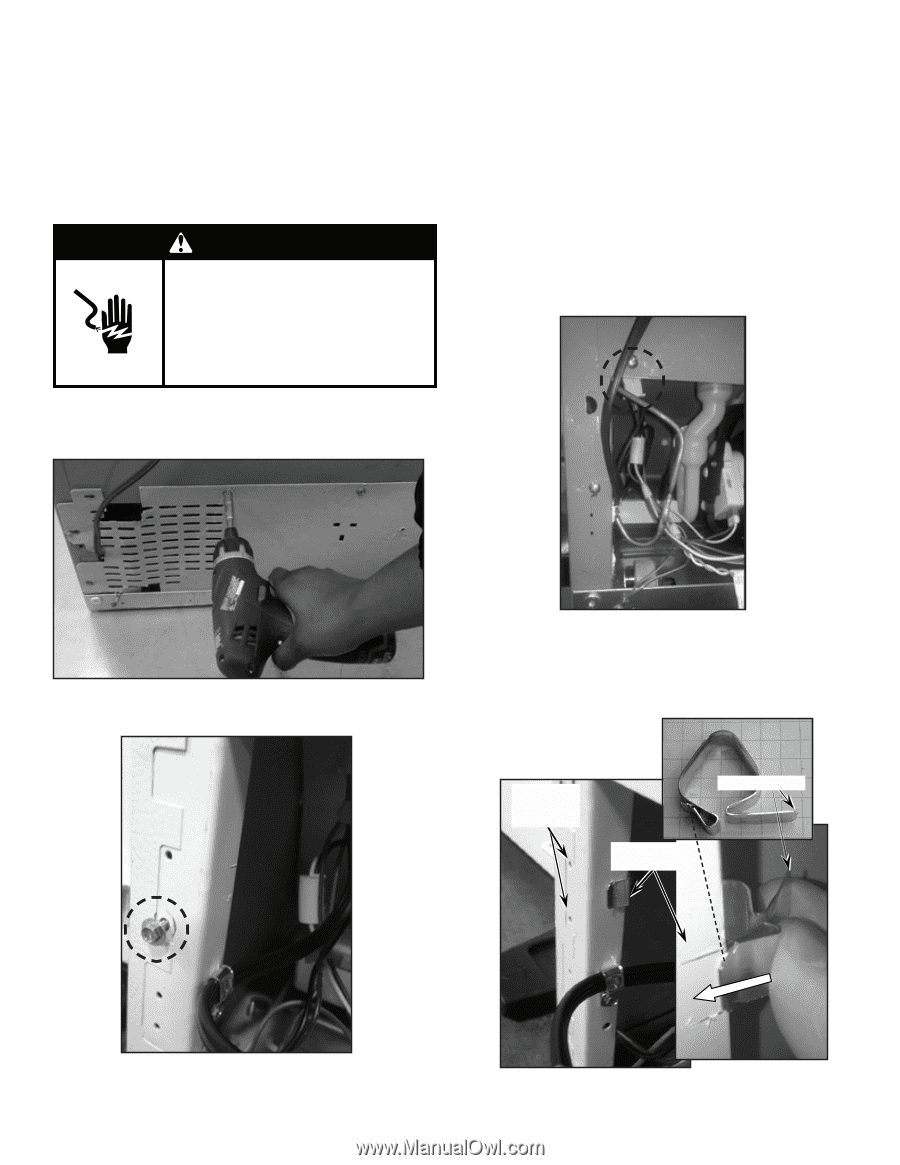
Using a ¼” nut driver remove the screws from the machine
compartment cover. See
Figure 1.
4.
Disconnect the harness from the compressor, fan (when
applicable) and the water valves (when applicable) from the
product.
5.
Disconnect the harness from the panel mount connector and
discard harness. See
Figure 3.
IMPORTANT:
Make sure that the orientation clip is installed prior
to mounting the piezo buzzer.
6.
Install the orientation clip on the glider rail, in between the
top two holes above the power cord. Note orientation of the
orientation clip on the glider rail. See
Figure 4.
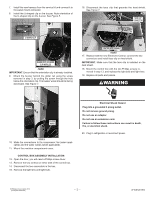
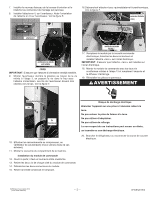
WARNING
Electrical Shock Hazard
Disconnect power before servicing.
Failure to do so can result in death
or electrical shock.
Replace all parts and panels before
operating.
3.
Using a ¼” nut driver remove the screw from the piezo buzzer.
See
Figure 2.
FIGURE 1
FIGURE 2
FIGURE 3
FIGURE 4
CLIP INSTALLATION
LOCATION
TOP 2 HOLES
ABOVE POWER
CORD
ORIENTATION CLIP