Xerox 3635MFP Systems Administrator Guide - Page 76
Optional Step: Con the Default Template, Setting up the Default Template - service manual
 |
UPC - 095205741049
View all Xerox 3635MFP manuals
Add to My Manuals
Save this manual to your list of manuals |
Page 76 highlights
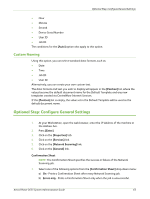
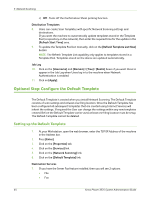
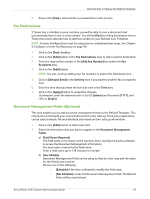
5 Network Scanning c) Off - Turns off the Confirmation Sheet printing function. Distribution Templates 8. Users can create Scan Templates with specific Network Scanning settings and destinations. If you want the machine to automatically update templates stored in the Template Pool (a repository on the network), then enter the required time for the update in the [Refresh Start Time] area. 9. To update the Template Pool List manually, click on the [Refresh Template List Now] button. NOTE: The Refresh Template List capability only applies to templates stored in a Template Pool. Templates stored on the device are updated automatically. Job Log 10. Click on the [Username] and [Domain] / [Tree] / [Realm] boxes if you want these to appear in the Job Log when Users log in to the machine when Network Authentication is enabled. 11. Click on [Apply]. Optional Step: Configure the Default Template The Default Template is created when you install Network Scanning. The Default Template consists of scan settings and at least one filing location. Once the Default Template has been configured all subsequent templates that are created using Internet Services will inherit the settings. If required the User can change the settings within any new templates created. Before the Default Template can be used, at least one filing location must be setup. The Default Template cannot be deleted. Setting up the Default Template 1. At your Workstation, open the web browser, enter the TCP/IP Address of the machine in the Address bar. 2. Press [Enter]. 3. Click on the [Properties] tab. 4. Click on the [Services] link. 5. Click on the [Network Scanning] link. 6. Click on the [Default Template] link. Destination Services 7. If you have the Server Fax feature installed, then you will see 2 options: • File • Fax 64 Xerox Phaser 3635 System Administration Guide
-
 1
1 -
2
-
3
-
4
-
5
-
6
-
7
-
8
-
9
-
10
-
11
-
12
-
13
-
14
-
15
-
16
-
17
-
18
-
19
-
20
-
21
-
22
-
23
-
24
-
25
-
26
-
27
-
28
-
29
-
30
-
31
-
32
-
33
-
34
-
35
-
36
-
37
-
38
-
39
-
40
-
41
-
42
-
43
-
44
-
45
-
46
-
47
-
48
-
49
-
50
-
51
-
52
-
53
-
54
-
55
-
56
-
57
-
58
-
59
-
60
-
61
-
62
-
63
-
64
-
65
-
66
-
67
-
68
-
69
-
70
-
 71
71 -
 72
72 -
 73
73 -
 74
74 -
 75
75 -
 76
76 -
 77
77 -
 78
78 -
 79
79 -
 80
80 -
 81
81 -
82
-
83
-
84
-
85
-
86
-
87
-
88
-
89
-
90
-
91
-
92
-
93
-
94
-
95
-
96
-
97
-
98
-
99
-
100
-
101
-
102
-
103
-
104
-
105
-
106
-
107
-
108
-
109
-
110
-
111
-
112
-
113
-
114
-
115
-
116
-
117
-
118
-
119
-
120
-
121
-
122
-
123
-
124
-
125
-
126
-
127
-
128
-
129
-
130
-
131
-
132
-
133
-
134
-
135
-
136
-
137
-
138
-
139
-
140
-
141
-
142
-
143
-
144
-
145
-
146
-
147
-
148
-
149
-
150
-
151
-
152
-
153
-
154
-
155
-
156
-
157
-
158
-
159
-
160
-
161
-
162
-
163
-
164
-
165
-
166
-
167
-
168
-
169
-
170
-
171
-
172
-
173
-
174
-
175
-
176
-
177
-
178
-
179
-
180
-
181
-
182
-
183
-
184
-
185
-
186
-
187
-
188
-
189
-
190
-
191
-
192
-
193
-
194
-
195
-
196
-
197
-
198
-
199
-
200
-
201
-
202
-
203
-
204
-
205
-
206
-
207
-
208
-
209
-
210
-
211
-
212
 |
 |
