Yamaha CVP-85A Owner's Manual - Page 41
The Chord Sequence Function
 |
View all Yamaha CVP-85A manuals
Add to My Manuals
Save this manual to your list of manuals |
Page 41 highlights
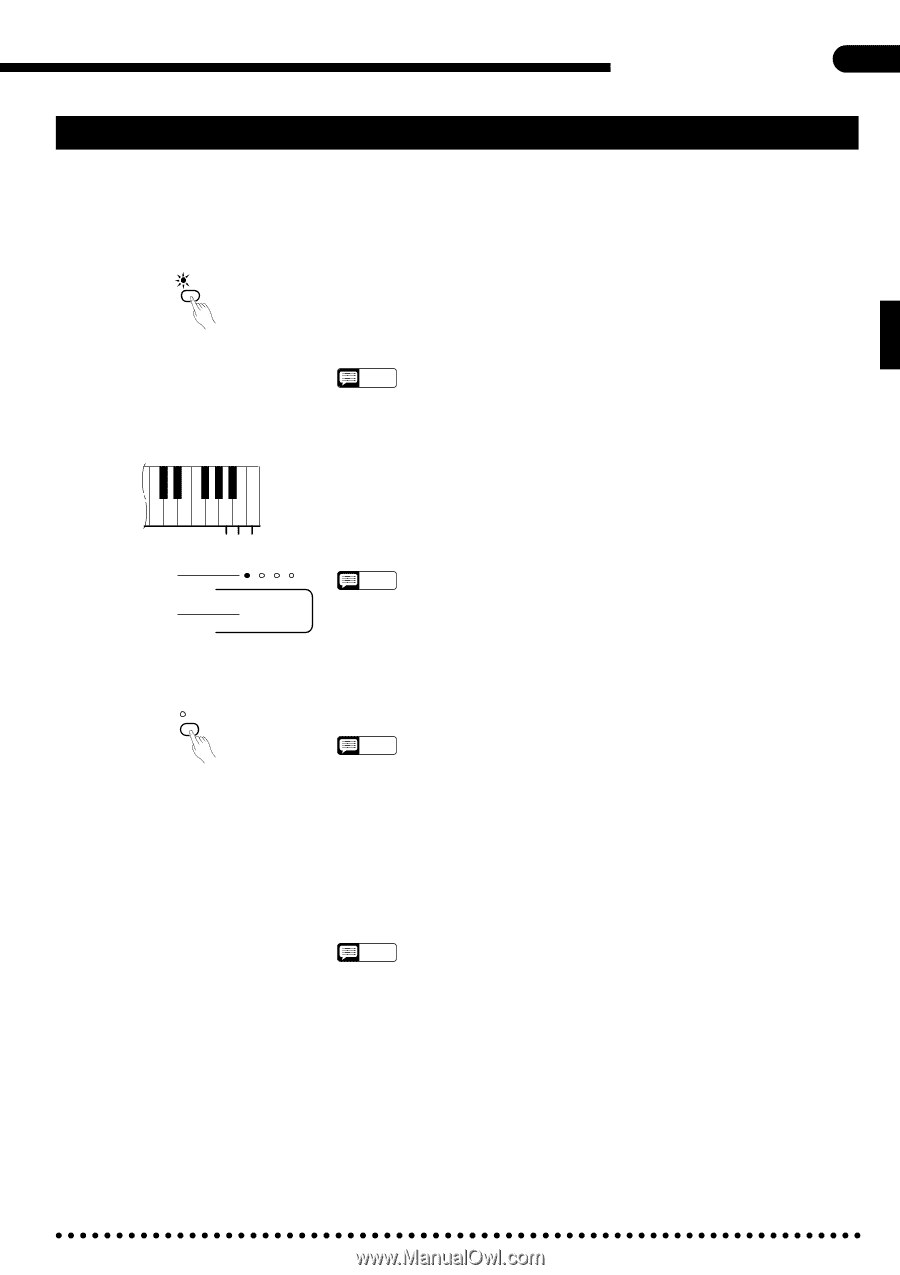
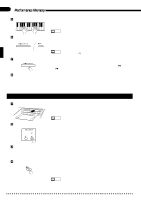
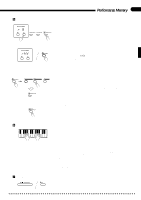
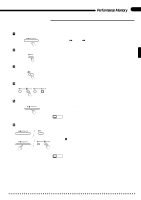
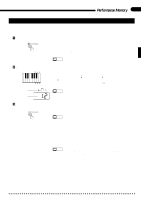
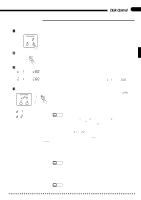
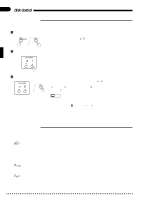
Performance Memory 37 The Chord Sequence Function The CHORD SEQUENCE function provides a convenient way to enter chord sequences and style changes one at a time. ZEngage the Chord Sequence Function CHORD SEQUENCE Press the [CHORD SEQUENCE] button. The [ORCH/3-10TR] and [RHYTHM] track button indicators will glow red, and the ABC FINGERED mode will be automatically selected - switch to the SINGLE FINGER mode if you prefer. If the SINGLE FINGER mode was already selected it will remain engaged. NOTES • The chord sequence data will replace any previous ABC data. XEnter the Chords and/or Style Changes Beat Measure number ? qw A6 B6 C7 BEAT 12 Make the required style changes (style number, normal/variation, fill-in, intro/ ending, and tempo, as necessary), play and hold a chord on the left-hand section of the keyboard, and press the [q] key (look for the "q" symbol above the B6 key) or the [w] key (C7) to enter the chord for a quarter note or whole note, respectively. You can move one beat backward by pressing the [?] key (A6). Continue entering chords in this manner until your sequence is complete. NOTES • The number of the measure to be entered is shown on the TEMPO display, while the beat to be entered is shown on the BEAT display. • If no chords are entered, the result will be a rhythm-only sequence. CStop Recording ... CHORD SEQUENCE When all the required chords and style changes have been entered, press the [CHORD SEQUENCE] button to stop recording. NOTES • The chord sequence data now resides in Performance Memory tracks 3 though 10 and 15, and can be played back in the normal way. Add melody tracks 1 and 2 as required. You can also record over individual tracks of the sequence and replace them with original material if you like by using the standard Performance Memory track selection and record procedure. q Punch-in Chord Sequence Recording You can begin chord sequence recording from any point within a previouslyrecorded song by pausing playback at the point you want to begin chord sequence recording, engaging the Chord Sequence function at that point, and entering the chords up to the end of the sequence as described above. NOTES • If you attempt punch-in chord sequence recording on a song in which no chord sequence data has been entered, "no" will appear on the SONG NUMBER display and the recording will not be possible. • If you record chord sequences to all songs on a disk, the maximum number of songs available on that disk will be 55.
-
 1
1 -
2
-
3
-
4
-
5
-
6
-
7
-
8
-
9
-
10
-
11
-
12
-
13
-
14
-
15
-
16
-
17
-
18
-
19
-
20
-
21
-
22
-
23
-
24
-
25
-
26
-
27
-
28
-
29
-
30
-
31
-
32
-
33
-
34
-
35
-
 36
36 -
 37
37 -
 38
38 -
 39
39 -
 40
40 -
 41
41 -
 42
42 -
 43
43 -
 44
44 -
 45
45 -
 46
46 -
47
-
48
-
49
-
50
-
51
-
52
-
53
-
54
-
55
-
56
-
57
-
58
-
59
-
60
-
61
-
62
-
63
-
64
-
65
-
66
-
67
-
68
-
69
-
70
-
71
-
72
-
73
-
74
-
75
-
76
 |
 |