Yamaha DSP-A2 Owner's Manual - Page 33
English, If the function 1A. CENTER SP in the SET MENU mode
 |
View all Yamaha DSP-A2 manuals
Add to My Manuals
Save this manual to your list of manuals |
Page 33 highlights
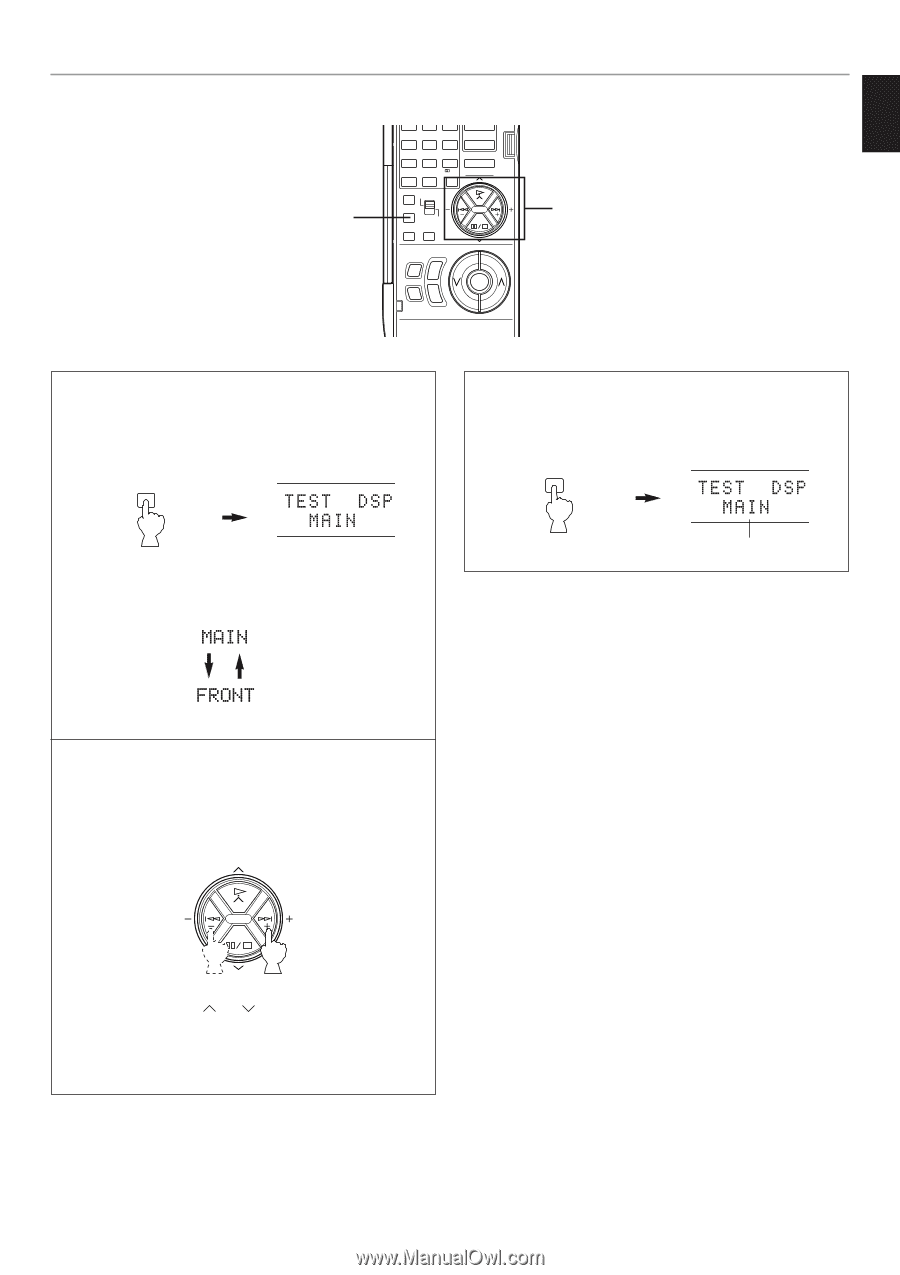
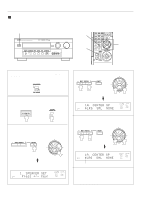
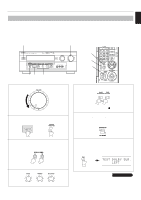
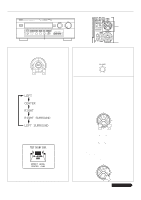
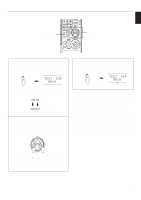
English 11, 13 1 2 3 JAZZ ROCK ENTER- CLUB CONCERT TAINMENT 4 5 6 CONCERT TV STADIUM VIDEO THEATER 7 8 9 MOVIE MOVIE / DTS THEATER 1 THEATER 2 SURROUND 10 11 12 LEVEL PARAMETER PHONO EXT. DEC. EFFECT ON/OFF TEST SET MENU SLEEP ON SCREEN SYSTEM POWER ON TV MASTER VOLUME MUTE VCR STANDBY 12 PREPARATION 11 For the front effect speaker level adjustment, press the TEST key on the remote controller again so that "TEST DSP" appears on the display. Remote control TEST A calibration signal should be heard from the main speakers and the front effect speakers in turn. Main Front effect 12 Adjust the front effect speaker level by pressing the + or - key so that it becomes almost the same as the main speakers. * While adjusting, the test tone is fixed on the front effect speaker. Remote control 13 When the adjustment is finished, press the TEST key once again to cancel the test tone. Remote control TEST Disappears Notes q Once you have completed these adjustments, you can adjust the sound level on your audio system by using the VOLUME control (or the MASTER VOLUME keys on the remote controller) only. q If you use external power amplifiers, you may also use their volume controls to obtain proper balance. q If the function "1A. CENTER SP" in the SET MENU mode is set in the "NONE" position, in step 10, the sound output level of the center speaker cannot be adjusted. This is because in this mode, the center sound is automatically output from the left and right main speakers. q If there is insufficient sound output from the center and rear speakers, you may decrease the main speaker output level by setting the function "1F. MAIN LEVEL" in the SET MENU mode in the "-10dB" position. * Pressing the or key makes the test tone fix on the left front effect speaker and the right front effect speaker respectively. This is helpful for you to check that each speaker is correctly connected to this unit. 31
-
 1
1 -
2
-
3
-
4
-
5
-
6
-
7
-
8
-
9
-
10
-
11
-
12
-
13
-
14
-
15
-
16
-
17
-
18
-
19
-
20
-
21
-
22
-
23
-
24
-
25
-
26
-
27
-
 28
28 -
 29
29 -
 30
30 -
 31
31 -
 32
32 -
 33
33 -
 34
34 -
 35
35 -
 36
36 -
 37
37 -
 38
38 -
39
-
40
-
41
-
42
-
43
-
44
-
45
-
46
-
47
-
48
-
49
-
50
-
51
-
52
-
53
-
54
-
55
-
56
-
57
-
58
-
59
-
60
-
61
-
62
-
63
-
64
-
65
-
66
-
67
-
68
-
69
-
70
-
71
-
72
-
73
-
74
-
75
-
76
-
77
-
78
 |
 |