Yamaha HTR-4065 Owners Manual - Page 81
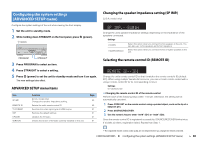
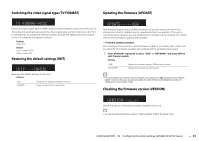
Switching the video signal type (TV FORMAT, Restoring the default settings (INIT) - network update
 |
View all Yamaha HTR-4065 manuals
Add to My Manuals
Save this manual to your list of manuals |
Page 81 highlights
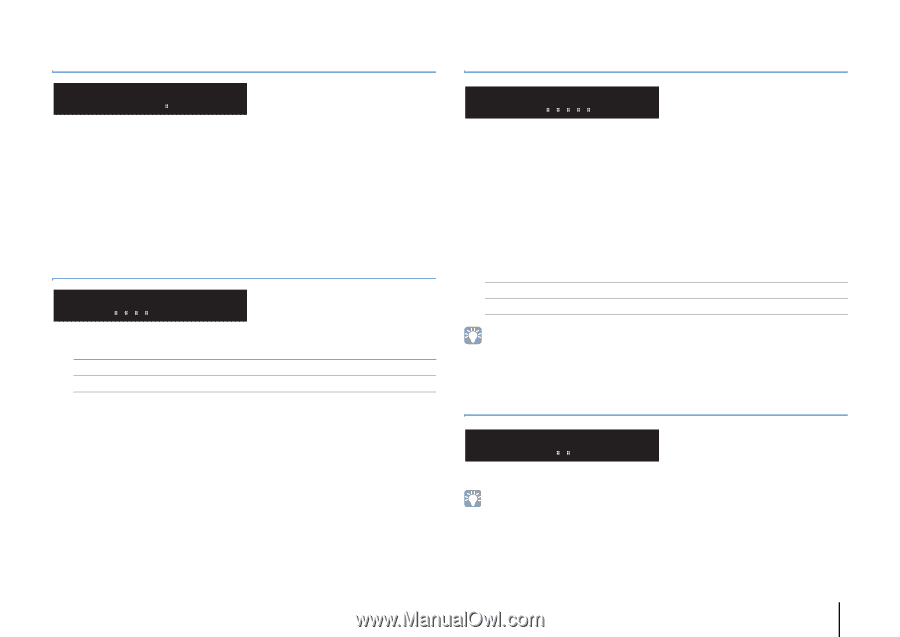
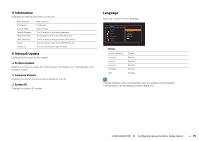
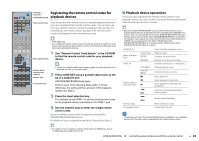
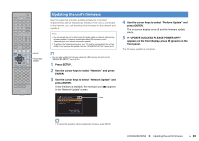
Switching the video signal type (TV FORMAT) Updating the firmware (UPDATE) TV FORMAT NTSC Switch the video signal type of HDMI output so that it matches to the format of your TV. Since the unit automatically selects the video signal type so that it matches to the TV, it is unnecessary to change the setting normally. Change the setting only when images on the TV screen do not appear correctly. Settings NTSC, PAL Default U.S.A. model: NTSC Other models: PAL Restoring the default settings (INIT) INIT CANCEL Restores the default settings for the unit. Choices ALL CANCEL Restores the default settings for the unit. Does not perform an initialization. UPDATE USB New firmware that provides additional features or product improvements will be released as needed. Updates can be downloaded from our website. If the unit is connected to the Internet, you can download the firmware via the network. For details, refer to the information supplied with updates. ■ Firmware update procedure Do not perform this procedure unless firmware update is necessary. Also, make sure you read the information supplied with updates before updating the firmware. 1 Press STRAIGHT repeatedly to select "USB" or "NETWORK" and press INFO to start firmware update. Choices USB NETWORK Update the firmware using a USB memory device. Update the firmware via the network. • If the unit detects newer firmware over the network, the envelope icon (p) will appear in the "Network Update" screen. In this case, you can also update the unit's firmware by following the procedure in "Updating the unit's firmware" (p.85). Checking the firmware version (VERSION) VERSION xx.xx Check the version of firmware currently installed on the unit. • You can also check the firmware version in "Network Update" (p.79) in the "Setup" menu. CONFIGURATIONS ➤ Configuring the system settings (ADVANCED SETUP menu) En 81
-
 1
1 -
2
-
3
-
4
-
5
-
6
-
7
-
8
-
9
-
10
-
11
-
12
-
13
-
14
-
15
-
16
-
17
-
18
-
19
-
20
-
21
-
22
-
23
-
24
-
25
-
26
-
27
-
28
-
29
-
30
-
31
-
32
-
33
-
34
-
35
-
36
-
37
-
38
-
39
-
40
-
41
-
42
-
43
-
44
-
45
-
46
-
47
-
48
-
49
-
50
-
51
-
52
-
53
-
54
-
55
-
56
-
57
-
58
-
59
-
60
-
61
-
62
-
63
-
64
-
65
-
66
-
67
-
68
-
69
-
70
-
71
-
72
-
73
-
74
-
75
-
 76
76 -
 77
77 -
 78
78 -
 79
79 -
 80
80 -
 81
81 -
 82
82 -
 83
83 -
 84
84 -
 85
85 -
 86
86 -
87
-
88
-
89
-
90
-
91
-
92
-
93
-
94
-
95
-
96
-
97
-
98
-
99
-
100
-
101
-
102
-
103
-
104
-
105
-
106
-
107
-
108
-
109
-
110
-
111
-
112
-
113
-
114
-
115
-
116
-
117
-
118
-
119
-
120
-
121
-
122
-
123
-
124
 |
 |