Yamaha HTR-5280 Owner's Manual - Page 29
To mute the sound, When you have finished using, this unit, Notes on the digital signal - support
 |
UPC - 072874307073
View all Yamaha HTR-5280 manuals
Add to My Manuals
Save this manual to your list of manuals |
Page 29 highlights
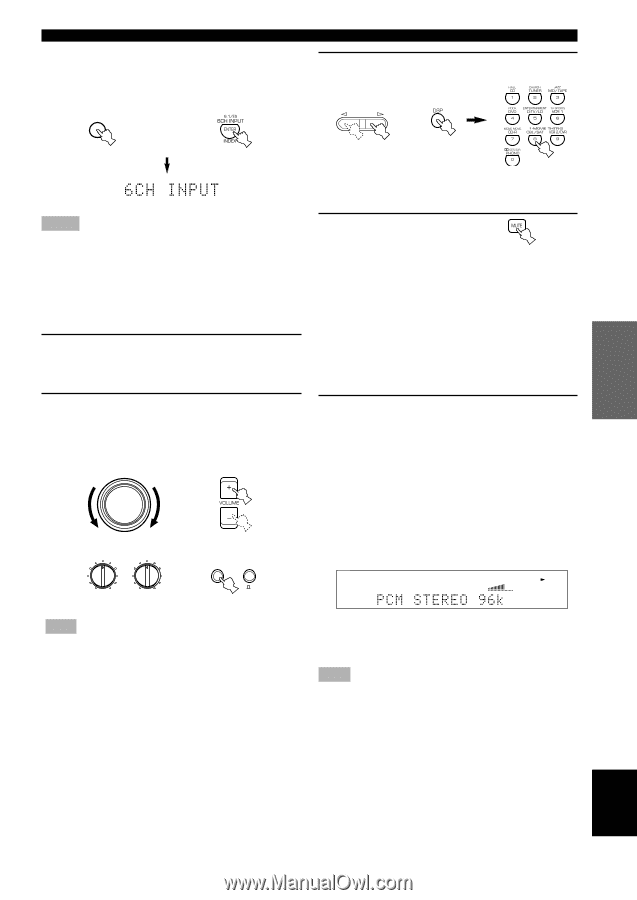
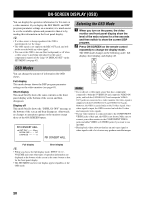
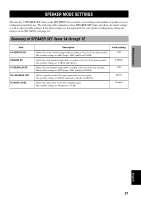
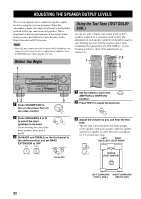
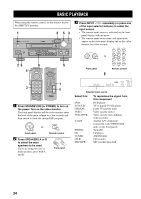
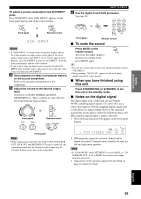
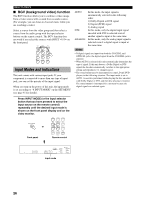
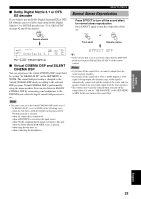
INTRODUCTION PREPARATION BASIC OPERATION To select a source connected to the 6CH INPUT jacks Press 6CH INPUT until "6CH INPUT" appears on the front panel display and on the video monitor. 6CH INPUT or Front panel Remote control Notes • If "6CH INPUT" is shown on the front panel display and on the video monitor, no other source can be played. To select another input source with INPUT l / h (or the input selector buttons), press 6CH INPUT to turn off "6CH INPUT" from the front panel display and the video monitor. • If you want to enjoy an audio source connected to the 6CH INPUT jacks together with a video source, first select the video source and then press 6CH INPUT. 4 Start playback (or select a broadcast station) on the source component. Refer to the operation instructions for the component. 5 Adjust the volume to the desired output level. If desired, use BASS, TREBLE and BASS EXTENSION etc. These controls are only effective for sound from the main speakers. VOLUME or Front panel BASS TREBLE Remote control BASS PROCESSOR EXTENSION DIRECT - +- + ON OFF Front panel Note • If the component connected to the VCR 1 OUT, VCR 2/DVR OUT, CD-R OUT and MD/TAPE OUT jacks is turned off, the reproduced sound may be distorted or the volume may be lowered. In these cases, turn on the component. BASIC PLAYBACK 6 Use the digital sound field processor. See page 28. PROGRAM or Front panel Remote control I To mute the sound Press MUTE on the remote control. To restore the audio output to the previous volume level, press MUTE again. y • You can also cancel mute to press any operation buttons such as VOLUME +/-. • During muting, "MUTE ON" appears on the front panel display and on the video monitor. I When you have finished using this unit Press STANDBY/ON (or STANDBY) to set this unit in the standby mode. I Notes on the digital signal The digital input jacks of this unit can also handle 96-kHz sampling digital signals. (To utilize this, use a source that supports 96-kHz sampling digital signals and set the player for digital output. Refer to the operation instructions for the player.) Note the following when a 96kHz sampling digital signal is input to this unit: 1. The following indication will appear on the front panel display. VIRTUAL DIGITAL PRO LOGIC DSP 6.1/ES SP PCM AB DTS MOVIE THEATER 1 2 PS PTY RT CT PTY HOLD EON STEREO AUTO DOLBY DIGITAL NEWS INFO AFFAIRS SPORT ZONE 2 PRO LOGIC ENTERTAINMENT MEMORY TUNED SLEEP VOLUME dB ms D-TV/LD CBL/SAT VCR 1 VCR2/DVR V-AUX DVD MD/TAPE CD-R TUNER CD PHONO 2. DSP programs cannot be selected. Sound will be output as normal 2-channel stereo sound from only the left and right main speakers. Note • If "1B MAIN SP" on the SET MENU is set to SMALL or "1D LFE/BASS OUT" is set to BOTH, the sound is also output from the subwoofer. 3. Adjustment of the speaker output level described on page 44 cannot be made. ADVANCED OPERATION ADDITIONAL INFORMATION APPENDIX English 25
-
 1
1 -
2
-
3
-
4
-
5
-
6
-
7
-
8
-
9
-
10
-
11
-
12
-
13
-
14
-
15
-
16
-
17
-
18
-
19
-
20
-
21
-
22
-
23
-
 24
24 -
 25
25 -
 26
26 -
 27
27 -
 28
28 -
 29
29 -
 30
30 -
 31
31 -
 32
32 -
 33
33 -
 34
34 -
35
-
36
-
37
-
38
-
39
-
40
-
41
-
42
-
43
-
44
-
45
-
46
-
47
-
48
-
49
-
50
-
51
-
52
-
53
-
54
-
55
-
56
-
57
-
58
-
59
-
60
-
61
-
62
-
63
-
64
-
65
-
66
-
67
-
68
-
69
-
70
-
71
-
72
-
73
-
74
-
75
-
76
-
77
-
78
 |
 |