Yamaha HTR 6230 Owner's Manual - Page 20
Basic setup
 |
UPC - 027108933054
View all Yamaha HTR 6230 manuals
Add to My Manuals
Save this manual to your list of manuals |
Page 20 highlights
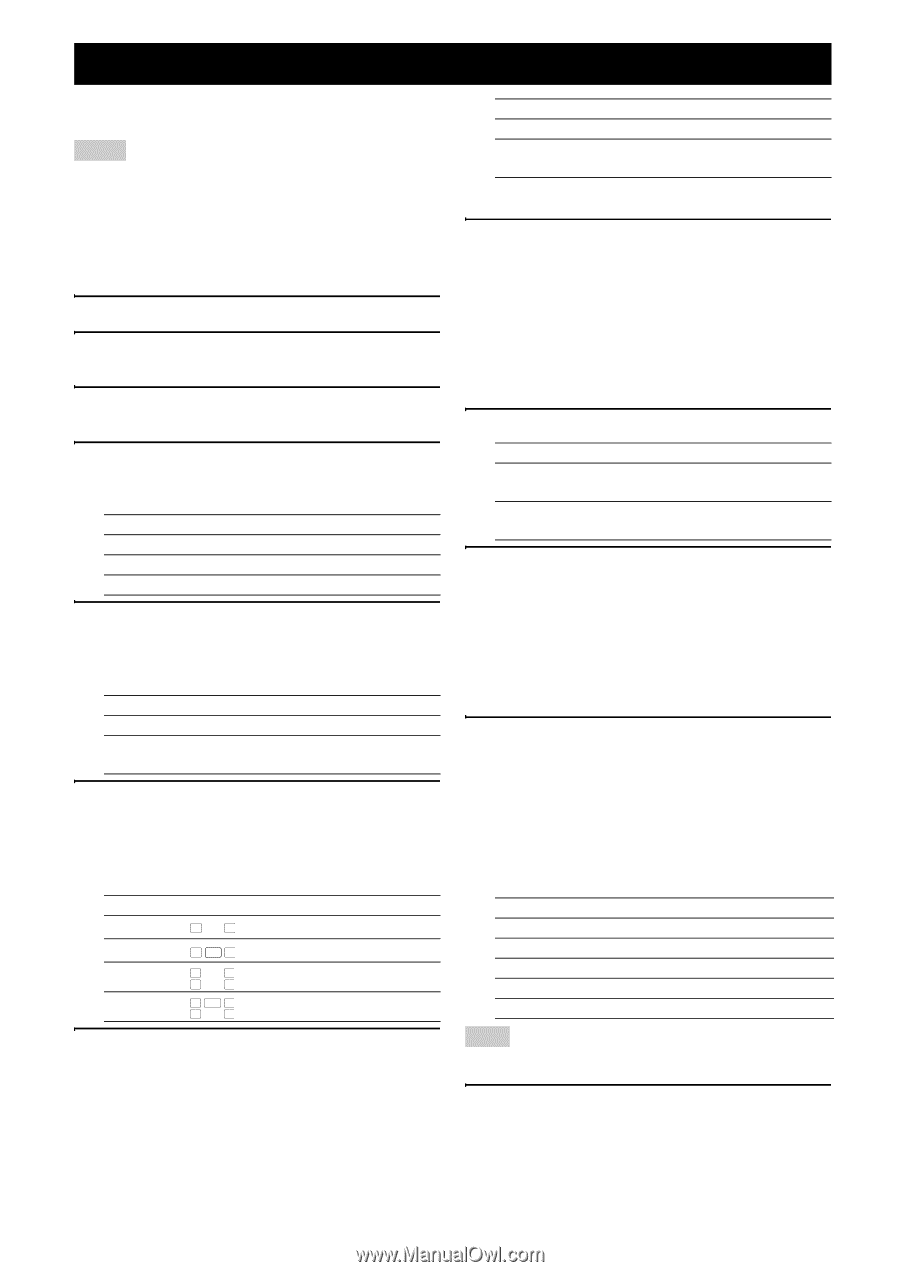
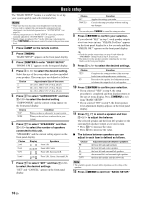
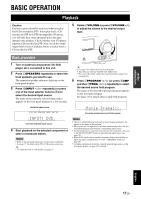
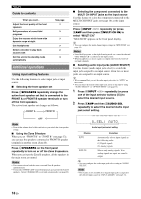
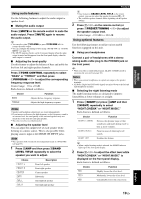
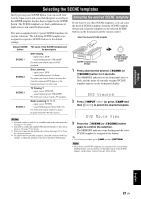
Basic setup The "BASIC SETUP" feature is a useful way to set up your system quickly and with minimal effort. Notes • Make sure that you disconnect your headphones from this unit. • If you wish to configure this unit manually using more precise adjustments, use the detailed parameters in "SOUND MENU" (see page 32). • Altering any parameters in "BASIC SETUP" resets all parameters manually adjusted in "SOUND MENU" (see page 32). • Initial settings are indicated by (*) in the following each parameters. • Press nRETURN on the remote control to return to the previous menu level. 1 Press hAMP on the remote control. 2 Press kMENU. "BASIC SETUP" appears on the front panel display. 3 Press lENTER to enter "BASIC SETUP." "ROOM: S M L" appears on the front panel display. 4 Press ll / h to select the desired setting. Select the size of the room where you have installed your speakers. The room sizes are defined as follows: Choice S M* L Approximate Size of the room 16 x 13 ft, 200 ft2 (4.8 x 4.0 m, 20 m2) 20 x 16 ft, 300 ft2 (6.3 x 5.0 m, 30 m2) 26 x 19 ft, 450 ft2 (7.9 x 5.8 m, 45 m2) 5 Press ln to select "SUBWOOFER" and then ll / h to select the desired setting. "SUBWOOFER" and the current setting appear on the front panel display. Choice YES* NONE Condition When you have a subwoofer in your system. When you do not have a subwoofer in your system. 6 Press ln to select "SPEAKERS" and then ll / h to select the number of speakers connected to this unit. "SPEAKERS" and the current setting appear on the front panel display. Choice 2spk 3spk 4spk 5spk* Display L R L CR L R SL SR L CR SL SR Speakers Front L/R Front L/R Center Front L/R, Surround L/R Front L/R, Center, Surround L/R 7 Press ln to select "SET" and then ll / h to select the desired settings. "SET" and "CANCEL" appear on the front panel display. Choice Function SET Applies the settings you made. CANCEL* Cancels the setup procedure without making any changes. y • You can also press kMENU to cancel the setup procedure. 8 Press lENTER to confirm your selection. If you selected "SET" in step 7, each speaker outputs a test tone twice in turn. "CHECK:TestTone" appears on the front panel display for a few seconds and then "CHECK OK?" appears on the front panel display. y • Check the speaker connections (see page 9) and adjust the "SPEAKERS" settings back in step 6, if necessary. • The indicator of the speaker currently outputting the test tone flashes on the front panel display. 9 Press ll / h to select the desired settings. Choice YES* NO Function Completes the setup procedure if the test tone levels from each speaker were satisfactory. Proceeds to the speaker level adjustment menu to balance the output level of each speaker. 10 Press lENTER to confirm your selection. • If you selected "YES" in step 9, the setup procedure is completed and then display returns to the top set menu display. Press kMENU to exit from "BASIC SETUP." • If you selected "NO" in step 9, the front speaker level adjustment display appears on the front panel display. 11 Press lk / n to select a speaker and then ll / h to adjust the balance. The selected speaker and the front left speaker (or the surround left speaker) output a test tone in turn. • Press lh to increase the value. • Press ll to decrease the value. ■ The balance between speakers you can adjust in each item is defined as follows. Choice FR C SL SR SWFR Adjusted balance between speakers the front left and right speakers the front left and center speakers the front left and surround left speakers the surround left and surround right speakers the front left speaker and the subwoofer Note • The available speaker channels differ depending on the setting of the speakers. 12 Press kMENU to exit from "BASIC SETUP." 16 En
-
 1
1 -
2
-
3
-
4
-
5
-
6
-
7
-
8
-
9
-
10
-
11
-
12
-
13
-
14
-
 15
15 -
 16
16 -
 17
17 -
 18
18 -
 19
19 -
 20
20 -
 21
21 -
 22
22 -
 23
23 -
 24
24 -
 25
25 -
26
-
27
-
28
-
29
-
30
-
31
-
32
-
33
-
34
-
35
-
36
-
37
-
38
-
39
-
40
-
41
-
42
-
43
-
44
-
45
-
46
-
47
-
48
-
49
-
50
-
51
-
52
-
53
-
54
-
55
-
56
-
57
-
58
-
59
-
60
-
61
-
62
 |
 |