Yamaha MOX8 Owner's Manual - Page 44
Creating an original Pattern, Listening to the Demo Patterns
 |
UPC - 086792950907
View all Yamaha MOX8 manuals
Add to My Manuals
Save this manual to your list of manuals |
Page 44 highlights
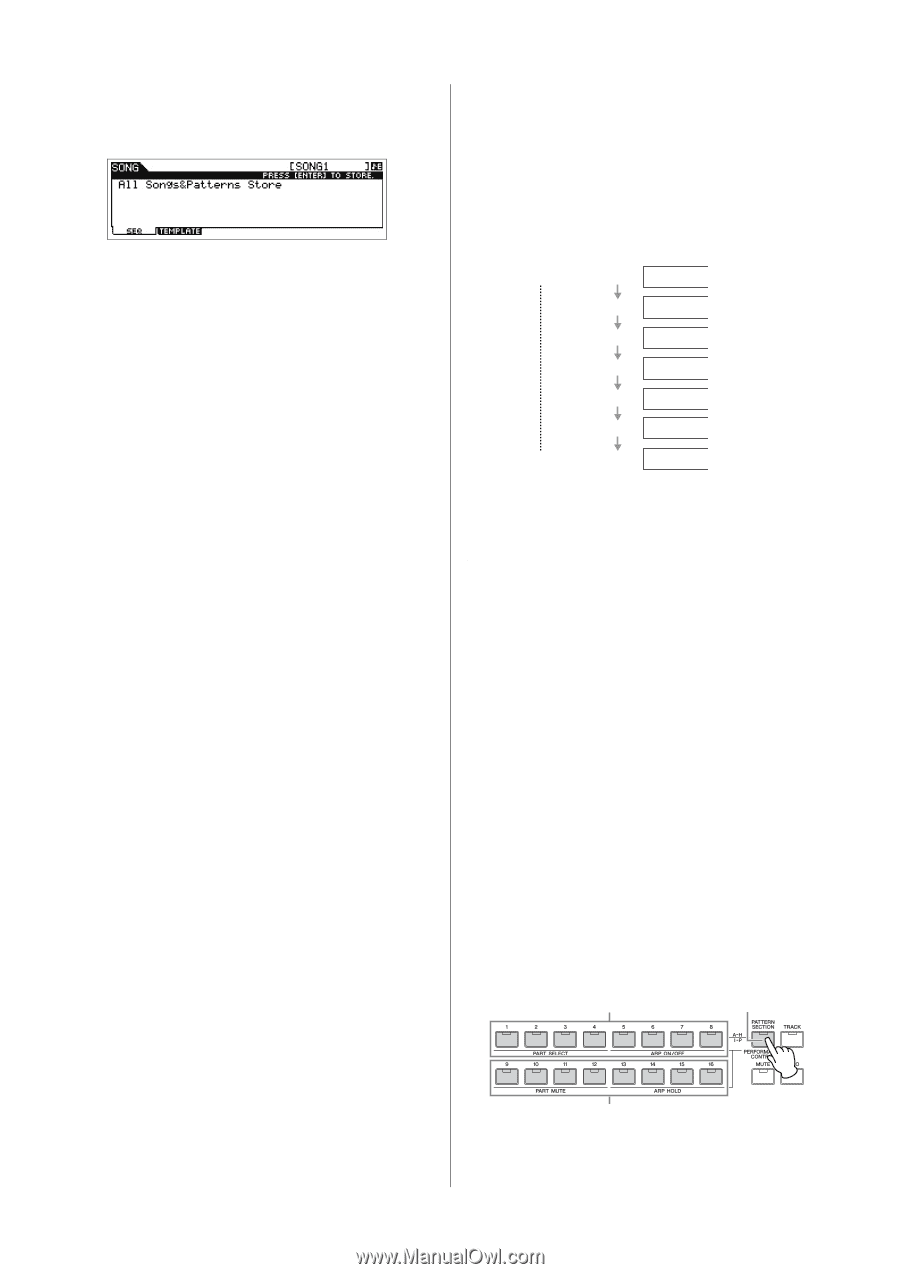
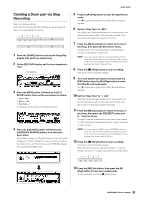
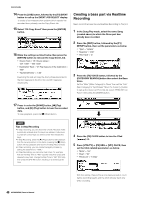
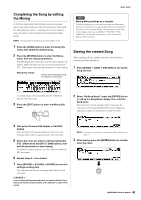
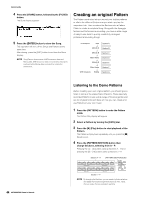
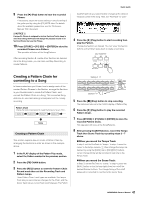
Quick Guide 4 Press the [STORE] button, followed by the [F1] SEQ button. The Store display appears. 5 Press the [ENTER] button to store the Song. This operation will store all the Songs and Patterns at the same time. After storing, press the [EXIT] button to exit from the Store display. NOTE Song/Pattern data consists of MIDI sequence data and Mixing data. MIDI sequence data is recorded by playing the keyboard while Mixing data is created by editing the parameters. Creating an original Pattern The Pattern mode also lets you record your rhythm patterns or riffs to the different Sections as you wish-and as the inspiration hits-then combine the Sections into a Pattern Chain to create a complete Song. Along with the Arpeggio feature and Performance recording, you have a wide range of easy-to-use tools to quickly create fully arranged, professional sounding Songs. 1st measure Intro Section A Melody A Section B Melody B Section C Main theme Section D Melody B Section E Main theme Section F 120th measure Ending Section G Listening to the Demo Patterns Before creating your own original pattern, you should give a listen to some of the preset Demo Patterns. These specially recorded Patterns cover a wide range of musical genres and are full of great hints and ideas on how you can create and use Patterns in your own music. 1 Press the [PATTERN] button to enter the Pattern mode. The Pattern Play display will appear. 2 Select a Pattern by turning the [DATA] dial. 3 Press the [F] (Play) button to start playback of the Pattern. The Pattern will play back repeatedly until you press the [J] (Stop) button. 4 Press the [PATTERN SECTION] button then change Sections, selecting from A - P. Pressing the [1] - [8] buttons calls up Sections A - H and pressing the [9] - [16] buttons calls up Sections I - P. Section A - H [PATTERN SECTION] button 44 MOX6/MOX8 Owner's Manual Section I - P NOTE By changing the Sections, you can create rhythmic variations, and easily improvise arrangements (such as intro, verse, chorus, verse, chorus, ending) in real time.
-
 1
1 -
2
-
3
-
4
-
5
-
6
-
7
-
8
-
9
-
10
-
11
-
12
-
13
-
14
-
15
-
16
-
17
-
18
-
19
-
20
-
21
-
22
-
23
-
24
-
25
-
26
-
27
-
28
-
29
-
30
-
31
-
32
-
33
-
34
-
35
-
36
-
37
-
38
-
 39
39 -
 40
40 -
 41
41 -
 42
42 -
 43
43 -
 44
44 -
 45
45 -
 46
46 -
 47
47 -
 48
48 -
 49
49 -
50
-
51
-
52
-
53
-
54
-
55
-
56
-
57
-
58
-
59
-
60
-
61
-
62
-
63
-
64
-
65
-
66
-
67
-
68
-
69
-
70
-
71
-
72
-
73
-
74
-
75
-
76
 |
 |