Yamaha PSR-350 Owner's Manual - Page 16
Step 4 Lesson - instructions
 |
View all Yamaha PSR-350 manuals
Add to My Manuals
Save this manual to your list of manuals |
Page 16 highlights
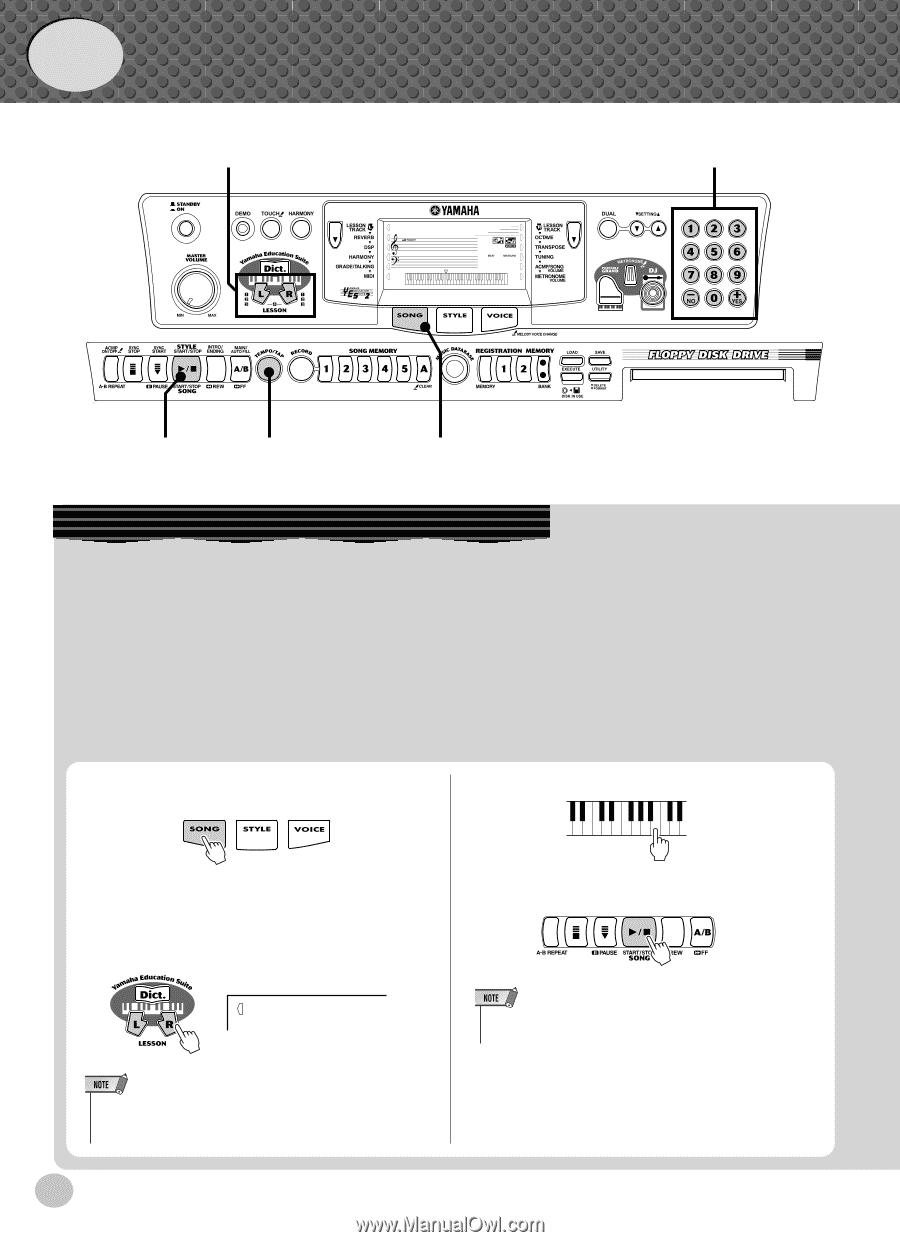
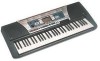
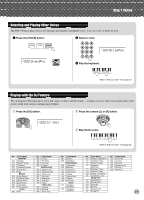
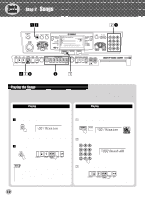
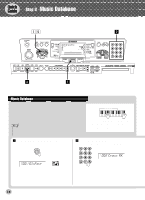
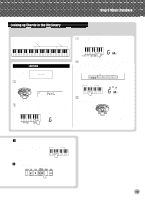
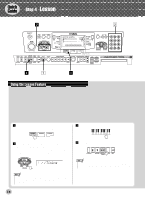
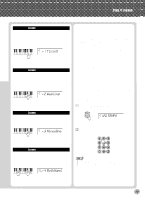
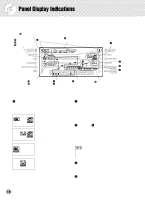
Quick Guide Step 4 Lesson x x 000 GrandPno 001 v z z Using the Lesson Feature Songs 021 to 100 are specially designed for use with the educational Lesson feature. Lesson makes it fun and easy to master these songs. You can practice the left- and right-hand parts of each song individually: simply press the appropriate button, [L] (left) or [R] (right). The practice steps below apply to either hand. Lesson 1 - Timing This lesson step lets you practice just the timing of the notes. Lesson 2 - Waiting In this lesson step, the PSR-350 waits for you to play the correct notes before continuing playback of the song. Lesson 3 - Minus One . . . . .This lesson step plays back the song with one part muted - letting you play and master the missing part yourself. Lesson 4 - Both Hands . . . . .This lesson step is the same as "Minus One," except in that both the left- and right-hand parts are muted - letting you play and master both hands. z Select one of the Lesson songs. For instructions on selecting songs, see page 63. c Start the Lesson. x Select the part you wish to work on (left or right) and the Lesson step. If you want to work on the right-hand part, press the [R] button; to work on the left, press the [L] button. v When you're finished, stop the Lesson. r1 Timing • You can also exit from the Lesson by pressing one the LESSON buttons ([L] or [R]) repeatedly until song name is shown in the display. • Each press of the corresponding button ([L] or [R]) alternately selects Lessons 1 - 3. Pressing both buttons simultaneously calls up Lesson 4, Both Hands. 16
-
 1
1 -
2
-
3
-
4
-
5
-
6
-
7
-
8
-
9
-
10
-
 11
11 -
 12
12 -
 13
13 -
 14
14 -
 15
15 -
 16
16 -
 17
17 -
 18
18 -
 19
19 -
 20
20 -
 21
21 -
22
-
23
-
24
-
25
-
26
-
27
-
28
-
29
-
30
-
31
-
32
-
33
-
34
-
35
-
36
-
37
-
38
-
39
-
40
-
41
-
42
-
43
-
44
-
45
-
46
-
47
-
48
-
49
-
50
-
51
-
52
-
53
-
54
-
55
-
56
-
57
-
58
-
59
-
60
-
61
-
62
-
63
-
64
-
65
-
66
-
67
-
68
-
69
-
70
-
71
-
72
-
73
-
74
-
75
-
76
-
77
-
78
-
79
-
80
-
81
-
82
-
83
-
84
-
85
-
86
-
87
-
88
-
89
-
90
-
91
-
92
-
93
-
94
-
95
-
96
-
97
-
98
-
99
-
100
-
101
-
102
-
103
-
104
-
105
 |
 |