Yamaha PSR-510 Owner's Manual - Page 11
: The, Buttons, 3: The Number Buttons, 4: The Data Dial, Yes/No Confirmation
 |
View all Yamaha PSR-510 manuals
Add to My Manuals
Save this manual to your list of manuals |
Page 11 highlights
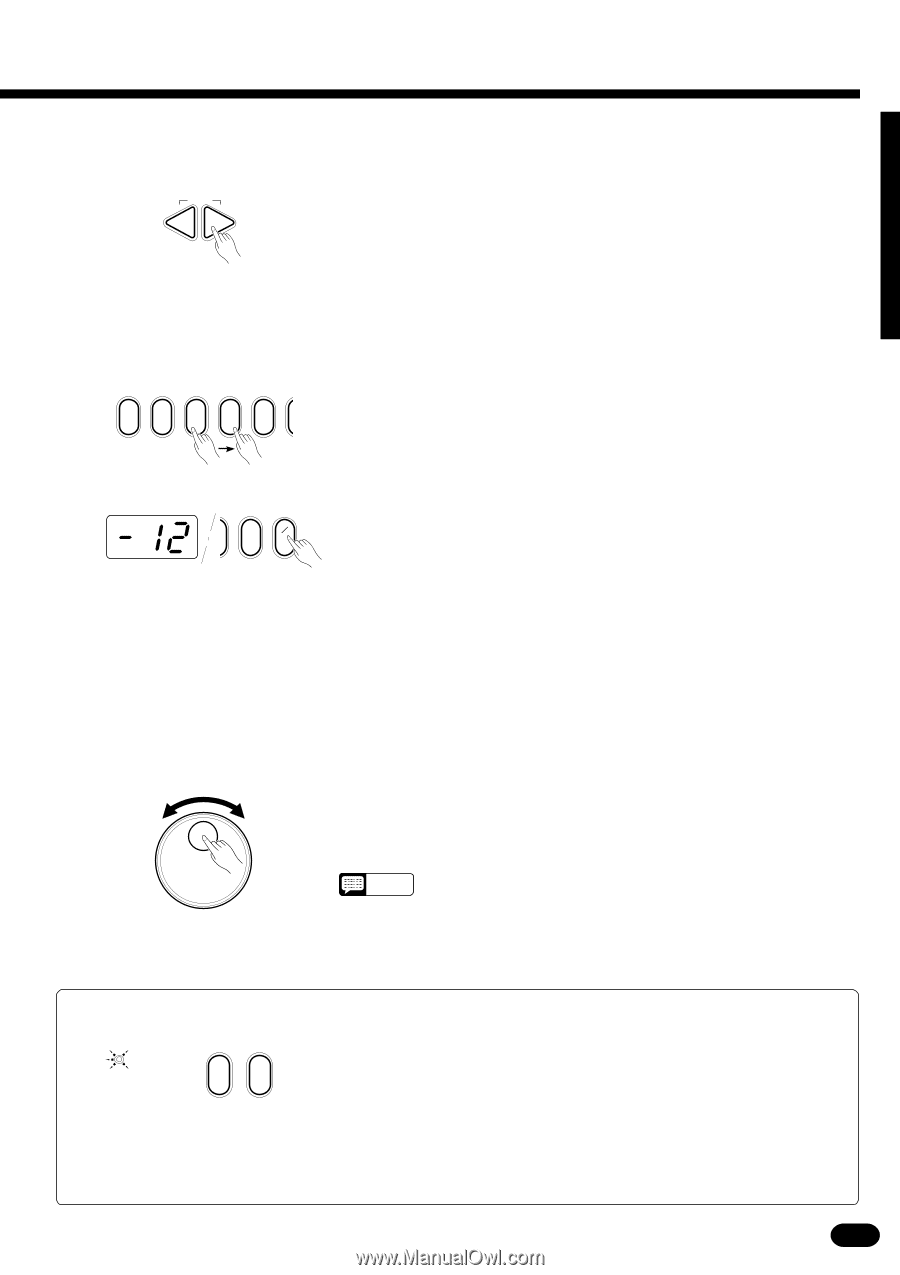
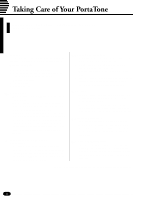
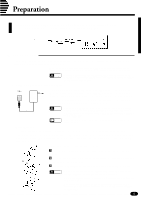
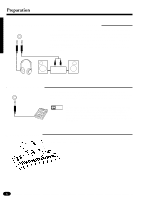
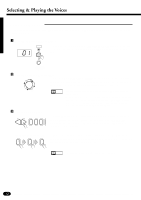
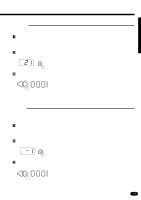
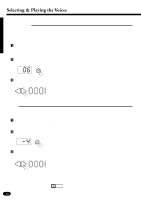
2-2: The [+] and [−] Buttons RESET -+ The [+] and [−] buttons immediately to the right of the MULTI DISPLAY can be used to increment (increase by one) or decrement (decrease by one) the currently selected parameter. Press the [+] button briefly to increment the parameter value, or the [−] button to decrement. If you hold the [+] or [−] button down, the value will increment or decrement continuously - simply release the button when the desired value has been reached. 2-3: The Number Buttons 01234 +- 9 1__ The number buttons - to the right of the [+] and [−] buttons - allow direct numeric entry of the desired value, and are therefore the fastest way to edit in many situations. To select a voice, for example, choose one of the 128 voices - numbered "01" through "128" - shown on the panel VOICE list, then enter its number using the number buttons. To select "HARMONICA" (number 23), for example, first press [2] then [3]. The number "23" should then appear on the MULTI DISPLAY. The [+/−] button is used to switch between positive and negative values with parameters that allow negative values (Transpose, Tuning, Octave, and Pan, for example). A "−" appears before negative values on the MULTI DISPLAY. When selecting voice numbers the [+/−] button is used to enter the hundreds digit of the voice number (the button alternately selects no hundreds digit or "1"), as required, prior to entering the tens and ones digits. The [1] number button cannot be used to enter the hundreds digit when selecting voices. Values outside the range of the selected parameter can not be entered. 2-4: The Data Dial This is undoubtedly the easiest way to edit most parameters. Simply rotate the dial clockwise to increment or counter-clockwise to decrement. NOTES • After editing a parameter other than [VOICE SELECT], the [VOICE SELECT] parameter will automatically be re-selected after a brief delay. • If you attempt to change a parameter that can not be edited in the current mode, "---" will appear on the MULTI DISPLAY. q Yes/No Confirmation ARE YOU SURE ? YES NO Some operations that change important settings or erase data may require you to confirm your choice by pressing the [YES] or [NO] button. When a choice needs to be confirmed the ARE YOU SURE? indicator will flash and a digitally sampled voice will ask "Are you sure?". Press the [YES] button to execute the specified operation or the [NO] button to cancel and leave the settings or data unaffected. If you don't want to hear the "Are you sure?" confirmation sound, hold down the [NO] button while initially turning the power switch on. To restore the confirmation sound, turn the power switch off, then turn it back on again while holding down the [YES] button. The on/off status of the confirmation sound is retained in memory even when the power switch is turned off as long as batteries are installed on an AC adaptor is connected. 9
-
 1
1 -
2
-
3
-
4
-
5
-
 6
6 -
 7
7 -
 8
8 -
 9
9 -
 10
10 -
 11
11 -
 12
12 -
 13
13 -
 14
14 -
 15
15 -
 16
16 -
17
-
18
-
19
-
20
-
21
-
22
-
23
-
24
-
25
-
26
-
27
-
28
-
29
-
30
-
31
-
32
-
33
-
34
-
35
-
36
-
37
-
38
-
39
-
40
-
41
-
42
-
43
-
44
-
45
-
46
-
47
-
48
-
49
-
50
-
51
-
52
-
53
-
54
-
55
-
56
-
57
-
58
-
59
-
60
-
61
-
62
-
63
-
64
-
65
-
66
-
67
-
68
-
69
-
70
-
71
-
72
-
73
-
74
-
75
-
76
-
77
 |
 |