Yamaha PSR-510 Owner's Manual - Page 14

Voice Assignment

Page 14 highlights

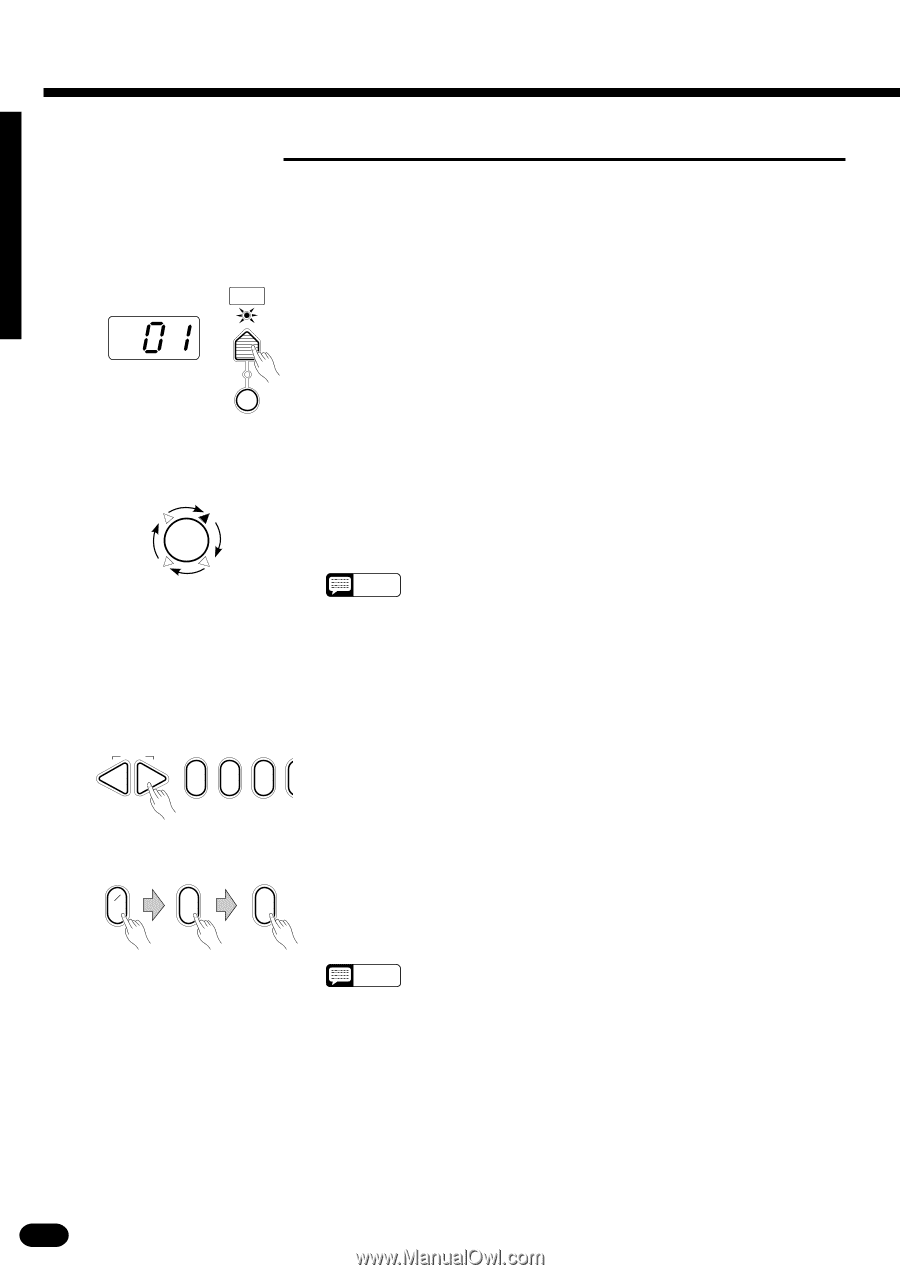
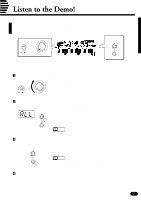
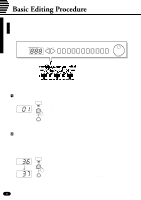
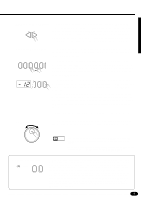
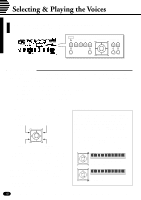
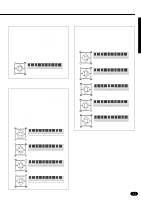
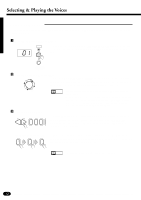
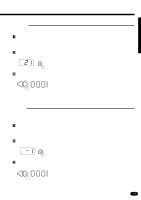
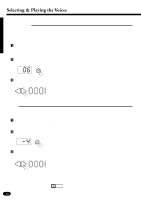
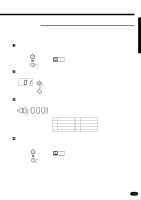
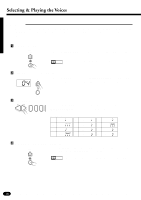
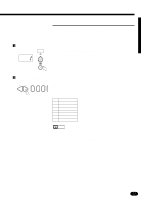
Selecting & Playing the Voices s Voice Assignment You can assign any of the PSR-510's 128 voices to each of the ORCHESTRATION parts, whether the part is currently ON or OFF. ZPress the [VOICE SELECT] Button ... VOICE You don't need to do this if the [VOICE SELECT] indicator is already SELECT lit. Also make sure that the [KEYBOARD PERCUSSION] indicator is out. KEYBOARD PERCUSSION XSelect the Part You Want to Edit ... Use the ORCHESTRATION [EDIT] button to select the part to which you want to assign a new voice. The [EDIT] indicators light in sequence in EDIT the clockwise direction each time the [EDIT] button is pressed. NOTES • You can edit the voice number of a part that is OFF while playing a different part. • Actually, the [VOICE SELECT] mode is automatically selected whenever the [EDIT] button is pressed, so you don't really need to press [VOICE SELECT] as described in step 1 if you're going to use the [EDIT] button prior to selecting a voice number. CSelect a Voice Number ... RESET -+ 012 Referring to the VOICE list printed on the PSR-510 panel, use the [+] and [−] buttons, the number buttons, the data dial, or the [VOICE SELECT] button itself to select the required voice number (see page 8 for editing procedure details). Example: Voice number "120" +- 1_ _ 2 0 When entering voice numbers higher than 99, use the [+/−] button to enter the hundreds digit prior to entering the tens and ones digits: the button alternately selects no hundreds digit or "1". NOTES • The optimum keyboard range is preset for each voice. 12

  • 1
  • 2
  • 3
  • 4
  • 5
  • 6
  • 7
  • 8
  • 9
  • 10
  • 11
  • 12
  • 13
  • 14
  • 15
  • 16
  • 17
  • 18
  • 19
  • 20
  • 21
  • 22
  • 23
  • 24
  • 25
  • 26
  • 27
  • 28
  • 29
  • 30
  • 31
  • 32
  • 33
  • 34
  • 35
  • 36
  • 37
  • 38
  • 39
  • 40
  • 41
  • 42
  • 43
  • 44
  • 45
  • 46
  • 47
  • 48
  • 49
  • 50
  • 51
  • 52
  • 53
  • 54
  • 55
  • 56
  • 57
  • 58
  • 59
  • 60
  • 61
  • 62
  • 63
  • 64
  • 65
  • 66
  • 67
  • 68
  • 69
  • 70
  • 71
  • 72
  • 73
  • 74
  • 75
  • 76
  • 77

12
| | | | | | | | | | | | | | | | | | | | | | | | | | | | | | | | | | | | | | | | | | | | | | | | | | | | | | | | | | | | | | | | | | | | | | | | | | | | | | | | | | | | | | | | | | | | | | | | | | | | | | | | | | | | | | | | | | | | | | | | | | | | | | | | | | | | | | | | | | | | |
VOICE
SELECT
KEYBOARD
PERCUSSION
0
2
1
RESET
+
Selecting & Playing the Voices
Voice Assignment
You can assign any of the PSR-510’s 128 voices to each of the ORCHESTRATION parts, whether the part is
currently ON or OFF.
Z
Press the [VOICE SELECT] Button
.......................................................................................................
You don’t need to do this if the
[VOICE SELECT]
indicator is already
lit. Also make sure that the
[KEYBOARD PERCUSSION]
indicator is
out.
X
Select the Part You Want to Edit
...........................................................................................................
Use the ORCHESTRATION
[EDIT]
button to select the part to which
you want to assign a new voice. The
[EDIT]
indicators light in sequence in
the clockwise direction each time the
[EDIT]
button is pressed.
NOTES
• You can edit the voice number of a part that is OFF while playing a
different part.
• Actually, the [VOICE SELECT] mode is automatically selected when-
ever the [EDIT] button is pressed, so you don’t really need to press
[VOICE SELECT] as described in step 1 if you’re going to use the
[EDIT] button prior to selecting a voice number.
C
Select a Voice Number
...........................................................................................................................
Referring to the VOICE list printed on the PSR-510 panel, use the
[
+
]
and
[
]
buttons, the number buttons, the data dial, or the
[VOICE SE-
LECT]
button itself to select the required voice number (see page 8 for
editing procedure details).
EDIT
When entering voice numbers higher than 99, use the
[
+
/
]
button to
enter the hundreds digit prior to entering the tens and ones digits: the button
alternately selects no hundreds digit or “1”.
+
1
_ _
0
2
Example:
Voice number “120”
NOTES
• The optimum keyboard range is preset for each voice.