Yamaha PSR-630 Owner's Manual - Page 103
Rehearsal Mode, Ready Mode.
 |
View all Yamaha PSR-630 manuals
Add to My Manuals
Save this manual to your list of manuals |
Page 103 highlights
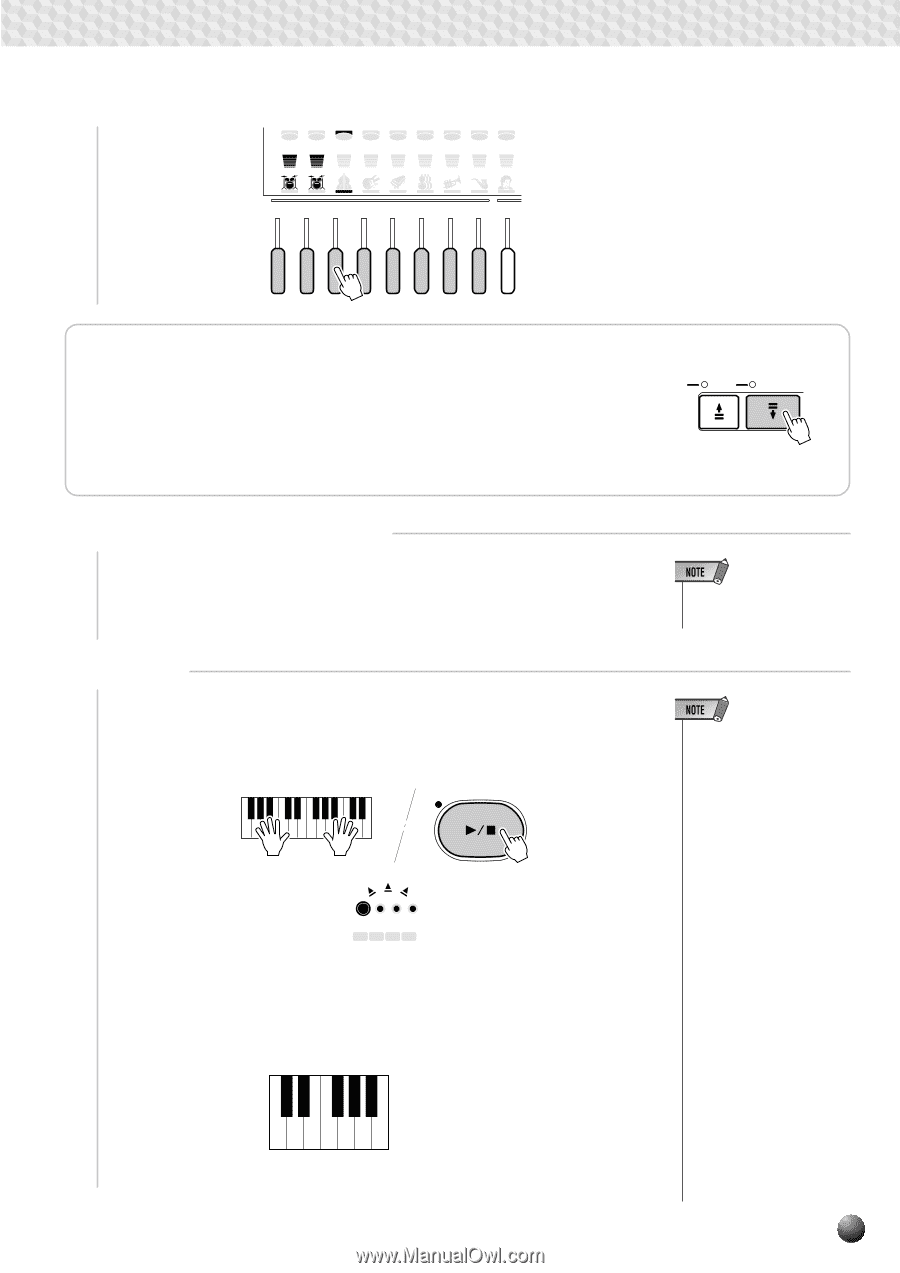
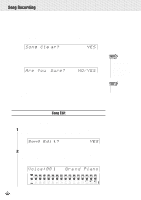
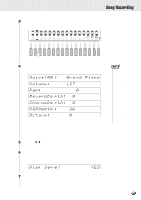
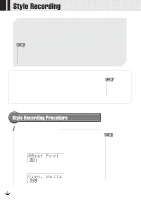
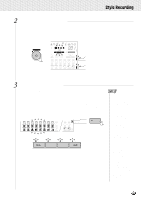
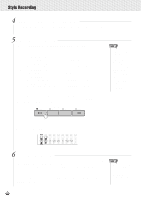
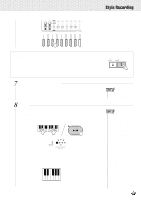
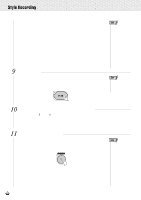
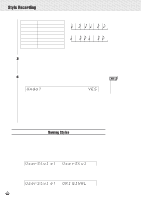
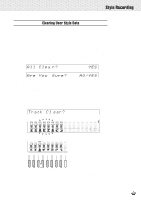
,,QQ,,QQ,,QQ,,QQ,,QQ,,QQ,,QQ,,QQ,,QQ,,QQ,,QQ,,QQStyl,,QQeRec,,QQordin,,QQg ,,QQ 1 2 3 4 5 6 7 8 9 219 219 340 322 324 434 468 442 471 RHYTHM RHYTHM BASS CHORD CHORD PAD PHRASE PHRASE MELODY 1 2 1 2 1 2 1 ACCOMPANIMENT TRACK 1 2 3 4 5 6 7 8 9 x Rehearsal Mode If the [SYNC START] button is pressed while in Record Ready Mode, it SYNC STOP START will be canceled (the beat lamps will go out) and the PSR-730/630 will enter NIMENT Rehearsal Mode. In this mode, you can try playing your song before actually recording it. Pressing the [SYNC START] button will return to Record Ready Mode. 7 Select a Voice, If Necessary If necessary, select a voice for the track to be recorded by pressing the [VOICE] button and selecting in the normal way. 8 Record Recording will begin as soon as you play a note on the keyboard or press the [START/STOP] button. The BEAT indicator dots will begin to indicate the current beat, and the MEASURE parameter will show the current measure number during recording. START / STOP 009 MEASURE BEAT 1234 MULTI PAD The style will repeat continuously when recording is started, so you can continue to add ("overdub") notes until the current track is complete. The style should be recorded based on a CM7 chord (C Major Seven) in order for it to function properly when used for auto-accompaniment. C = chord tone C S C C S C C, S = scale tones • The Registration Memory buttons will be disabled in the Style record mode. • Before actually starting to record you can try playing the PSR-730/630 the way it is set up by using the "Rehearsal Mode": press the [SYNC START] button to temporarily disengage the record ready mode, rehearse as necessary, then press the [SYNC START] button again to return to the record ready mode. • If the memory becomes full while recording, "Full" will appear on the display and recording will stop (the rehearsal mode will be engaged). • Even though you can start recording with the user style memory space thoroughly consumed, "Full" will be shown on the display and the recording will forcibly be stopped. In this case, first exit from the record mode, next select the unnecessary user style, and then enter the record mode again and execute the Clear function (see page 105) to secure the free space to record. 101
-
 1
1 -
2
-
3
-
4
-
5
-
6
-
7
-
8
-
9
-
10
-
11
-
12
-
13
-
14
-
15
-
16
-
17
-
18
-
19
-
20
-
21
-
22
-
23
-
24
-
25
-
26
-
27
-
28
-
29
-
30
-
31
-
32
-
33
-
34
-
35
-
36
-
37
-
38
-
39
-
40
-
41
-
42
-
43
-
44
-
45
-
46
-
47
-
48
-
49
-
50
-
51
-
52
-
53
-
54
-
55
-
56
-
57
-
58
-
59
-
60
-
61
-
62
-
63
-
64
-
65
-
66
-
67
-
68
-
69
-
70
-
71
-
72
-
73
-
74
-
75
-
76
-
77
-
78
-
79
-
80
-
81
-
82
-
83
-
84
-
85
-
86
-
87
-
88
-
89
-
90
-
91
-
92
-
93
-
94
-
95
-
96
-
97
-
 98
98 -
 99
99 -
 100
100 -
 101
101 -
 102
102 -
 103
103 -
 104
104 -
 105
105 -
 106
106 -
 107
107 -
 108
108 -
109
-
110
-
111
-
112
-
113
-
114
-
115
-
116
-
117
-
118
-
119
-
120
-
121
-
122
-
123
-
124
-
125
-
126
-
127
-
128
-
129
-
130
-
131
-
132
-
133
-
134
-
135
-
136
-
137
-
138
-
139
-
140
-
141
-
142
-
143
-
144
-
145
-
146
-
147
-
148
-
149
-
150
-
151
-
152
-
153
-
154
-
155
-
156
-
157
-
158
-
159
-
160
-
161
-
162
-
163
-
164
-
165
-
166
-
167
-
168
-
169
-
170
-
171
-
172
-
173
-
174
-
175
-
176
-
177
-
178
 |
 |