Yamaha PSR-630 Owner's Manual - Page 109
P1ChdMat, eggio
 |
View all Yamaha PSR-630 manuals
Add to My Manuals
Save this manual to your list of manuals |
Page 109 highlights
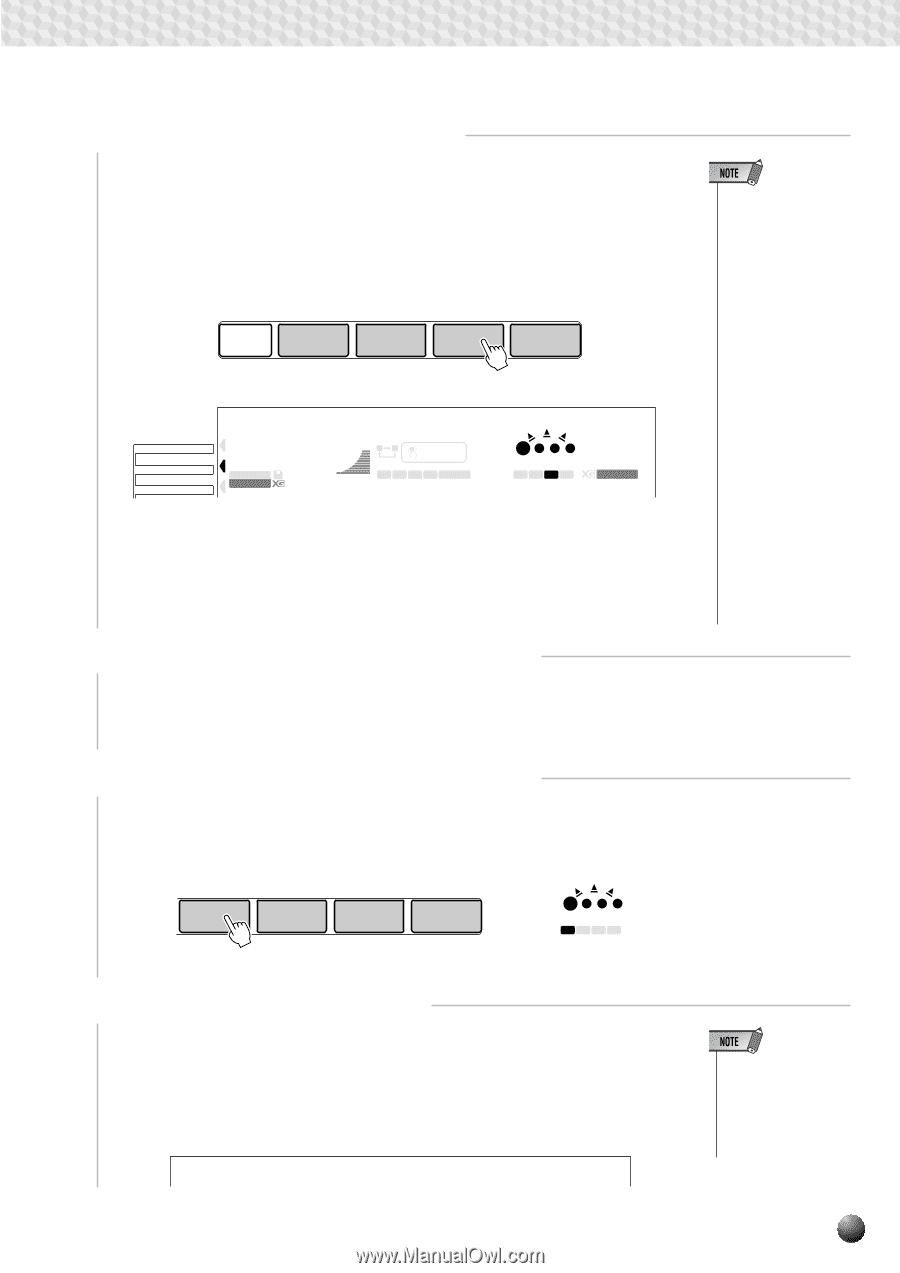
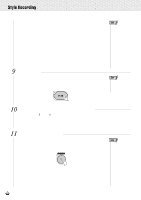
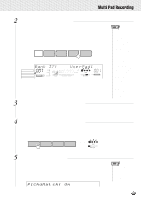
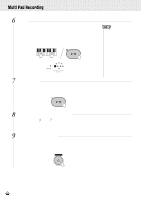
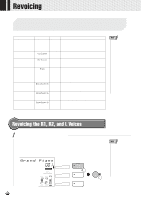
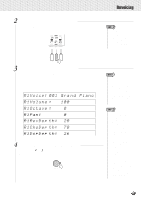
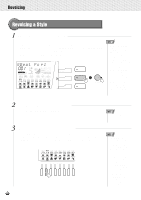
,,QQ,,QQ,,QQ,,QQ,,QQ,,QQ,,QQ,,QQ,,QQ,,QQ,,QQMu,,QQltiPa,,QQdRec,,QQordin,,QQg ,,QQ 2 Select the MULTI PAD Record Mode Press any MULTI PAD button ([1] ... [4]) to select the MULTI PAD record mode (the MULTI PAD button you press will be selected for recording). The MULTI PAD menu will automatically be selected and a user pad set number will appear on the top line of the display. The beat indicator dots will flash at the currently set tempo, indicating that the record ready (synchro-start) mode is engaged. MULTI PAD STOP 1 2 3 4 MENU DISK MULTI PAD REGIST MEMORY Bank 37: Use rPad1 007 STYLE DISK SONG 116 100 TEMPO AB REPEAT ONE TOUCH SETTING 001 MEASURE 000 TRANSPOSE ACMP/SONG VOLUME 1 2 3 4 FREEZE REGISTRATION MEMORY BEAT 1234 MULTI PAD 001 VOICE 3 If Necessary, Select a User Pad Set Number If the desired user pad set is not already selected, use the [-] and [+] buttons, [1]- [0] number buttons, or the Data Dial to select as required. • If the [RECORD] button is pressed while a preset pad set is selected, the lowestnumbered user pad set which does not contain any recorded data will automatically be selected. If other user pad sets already contain data, however, user pad number 1 will be selected. • The DSP effect cannot be turned on during MULTI PAD recording or the MULTI PAD record standby mode. If the DSP effect is on when the MULTI PAD record mode is engaged, it will automatically be turned off. • If the Metronome function is on (page 116), the metronome will sound at the current tempo. 4 If Necessary, Select a MULTI PAD to Record If the MULTI PAD you pressed in step 2, above, is not the one you want to record, you can select any other pad at this point simply pressing the appropriate MULTI PAD button. The selected MULTI PAD icon will appear in the display. MULTI PAD 1 2 3 4 BEAT 1234 MULTI PAD 5 Specify Chord Match if Required If you record a MULTI PAD with a pitched voice, the Chord Match function (see page 63) can be specified for that pad by using the SUB MENU buttons to select the Chord Match function for the corresponding pad ("P1ChdMatch" ... "P4ChdMatch") while in the record standby or rehearsal mode, and then using the [+] button to turn it "On" or "Off" as you like. P1ChdMat ch: On eggio • The Chord Match on/ off status can be changed in the SUB MENU "MULTI PAD" even after exiting the recording mode. 107
-
 1
1 -
2
-
3
-
4
-
5
-
6
-
7
-
8
-
9
-
10
-
11
-
12
-
13
-
14
-
15
-
16
-
17
-
18
-
19
-
20
-
21
-
22
-
23
-
24
-
25
-
26
-
27
-
28
-
29
-
30
-
31
-
32
-
33
-
34
-
35
-
36
-
37
-
38
-
39
-
40
-
41
-
42
-
43
-
44
-
45
-
46
-
47
-
48
-
49
-
50
-
51
-
52
-
53
-
54
-
55
-
56
-
57
-
58
-
59
-
60
-
61
-
62
-
63
-
64
-
65
-
66
-
67
-
68
-
69
-
70
-
71
-
72
-
73
-
74
-
75
-
76
-
77
-
78
-
79
-
80
-
81
-
82
-
83
-
84
-
85
-
86
-
87
-
88
-
89
-
90
-
91
-
92
-
93
-
94
-
95
-
96
-
97
-
98
-
99
-
100
-
101
-
102
-
103
-
 104
104 -
 105
105 -
 106
106 -
 107
107 -
 108
108 -
 109
109 -
 110
110 -
 111
111 -
 112
112 -
 113
113 -
 114
114 -
115
-
116
-
117
-
118
-
119
-
120
-
121
-
122
-
123
-
124
-
125
-
126
-
127
-
128
-
129
-
130
-
131
-
132
-
133
-
134
-
135
-
136
-
137
-
138
-
139
-
140
-
141
-
142
-
143
-
144
-
145
-
146
-
147
-
148
-
149
-
150
-
151
-
152
-
153
-
154
-
155
-
156
-
157
-
158
-
159
-
160
-
161
-
162
-
163
-
164
-
165
-
166
-
167
-
168
-
169
-
170
-
171
-
172
-
173
-
174
-
175
-
176
-
177
-
178
 |
 |