Yamaha PSR-630 Owner's Manual - Page 110
Record, Stop Recording, Record Additional Pads as Required, Exit From the Record Mode, START/STOP]
 |
View all Yamaha PSR-630 manuals
Add to My Manuals
Save this manual to your list of manuals |
Page 110 highlights
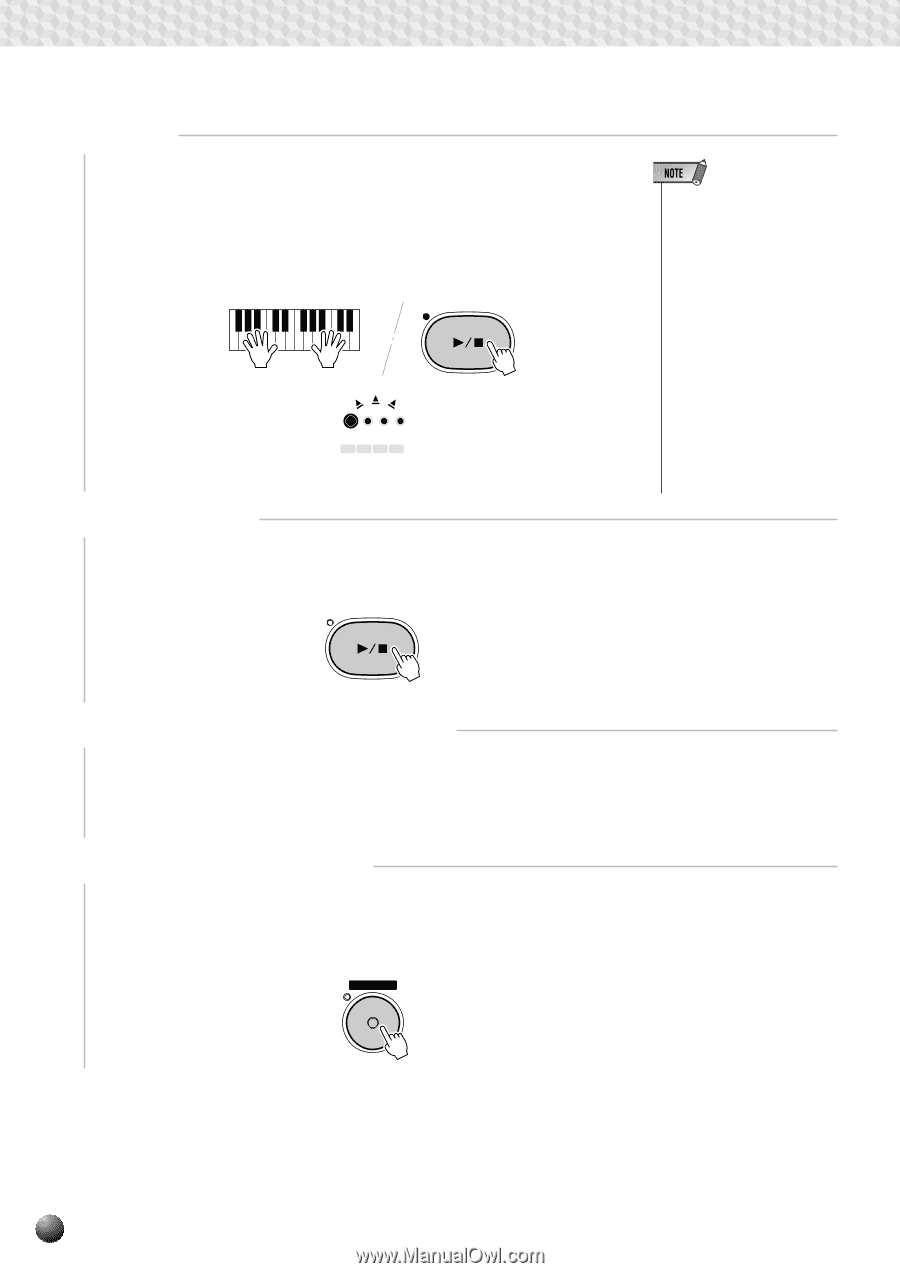
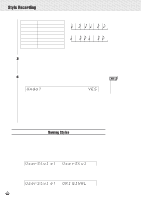
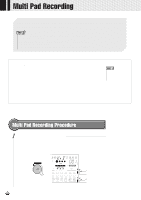
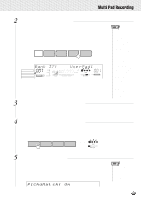
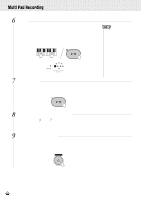
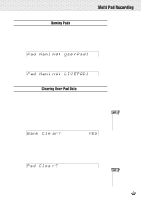
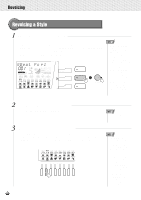
,,QQ,,QQMul,,QQti Pad,,QQReco,,QQrding,,QQ,,QQ,,QQ,,QQ,,QQ,,QQ,,QQ,,QQ,,QQ,,QQ,,QQ 6 Record Recording will begin as soon as you play a note on the keyboard (synchro start) or press the [START/STOP] button, and the BEAT indicator dots will begin to indicate the current beat as in the Auto Accompaniment mode. If you are recording a Chord Match phrase, be sure to base your phrase on a CM7 chord to ensure proper Chord Match operation. See page 101 for more details on recording around a CM7 chord. START / STOP 009 MEASURE BEAT 1234 MULTI PAD 7 Stop Recording Stop recording by pressing the [START/STOP] button. When recording is stopped, the record-ready mode will be engaged. • Before actually starting to record you can try playing the PSR-730/630 the way it is set up by using the "Rehearsal Mode": press the [SYNC START] button to temporarily disengage the record ready mode, rehearse as necessary, then press the [SYNC START] button again to return to the record ready mode. • Whenever you record a MULTI PAD, any previously recorded material in the same MULTI PAD will be erased. • If the memory becomes full while recording, "Full" will appear on the display and recording will stop (the recordready mode will be engaged). START / STOP 8 Record Additional Pads as Required By repeating steps 3 through 7, above, you can select and record additional pads as required. 9 Exit From the Record Mode When you're finished recording pads, press the [RECORD] button so that its indicator goes out to exit from the record mode. The recorded user pad can now be played back in the same way as the preset pads (page 61). RECORD 108
-
 1
1 -
2
-
3
-
4
-
5
-
6
-
7
-
8
-
9
-
10
-
11
-
12
-
13
-
14
-
15
-
16
-
17
-
18
-
19
-
20
-
21
-
22
-
23
-
24
-
25
-
26
-
27
-
28
-
29
-
30
-
31
-
32
-
33
-
34
-
35
-
36
-
37
-
38
-
39
-
40
-
41
-
42
-
43
-
44
-
45
-
46
-
47
-
48
-
49
-
50
-
51
-
52
-
53
-
54
-
55
-
56
-
57
-
58
-
59
-
60
-
61
-
62
-
63
-
64
-
65
-
66
-
67
-
68
-
69
-
70
-
71
-
72
-
73
-
74
-
75
-
76
-
77
-
78
-
79
-
80
-
81
-
82
-
83
-
84
-
85
-
86
-
87
-
88
-
89
-
90
-
91
-
92
-
93
-
94
-
95
-
96
-
97
-
98
-
99
-
100
-
101
-
102
-
103
-
104
-
 105
105 -
 106
106 -
 107
107 -
 108
108 -
 109
109 -
 110
110 -
 111
111 -
 112
112 -
 113
113 -
 114
114 -
 115
115 -
116
-
117
-
118
-
119
-
120
-
121
-
122
-
123
-
124
-
125
-
126
-
127
-
128
-
129
-
130
-
131
-
132
-
133
-
134
-
135
-
136
-
137
-
138
-
139
-
140
-
141
-
142
-
143
-
144
-
145
-
146
-
147
-
148
-
149
-
150
-
151
-
152
-
153
-
154
-
155
-
156
-
157
-
158
-
159
-
160
-
161
-
162
-
163
-
164
-
165
-
166
-
167
-
168
-
169
-
170
-
171
-
172
-
173
-
174
-
175
-
176
-
177
-
178
 |
 |