Yamaha PSR-9000 Owner's Manual - Page 24
One Touch Setting, Track Muting & Volume Control
 |
View all Yamaha PSR-9000 manuals
Add to My Manuals
Save this manual to your list of manuals |
Page 24 highlights
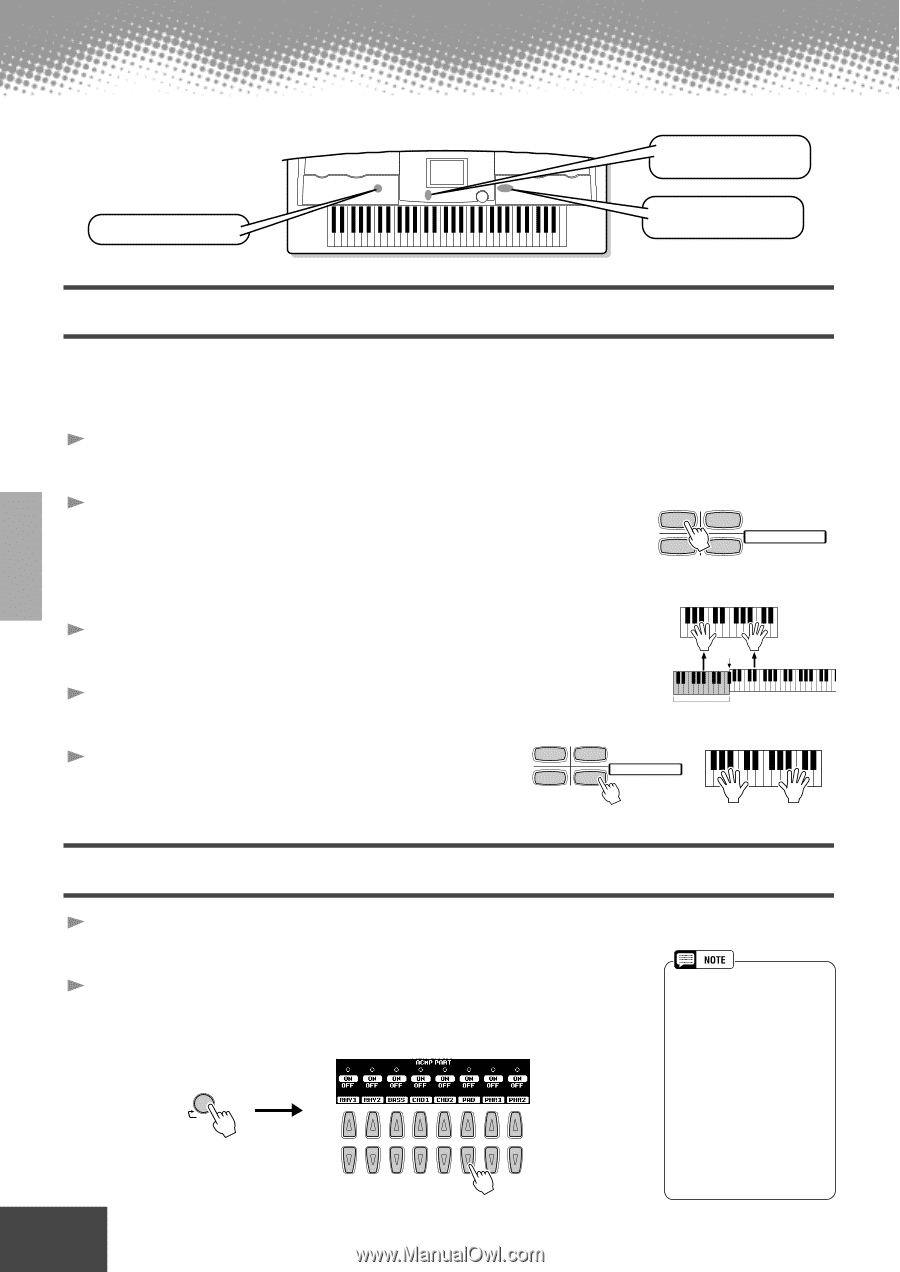
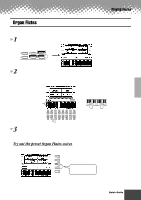
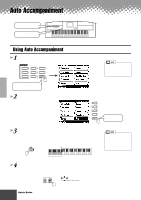
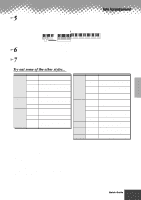
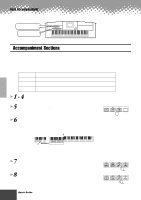
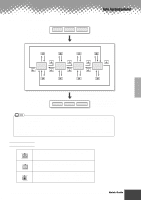
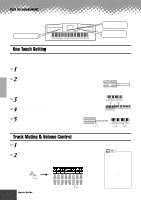
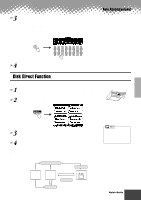
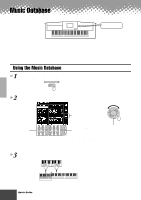
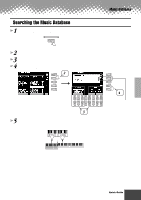
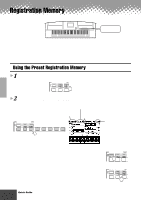
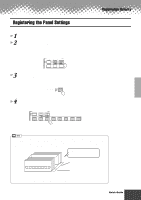
Auto Accompaniment DISK DIRECT buttons MAIN MIXER and PART ON/OFF buttons ONE TOUCH SETTING buttons One Touch Setting One Touch Setting is a powerful and convenient feature that automatically calls up the most appropriate panel settings (voice number, etc.) for the currently selected style, with the touch of a single button. 1 Select a style. For example, select "SWING & JAZZ" category and try out "BBand Ballad" (on P2). 2 Press one of the [ONE TOUCH SETTING] buttons. 1 2 Auto Accompaniment and Sync Start will automatically be turned on. PROGRAMMABLE ONE TOUCH SETTING In addition, various panel settings (such as voices, effects, etc.) that match the 3 4 selected style can be instantly recalled with just a single button press (see page 178). 3 As soon as you play a chord with your left hand, the auto accompaniment starts. Split Point 4 Play melodies with your right hand and play various chords with your left hand. Auto Accompaniment section 5 Try out other One Touch Setting setups. You can also create your own One Touch Setting setups. For details, refer to page 61. 1 2 PROGRAMMABLE ONE TOUCH SETTING 3 4 Track Muting & Volume Control 1 Turn Auto Accompaniment on and start the accompaniment (page 20). 2 Turn individual tracks ON or OFF (muted) as required. 1) Press the [PART ON/OFF] button. 2) Press the LCD button corresponding to the part you wish to turn on or off. PART ON/OFF PART 1 2 3 4 5 6 7 8 • The **PART** mark below the [PART ON/OFF] button indicates that pressing the button repeatedly switches among various different displays. However, in the example explanation shown here, only the accompaniment parts are displayed; no other displays can be called up, no matter how many times the button is pressed. Other displays can be called up when Song Player (page 30) is set to on, or when the Digital Recording mode is active. 24 Quick Guide q q q q q q q q q q q q q q q q q q q q q q q q q q q q q q q q q q q q q q q q q q 22
-
 1
1 -
2
-
3
-
4
-
5
-
6
-
7
-
8
-
9
-
10
-
11
-
12
-
13
-
14
-
15
-
16
-
17
-
18
-
 19
19 -
 20
20 -
 21
21 -
 22
22 -
 23
23 -
 24
24 -
 25
25 -
 26
26 -
 27
27 -
 28
28 -
 29
29 -
30
-
31
-
32
-
33
-
34
-
35
-
36
-
37
-
38
-
39
-
40
-
41
-
42
-
43
-
44
-
45
-
46
-
47
-
48
-
49
-
50
-
51
-
52
-
53
-
54
-
55
-
56
-
57
-
58
-
59
-
60
-
61
-
62
-
63
-
64
-
65
-
66
-
67
-
68
-
69
-
70
-
71
-
72
-
73
-
74
-
75
-
76
-
77
-
78
-
79
-
80
-
81
-
82
-
83
-
84
-
85
-
86
-
87
-
88
-
89
-
90
-
91
-
92
-
93
-
94
-
95
-
96
-
97
-
98
-
99
-
100
-
101
-
102
-
103
-
104
-
105
-
106
-
107
-
108
-
109
-
110
-
111
-
112
-
113
-
114
-
115
-
116
-
117
-
118
-
119
-
120
-
121
-
122
-
123
-
124
-
125
-
126
-
127
-
128
-
129
-
130
-
131
-
132
-
133
-
134
-
135
-
136
-
137
-
138
-
139
-
140
-
141
-
142
-
143
-
144
-
145
-
146
-
147
-
148
-
149
-
150
-
151
-
152
-
153
-
154
-
155
-
156
-
157
-
158
-
159
-
160
-
161
-
162
-
163
-
164
-
165
-
166
-
167
-
168
-
169
-
170
-
171
-
172
-
173
-
174
-
175
-
176
-
177
-
178
-
179
-
180
-
181
-
182
-
183
-
184
-
185
-
186
-
187
-
188
-
189
-
190
-
191
-
192
-
193
-
194
-
195
-
196
-
197
-
198
-
199
-
200
-
201
-
202
-
203
-
204
-
205
-
206
-
207
-
208
-
209
-
210
-
211
-
212
-
213
-
214
 |
 |