Yamaha PSR-9000 Owner's Manual - Page 26
Music Database, Using the Music Database
 |
View all Yamaha PSR-9000 manuals
Add to My Manuals
Save this manual to your list of manuals |
Page 26 highlights
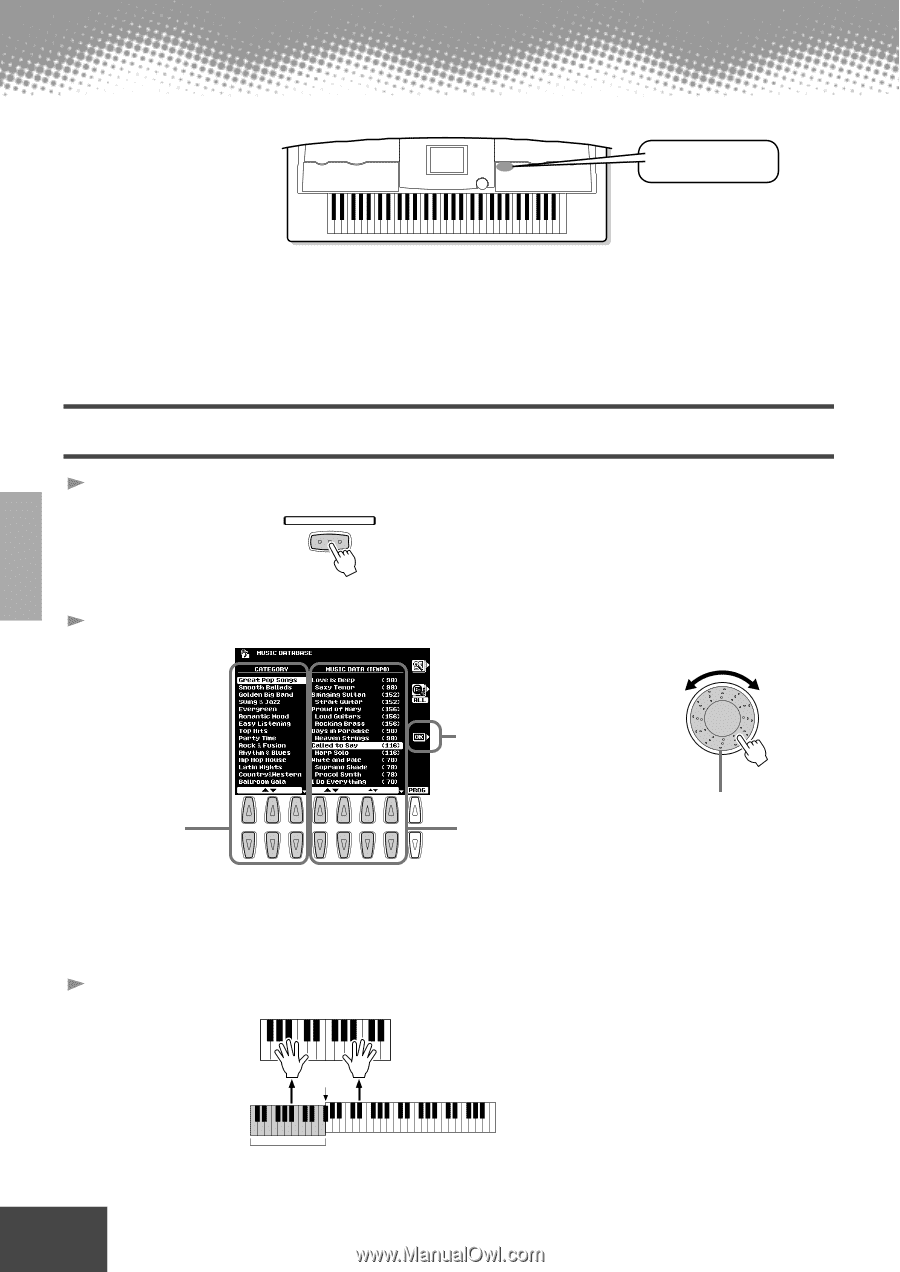
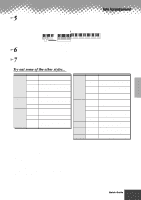
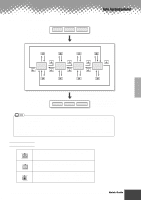
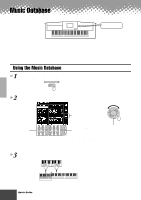
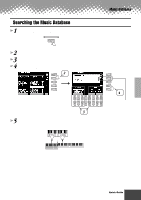
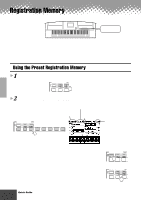
Music Database MUSIC DATABASE button If you want to play in a certain genre of music but don't know which style and voice settings would be appropriate, the convenient Music Database can help you out. Simply select the desired genre from the Music Database and the PSR-9000 automatically makes all appropriate panel settings to let you play in that music style! For a list of Music Database setup parameters, refer to page 178. Using the Music Database 1 Press the [MUSIC DATABASE] button. MUSIC DATABASE 2 Select a Music Database. Press this to actually call up the Music Database Select the desired Category. 1 2 3 4 5 6 7 8 Select the desired Music Database. Use button [4] or [5] to move the cursor to the desired location and press the [OK] LCD button to actually call up the Music Database. Move the cursor to the desired location by using button [6] or [7] to call up the Music Database. (You need not press the [OK] LCD button.) For example, try out Category "Great Pop Songs" and Music Database "Called to say." 3 Play along with the accompaniment playback. You can use the Data dial to select the desired Music Database. Split Point Auto Accompaniment section 26 Quick Guide q q q q q q q q q q q q q q q q q q q q q q q q q q q q q q q q q q q q q q q q q q 24
-
 1
1 -
2
-
3
-
4
-
5
-
6
-
7
-
8
-
9
-
10
-
11
-
12
-
13
-
14
-
15
-
16
-
17
-
18
-
19
-
20
-
 21
21 -
 22
22 -
 23
23 -
 24
24 -
 25
25 -
 26
26 -
 27
27 -
 28
28 -
 29
29 -
 30
30 -
 31
31 -
32
-
33
-
34
-
35
-
36
-
37
-
38
-
39
-
40
-
41
-
42
-
43
-
44
-
45
-
46
-
47
-
48
-
49
-
50
-
51
-
52
-
53
-
54
-
55
-
56
-
57
-
58
-
59
-
60
-
61
-
62
-
63
-
64
-
65
-
66
-
67
-
68
-
69
-
70
-
71
-
72
-
73
-
74
-
75
-
76
-
77
-
78
-
79
-
80
-
81
-
82
-
83
-
84
-
85
-
86
-
87
-
88
-
89
-
90
-
91
-
92
-
93
-
94
-
95
-
96
-
97
-
98
-
99
-
100
-
101
-
102
-
103
-
104
-
105
-
106
-
107
-
108
-
109
-
110
-
111
-
112
-
113
-
114
-
115
-
116
-
117
-
118
-
119
-
120
-
121
-
122
-
123
-
124
-
125
-
126
-
127
-
128
-
129
-
130
-
131
-
132
-
133
-
134
-
135
-
136
-
137
-
138
-
139
-
140
-
141
-
142
-
143
-
144
-
145
-
146
-
147
-
148
-
149
-
150
-
151
-
152
-
153
-
154
-
155
-
156
-
157
-
158
-
159
-
160
-
161
-
162
-
163
-
164
-
165
-
166
-
167
-
168
-
169
-
170
-
171
-
172
-
173
-
174
-
175
-
176
-
177
-
178
-
179
-
180
-
181
-
182
-
183
-
184
-
185
-
186
-
187
-
188
-
189
-
190
-
191
-
192
-
193
-
194
-
195
-
196
-
197
-
198
-
199
-
200
-
201
-
202
-
203
-
204
-
205
-
206
-
207
-
208
-
209
-
210
-
211
-
212
-
213
-
214
 |
 |