eMachines E15T User Guide
eMachines E15T Manual
 |
View all eMachines E15T manuals
Add to My Manuals
Save this manual to your list of manuals |
eMachines E15T manual content summary:
- eMachines E15T | User Guide - Page 1
use AUTO TUNE Adjustment 17 9. Troubleshooting Tips ...18 10. serviceable parts inside. Refer servicing to qualified personnel WARNING: TO PREVENT FIRE OR SHOCK HAZARD, DO NOT EXPOSE THIS MONITOR TO RAIN OR MOISTURE. HIGH VOLTAGE EXISTS ON THE BACK LIGHT POWER LEAD OF THIS MONITOR. BEFORE SERVICING - eMachines E15T | User Guide - Page 2
or water. • The product does not operate normally when the operating instructions are followed. • The product has been dropped or the cabinet has been damaged. • The product exhibits a distinct change in performance, indicating a need for service. • Power cord or plug is damaged or frayed. 4 ENGLISH - eMachines E15T | User Guide - Page 3
contact your dealer immediately. • One LCD Monitor mounted on its stand with video cable • AC/DC adapter with 12V DC output • AC power cord • The User's Manual • Warranty Card 5-2. Installation This analog LCD display does not require any special drivers. Necessary drivers are supplied by the video - eMachines E15T | User Guide - Page 4
refer to your existing monitor's User's Guide. 3. Install the Display on a solid horizontal surface such as a table or a desk. 4. Connect the power cable and the AC/DC on power to the computer, then to the Display. 15 pin D-SUB DC Jack Power Cord AC/DC Adapter Figure 5.1 LCD Monitor Hardware - eMachines E15T | User Guide - Page 5
6. Display Timing 6-1. Applicable Video Timing The following table lists the display quality modes that the LCD monitor provides. If the other video modes are input, the monitor may not work or will display unsatisfactory picture quality. VESA MODES Horizontal Mode Resolution Nominal Frequency - eMachines E15T | User Guide - Page 6
off. The LED will light with a solid blue color in normal on state with the power on, and will flash blue in power saving mode. 11 ENGLISH 7. Display Controls 7-2. Screen Adjustment Operation Procedure This LCD monitor features an On-Screen Display (OSD) menu. The icons are designed to make your - eMachines E15T | User Guide - Page 7
8. Screen Adjustment 8-1. Main Menu The OSD Main Menu (Figure 8-1) is displayed on screen when MENU key is pressed. The OSD menu is a combination of graphic and text display. The column inside the OSD menu will show information of input image. Second column beneath OSD menu shows the item selected. - eMachines E15T | User Guide - Page 8
to select the time. (5, 15, 30, 60 SEC) POWER SAVE DELAY This feature directs the monitor to stay in the "on" mode even after the computer , 1 minute, 60 minutes, or OFF for the display to appear on the monitor screen. 15 ENGLISH 8. Screen Adjustment LANGUAGE Select this control and then use the - eMachines E15T | User Guide - Page 9
Card User's manual during the Troubleshooting Procedure. Do not exceed the maximum refresh rate recommended for the display. Problem No image on display screen Abnormal image. Colors of image on screen are abnormal Disturbances on Screen Troubleshooting Tip 1. Check that power cord of the Computer - eMachines E15T | User Guide - Page 10
Pixel dimension LCD display color OSD control Manual control Tilt Active display area AC/DC adapter Input signal Input connector Power management Regulation Dimensions power cords used in the United States and Canada. Code Type SJT SVT Size of Conductors in Cord 18 AWG 16 AWG 14 AWG 18 AWG 17 AWG - eMachines E15T | User Guide - Page 11
letter L or coloured RED. If you have any questions concerning which proper power cord to use, please consult with the dealer from whom you have purchased the and if not installed and used in accordance with the instructions, may cause harmful interference to radio communications. However, there
-
 1
1 -
 2
2 -
 3
3 -
 4
4 -
 5
5 -
 6
6 -
 7
7 -
8
-
9
-
10
-
11
 |
 |
1
ENGLISH
Table of Contents
1. Caution and Warning
..............................................................................................................
2
2. FCC Requirements
.................................................................................................................
3
3. Product Safety Precautions
....................................................................................................
4
4. Introduction
..............................................................................................................................
5
5. Hardware Installation
..............................................................................................................
6
5-1. Unpacking
........................................................................................................................
6
5-2. Installation
.........................................................................................................................
6
5-3. Video Input Pin Assignment
............................................................................................
8
6. Display Timing
.........................................................................................................................
9
6-1. Applicable Video Timing
..................................................................................................
9
7. Display Controls
....................................................................................................................
11
7-1. Display Controls
.............................................................................................................
11
7-2. Screen Adjustment Operation Procedure
...................................................................
12
8. Screen Adjustment
................................................................................................................
13
8-1. Main Menu
.....................................................................................................................
13
8-2. OSD Adjusting and Controls
.........................................................................................
14
8-3. How to use AUTO TUNE Adjustment
.........................................................................
17
9. Troubleshooting Tips
............................................................................................................
18
10. Specification
........................................................................................................................
19
11. Appendix
..............................................................................................................................
20
2
ENGLISH
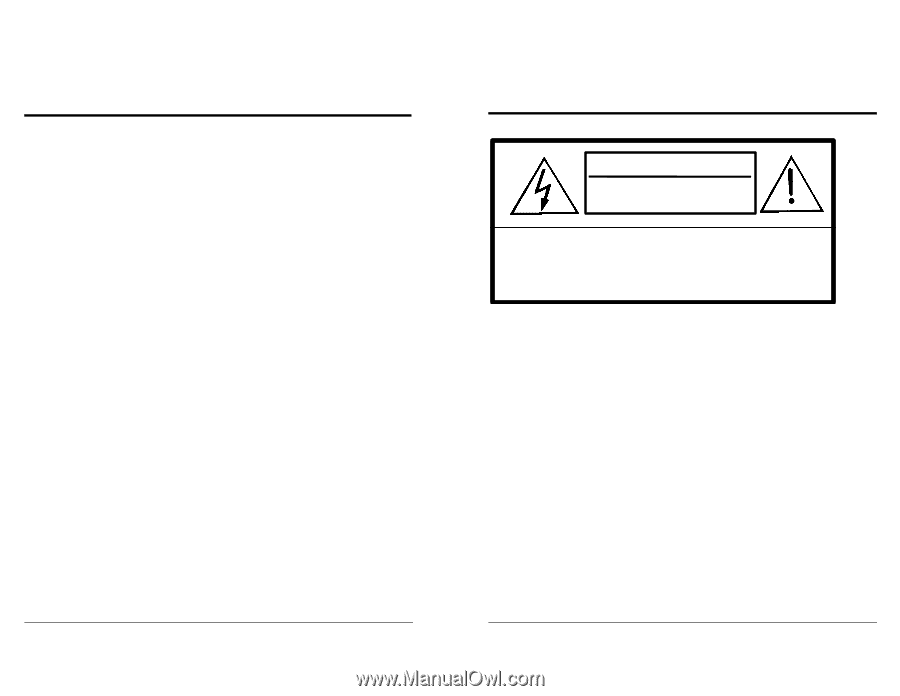
1. Caution and Warning
CAUTION !!
RISK OF ELECTRIC SHOCK
DO NOT OPEN
CAUTION:
To reduce the risk of electric shock, do not
remove cover (or back).
No user serviceable parts inside.
Refer servicing to qualified personnel
WARNING:
TO PREVENT FIRE OR SHOCK HAZARD, DO NOT EXPOSE THIS MONITOR
TO RAIN OR MOISTURE.
HIGH VOLTAGE EXISTS ON THE BACK LIGHT POWER LEAD OF THIS
MONITOR.
BEFORE SERVICING, DETERMINE THE PRESENCE OF HIGH
VOLTAGE BY CONNECTING THE H.V. METER BETWEEN THE BACK LIGHT
POWER LEAD AND CHASSIS ONLY.