Asus Fonepad 7 FE171MG ASUS ZenPad 8.0 Z380CX Firmware update SOPEnglish
Asus Fonepad 7 FE171MG Manual
 |
View all Asus Fonepad 7 FE171MG manuals
Add to My Manuals
Save this manual to your list of manuals |
Asus Fonepad 7 FE171MG manual content summary:
- Asus Fonepad 7 FE171MG | ASUS ZenPad 8.0 Z380CX Firmware update SOPEnglish - Page 1
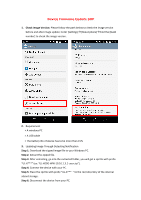
Device Firmware Update SOP 1. Check Image Version: Please follow the path below to check the image version before and after image update: Enter [Settings][About phone]Find the [Build number] to check the image version. 2. Requirement > A windows PC > A USB cable > The battery life of device has to - Asus Fonepad 7 FE171MG | ASUS ZenPad 8.0 Z380CX Firmware update SOPEnglish - Page 2
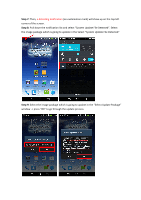
Step 7: Then, a detecting notification (an exclamation mark) will show up on the top left corner of the screen. Step 8: Pull down the notification list and select "System Update File Detected". Select the image package which is going to update in the Select "System - Asus Fonepad 7 FE171MG | ASUS ZenPad 8.0 Z380CX Firmware update SOPEnglish - Page 3
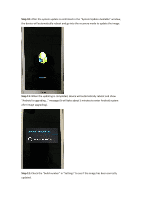
Step 10: After the system update is confirmed in the "System Update Available" window, the device will automatically reboot and go into the recovery mode to update the image. Step 11: When the updating is completed, device will automatically reboot and show "Android is upgrading..." message (It will
-
 1
1 -
 2
2 -
 3
3
 |
 |
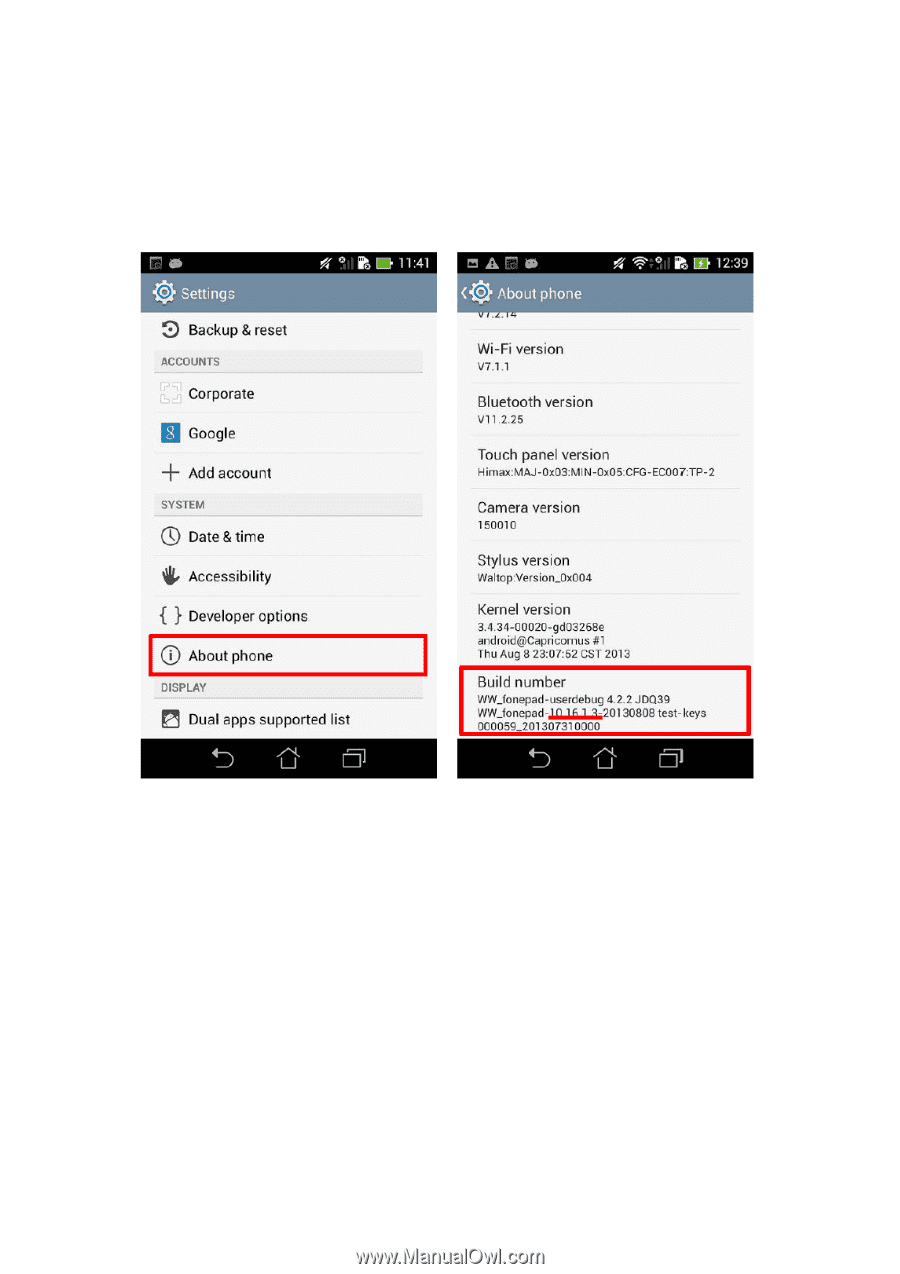
Device Firmware Update SOP
1.
Check Image Version:
Please follow the path below to check the image version
before and after image update: Enter [Settings]
[About phone]
Find the [Build
number] to check the image version.
2.
Requirement
> A windows PC
> A USB cable
> The battery life of device has to be more than 15%
3.
Updating Image Through Detecting Notification
Step 1:
Download the zipped image file to your Windows PC.
Step 2
: Extract the zipped file.
Step 3
: After extracting, go into the extracted folder, you will get a zip file with prefix
“UL
-K***
” (ex: “UL
-K00G-WW-10.16.1.3.1-user
.zip”).
Step 4:
Connect the device with your PC.
Step 5:
Place the zip file with prefix “UL
-K***
” to the root directory of the
internal
sdcard storage.
Step 6:
Disconnect the device from your PC.