Casio XJ-A140 User Guide
Casio XJ-A140 Manual
 |
View all Casio XJ-A140 manuals
Add to My Manuals
Save this manual to your list of manuals |
Casio XJ-A140 manual content summary:
- Casio XJ-A140 | User Guide - Page 1
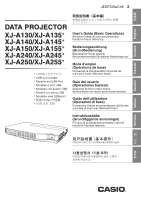
çais Deutsch English DATA PROJECTOR XJ-A130/XJ-A135* XJ-A140/XJ-A145* XJ-A150/XJ-A155* XJ-A240/XJ-A245* XJ-A250/XJ-A255* USB port models * Modelle mit USB-Port * Modèles à port USB * Modelos con puerto USB * Modelli con porta USB * Modeller med USB-port * * User's Guide (Basic Operations - Casio XJ-A140 | User Guide - Page 2
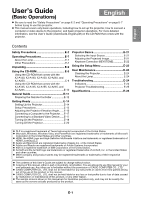
the User's Guide (UsersGuide_English.pdf) on the CD-ROM that comes with the projector. Contents Safety Precautions E-2 Operating Precautions E-7 About the Lamp E-7 Other Precautions E-7 Unpacking E-9 Using the CD-ROM E-9 Using the CD-ROM that comes with the XJ-A130, XJ-A140, XJ-A150, XJ-A240 - Casio XJ-A140 | User Guide - Page 3
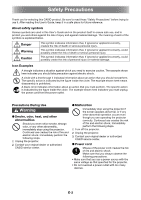
need to exercise caution. The example shown here indicates you should take precaution against electric shock. ! A circle with a line through following steps. 1. Turn off the projector. 2. Unplug the projector. 3. Contact your original dealer or authorized CASIO service center. ● Power cord + Misuse - Casio XJ-A140 | User Guide - Page 4
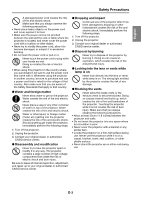
perform the following steps. 1. Turn off the projector. 2. Unplug the projector. 3. Contact your original dealer or authorized CASIO service center. ● Disassembly and modification ! Never try to take the projector apart or modify it in any way. The projector contains a large number of high-voltage - Casio XJ-A140 | User Guide - Page 5
to your original dealer or authorized CASIO service center. + Never allow the remote controller to become wet. Water creates the risk of fire and electric shock. ● Radio waves emitted by the wireless adapter (which is provided with or built into some projector models) - Never use this product inside - Casio XJ-A140 | User Guide - Page 6
always observe the following precautions. -• Never try to take batteries apart and do not allow them to become shorted. • remote controller if you do not plan to use it for a long time. ● Lens Never touch the lens with your hand. ● Wireless adapter (provided with or built into some projector models - Casio XJ-A140 | User Guide - Page 7
recording. The lens cover can corrupt data recorded on magnetic media. Other *Caution Allowing dust to build up inside the projector for long periods without cleaning creates the risk of fire and breakdown. Contact your original dealer or authorized CASIO service center once a year about having the - Casio XJ-A140 | User Guide - Page 8
comes first. The failure of the light source lamp to light or a noticeable drop in lamp brightness indicates the end of the lamp's life. Contact your original dealer or authorized CASIO service center for replacement. Other Precautions This projector is made of precision components. Failure to - Casio XJ-A140 | User Guide - Page 9
under "To turn off the projector" on page E-20 to turn projector power off and then back on again. If the image reappears with an error message, correct the problem in accordance with the indicator explanations under "Error Indicators and Warning Messages" in the User's Guide on the CD-ROM that - Casio XJ-A140 | User Guide - Page 10
present. DATA PROJECTOR Remote Controller (YT-100) Test Batteries (AAA-size × 2) AC Power Cord Special AV Cable • Carrying Bag (projector and cords) • CD-ROM • User's Guide (Basic Operations) • "Read this first" Sheet • Warranty • Wireless adapter (Provided with or built into models equipped - Casio XJ-A140 | User Guide - Page 11
Using the CD-ROM Using the CD-ROM that comes with the XJ-A135, XJ-A145, XJ-A155, XJ-A245, and XJ-A255 The CD-ROM contains software for each projector model and PDF files with User's Guides. In order to read the User's Guide, you need to have Adobe® Reader® installed on your computer. To view the - Casio XJ-A140 | User Guide - Page 12
General Guide [Front/Top/Left Side] CLASS 1 LASER PRODUCT [P] (Power) key Key and Indicator Panel Wireless adapter cover* (XJ-A135/XJ-A145/XJ-A155/ XJ-A245/XJ-A255 only) Intake vents Intake vents Lens cover (Magnetic attachment to projector) Projection lens Exhaust vents Remote control signal - Casio XJ-A140 | User Guide - Page 13
[Back, Terminals] COMPUTER terminal AV terminal Serial port* Speaker HDMI port USB port (XJ-A135/XJ-A145/XJ-A155/ XJ-A245/XJ-A255 only) Anti-theft lock hole Intake vents Power connector * This serial port is for connecting a separately available special cable (YK-5) to control the projector - Casio XJ-A140 | User Guide - Page 14
English General Guide Loading Remote Controller Batteries Important! Be sure to use alkaline batteries only. *Caution RISK OF EXPLOSION IF BATTERY IS REPLACED BY AN INCORRECT TYPE. DISPOSE OF USED BATTERIES ACCORDING TO THE INSTRUCTIONS. *Caution Misuse of batteries can cause them to leak - Casio XJ-A140 | User Guide - Page 15
around the sides and back of the projector for proper ventilation. The following illustrations show how the projector should be oriented for optimum projection relative to the screen. Viewed from Above Viewed from the Side (XJ-A130/XJ-A135/XJ-A140/XJ-A145/XJ-A150/XJ-A155) Screen Screen Make - Casio XJ-A140 | User Guide - Page 16
the intake vents do not become blocked. Blocked intake vents can shorten the life of the lamp. Airflow from air conditioning equipment can blow the heat being exhausted from the area around the projector's lens in a way that causes heat ripples to appear in the projected image. If this happens - Casio XJ-A140 | User Guide - Page 17
strongly can cause it to become stuck. Important! To retract the elevation adjustment foot, hold down the release button and slide the elevation adjustment foot back into the projector. Never try to forcibly change the elevation adjustment foot position without pressing the release button. E-16 - Casio XJ-A140 | User Guide - Page 18
projector and the computer before connecting them. Take care so the volume level of the computer is not set too high. AV terminal , see the User's Guide on the CD-ROM that comes with the projector. Projector and component video output of video device Projector and HDMI output - Casio XJ-A140 | User Guide - Page 19
. If you need more information about the power supply, contact your original dealer or authorized CASIO service center. To turn on the projector 1. Use the bundled AC power cord to plug the projector into a power outlet. Plugging into a power outlet causes the three indicators on the top of - Casio XJ-A140 | User Guide - Page 20
English Getting Ready Specifying the Display Message Language A "Language" window will be projected the first time you turn on the projector. Use the menu on this screen to specify the display language you want to use. 1. Use the cursor [] and [] keys to highlight the language you - Casio XJ-A140 | User Guide - Page 21
turn off the projector, press the [P] (Power) key again in response to the confirmation message. This causes the projector lamp to go out and details about zoom memory, see the User's Guide on the CD-ROM that comes with the projector. The projector turns off automatically after a certain amount - Casio XJ-A140 | User Guide - Page 22
video resolution of your projector, see the "DLP chip" item of the "Specifications" (page E-28). See the user documentation that comes with your computer for details about changing its settings. Change the "Aspect Ratio" setting to "True" (Applies only to models that support WXGA video resolution - Casio XJ-A140 | User Guide - Page 23
operation, you can use the menu to adjust items manually. Keystone Correction (KEYSTONE) When the projector is at an angle to the screen it is projecting Up the Projector" on page E-14. The projector does not support horizontal keystone correction. The center of the projector's lens should - Casio XJ-A140 | User Guide - Page 24
see the User's Guide (UsersGuide_English.pdf) on the CD-ROM that comes with the projector. If your projector is equipped with a USB port, see the user documentation on the Defaults Keystone Correction Aspect Ratio Projection Mode Ceiling Mount Startup Screen No Signal Screen Blank Screen Restore - Casio XJ-A140 | User Guide - Page 25
the exhaust vents. About the Lamp Should the light source lamp stop working, contact your original dealer or authorized CASIO service center for replacement. Troubleshooting Indicators Indicators keep you informed about the current operational status of the projector. The following shows what the - Casio XJ-A140 | User Guide - Page 26
English Troubleshooting Projector Troubleshooting Check the following items whenever you experience any problem with the projector. Problem Cause and Recommended Action The projector does not turn on when I press the [P] (Power) key. If the POWER/STANDBY indicator is not lit, the AC power - Casio XJ-A140 | User Guide - Page 27
is no problem with the input source device. The "Option Settings 1 Power On Password" setting on the setup menu is turned on, so the projector is password protected. ➔ Input the correct password, and then press the [ENTER] key. See User's Guide (UsersGuide_ English.pdf) Device user documentation - Casio XJ-A140 | User Guide - Page 28
English Troubleshooting Problem The remote controller does not work. The TEMP or LAMP indicator is flashing or lit. Lamp does not light. Cause and Recommended Action See The remote controller batteries may be dead. page E-13 ➔ Replace the batteries (see "Replacing Remote Controller Batteries - Casio XJ-A140 | User Guide - Page 29
Model Name XJ-A130 XJ-A135 XJ-A140 XJ-A145 XJ-A240 XJ-A245 XJ-A150 XJ-A155 XJ-A250 XJ-A255 Brightness (ANSI Lumens) *1 2000 2500 3000 Projection System DLP DLP chip Size: 0.55 inch, Number of Pixels: XGA Not supported *3: Included (Connect to projector's special YW-3 port.) CASIO COMPUTER - Casio XJ-A140 | User Guide - Page 30
point de collecte approprié pour le recyclage des appareils électriques et électroniques. Pour de plus amples informations, veuillez contacter le service de collecte des déchets ménagers local. Ce produit contient des substances potentiellement dangereuses qui peuvent avoir des effets néfastes sur - Casio XJ-A140 | User Guide - Page 31
Nederlasnds Afvalverwijdering van Elektrische & Elektronische Apparatuur voor Huishoudelijk Gebruik (Alleen van toepassing in de Europese Unie) Het symbool (doorgekruisde afvalbak op wielen) op het product geeft aan dat het product aan het einde van haar levensduur niet samen met of in de vorm van - Casio XJ-A140 | User Guide - Page 32
Português Eliminação de Equipamentos Eléctricos e Electrónicos para Uso Doméstico (Aplicável somente na União Europeia) O símbolo (caixote de lixo de rodas com uma linha cruzada) em seu produto indica que o produto, no fim da sua vida útil, não deve ser misturado ou eliminado com o lixo doméstico - Casio XJ-A140 | User Guide - Page 33
- Casio XJ-A140 | User Guide - Page 34
in order to meet FCC emission limits. Connector cable........ XJ-A130/XJ-A135/XJ-A140/XJ-A145/XJ-A150/XJ-A155/XJ-A240/XJ-A245/XJ-A250/ XJ-A255 unit to PC Declaration of Conformity Model Number: XJ-A130/XJ-A135/XJ-A140/XJ-A145/XJ-A150/XJ-A155/XJ-A240/XJ-A245/XJ-A250/ XJ-A255 Trade Name: CASIO - Casio XJ-A140 | User Guide - Page 35
for a Class B digital device, pursuant to Part 15 of the FCC rules. These limits are installed and used in accordance with the instructions, may cause harmful interference to radio determined by turning the equipment off and on, the user is encouraged to try to correct the interference by one - Casio XJ-A140 | User Guide - Page 36
Batterij niet weggooien, maar inlevern als KCA Manufacturer: CASIO COMPUTER CO.,LTD. 6-2, Hon-machi 1-chome, Shibuya-ku, Tokyo 151-8543, Japan Responsible within the European Union: CASIO EUROPE GmbH Casio-Platz 1, 22848 Norderstedt, Germany - Casio XJ-A140 | User Guide - Page 37
RJA521342-006 Printed in China Imprimé au Chine MA1001-B
-
 1
1 -
 2
2 -
 3
3 -
 4
4 -
 5
5 -
 6
6 -
 7
7 -
8
-
9
-
10
-
11
-
12
-
13
-
14
-
15
-
16
-
17
-
18
-
19
-
20
-
21
-
22
-
23
-
24
-
25
-
26
-
27
-
28
-
29
-
30
-
31
-
32
-
33
-
34
-
35
-
36
-
37
 |
 |
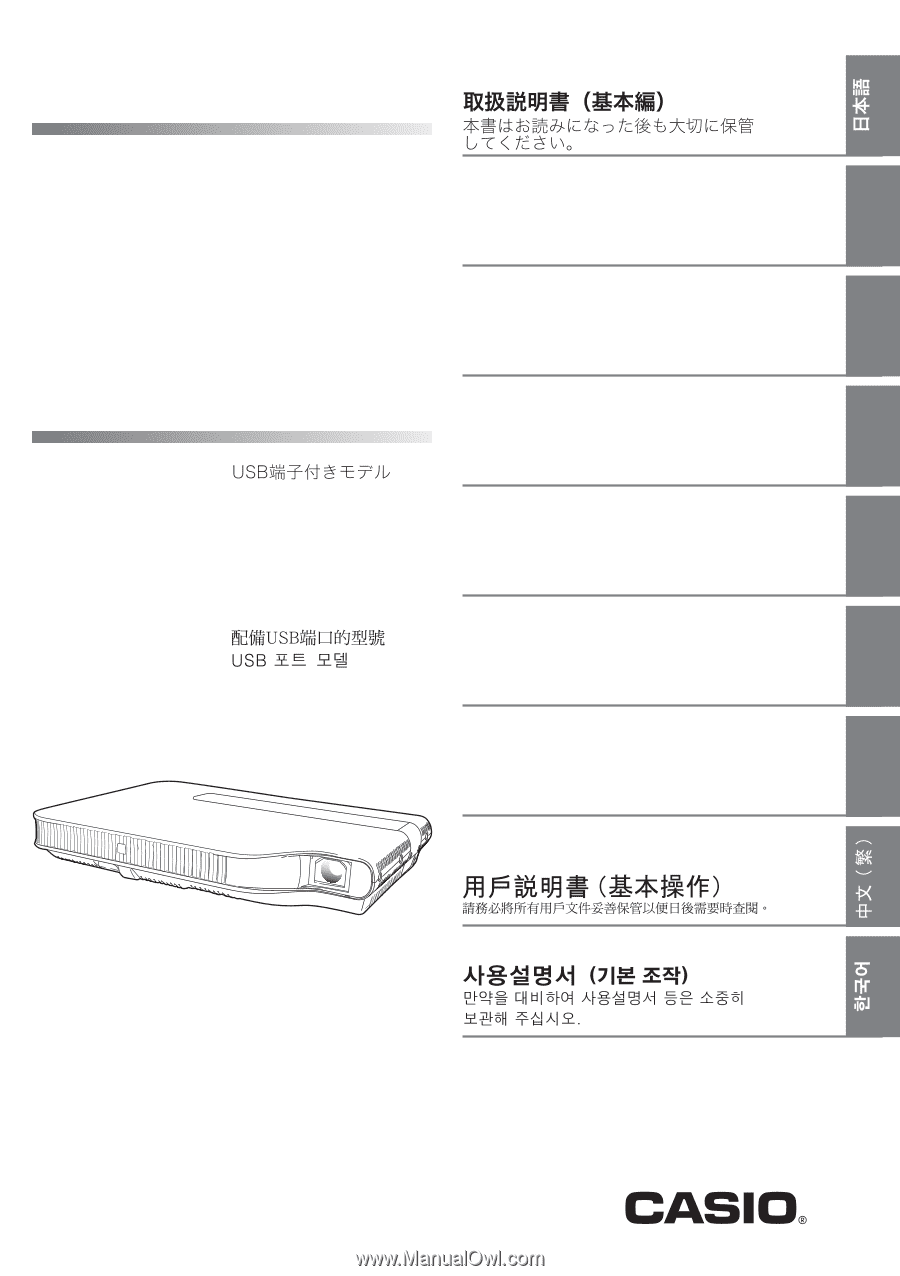
DATA PROJECTOR
XJ-A130/XJ-A135
*
XJ-A140/XJ-A145
*
XJ-A150/XJ-A155
*
XJ-A240/XJ-A245
*
XJ-A250/XJ-A255
*
DATA PROJECTOR
XJ-A130/XJ-A135
*
XJ-A140/XJ-A145
*
XJ-A150/XJ-A155
*
XJ-A240/XJ-A245
*
XJ-A250/XJ-A255
*
*
*
USB port models
*
Modelle mit USB-Port
*
Modèles à port USB
*
Modelos con puerto USB
*
Modelli con porta USB
*
Modeller med USB-port
*
*
English
Deutsch
Français
Español
Italiano
Svenska
Be sure to keep all user documentation
handy for future reference.
User’s Guide (Basic Operations)
Bitte bewahren Sie die gesamte
Benutzerdokumentation für späteres Nachschlagen auf.
Bedienungsanleitung
(Grundbedienung)
Conservez la documentation à portée de
main pour toute référence future.
Mode d’emploi
(Opérations de base)
Asegúrese de tener a mano toda la
documentación del usuario para futuras consultas.
Guía del usuario
(Operaciones básicas)
Conservare l’intera documentazione dell’utente
a portata di mano per riferimenti futuri.
Guida dell’utilizzatore
(Operazioni di base)
Förvara all användardokumentation nära till
hands för framtida referens.
Instruktionshäfte
(Grundläggande anvisningar)
JEGFSISwChK
Z