Cub Cadet 3X 26 HD 3X 26034 Operator's Manual
Cub Cadet 3X 26 HD Manual
 |
View all Cub Cadet 3X 26 HD manuals
Add to My Manuals
Save this manual to your list of manuals |
Cub Cadet 3X 26 HD manual content summary:
- Cub Cadet 3X 26 HD | 3X 26034 Operator's Manual - Page 1
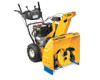
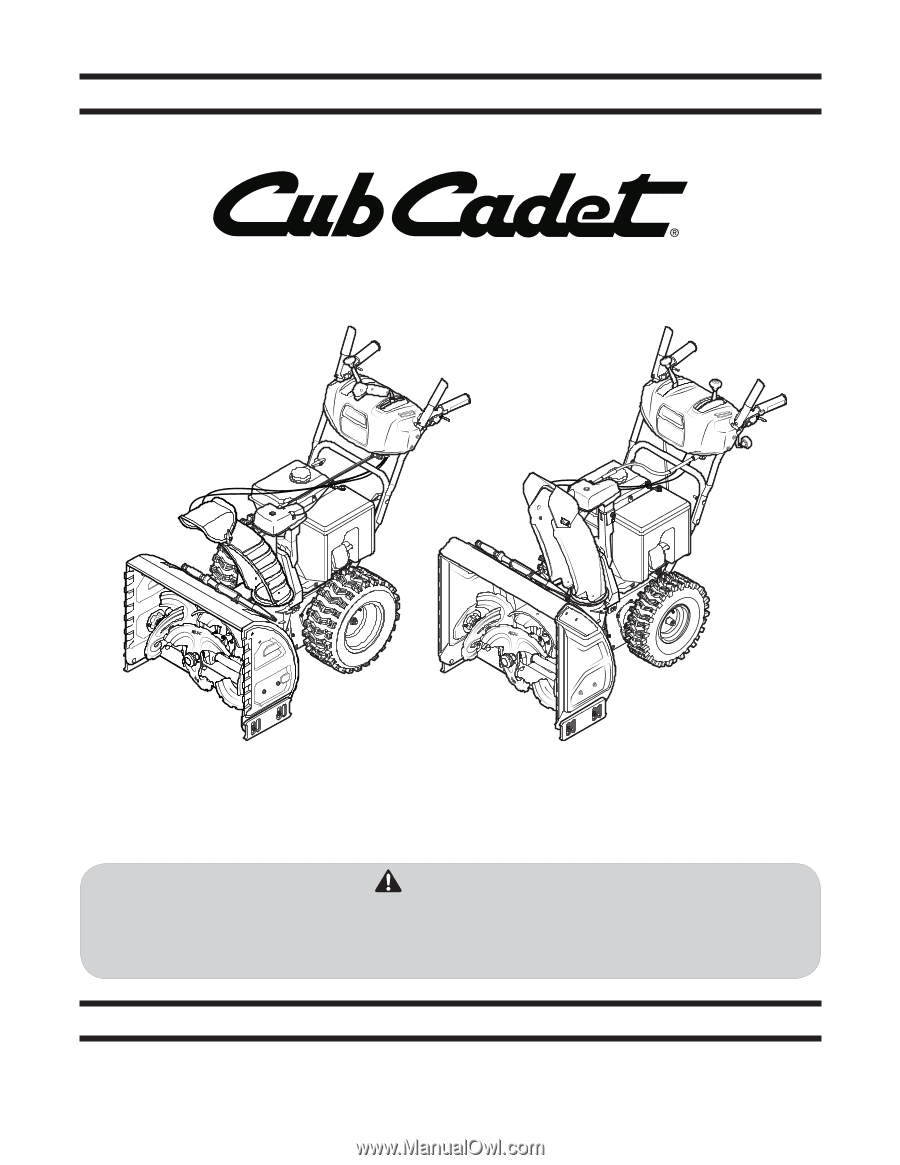
Operation Practices • Set-Up • Operation • Maintenance • Service • Troubleshooting • Warranty Operator's Manual Three Stage Snow Thrower - 3X 26, 3X 26 HD, 3X 28, & 3X 30 HD WARNING READ AND FOLLOW ALL SAFETY RULES AND INSTRUCTIONS IN THIS MANUAL BEFORE ATTEMPTING TO OPERATE THIS MACHINE. FAILURE - Cub Cadet 3X 26 HD | 3X 26034 Operator's Manual - Page 2
To The Owner 1 Thank You Thank you for purchasing a Cub Cadet Snow Thrower. It was carefully engineered to provide excellent performance when properly operated and maintained. Please read this entire manual prior to operating the equipment. It instructs you how to safely and easily set up, operate - Cub Cadet 3X 26 HD | 3X 26034 Operator's Manual - Page 3
or death. Training 1. Read, understand, and follow all instructions on the machine and in the manual(s) before attempting to assemble and operate. Keep this manual in a safe place for future and regular reference and for ordering replacement parts. 2. Be familiar with all controls and their proper - Cub Cadet 3X 26 HD | 3X 26034 Operator's Manual - Page 4
21. If situations occur which are not covered in this manual, use and automatically return to the disengaged position when care and good judgment. Contact Customer Support for released. assistance and the name of your nearest servicing dealer. 4. Never operate with a missing or damaged chute - Cub Cadet 3X 26 HD | 3X 26034 Operator's Manual - Page 5
cause of injury associated with snow throwers. Never use your hand manual for instructions. 7. Maintain or replace safety and instruction labels, as necessary. 8. Observe proper disposal laws and regulations for gas, oil service dealer or contact the service department, P.O. Box 361131 Cleveland, Ohio - Cub Cadet 3X 26 HD | 3X 26034 Operator's Manual - Page 6
SURFACE Engine parts, especially the muffler, become extremely hot during operation. Allow engine and muffler to cool before touching. WARNING! Your Responsibility-Restrict the use of this power machine to persons who read, understand and follow the warnings and instructions in this manual and on - Cub Cadet 3X 26 HD | 3X 26034 Operator's Manual - Page 7
Contents of Carton • Snow Thrower • Replacement Auger Shear Pins • Chute Control Rod or Flex Shaft • Engine Manual • Snow Thrower Operator's Manual • Chute Assembly (above), see page 8 for assembly instructions. If your product resembles the image on the right (above), see page 10 for - Cub Cadet 3X 26 HD | 3X 26034 Operator's Manual - Page 8
3. Observe the lower rear area of the snow thrower to be sure both cables are aligned with roller guides before pivoting the handle upward. Pivot the head and clevis pin and bow-tie cotter pin from chute support bracket. See Figure 3-3. Chute Control Head Chute Support Bracket Chute Chute - Cub Cadet 3X 26 HD | 3X 26034 Operator's Manual - Page 9
: The chute will not rotate without squeezing the trigger on the joystick. Figure 3-8 NOTE: The chute control rod will fit snuggly into the pinion gear. Support the rear of the dash panel with one hand while inserting the rod with your other hand to ensure the rod is inserted all the - Cub Cadet 3X 26 HD | 3X 26034 Operator's Manual - Page 10
Rod adjustments. Figure 3-11 2. Place the shift lever in the Forward-6 position. 8. Finish securing chute control head to chute support bracket with wing nut, clevis pin, and bow-tie cotter pin 3. Cut zip ties securing flex shaft to the lower handle and set the flex shaft aside. removed in step - Cub Cadet 3X 26 HD | 3X 26034 Operator's Manual - Page 11
NOTE: Make certain the cables are seated properly in the roller guides. See Figure 3-13. Chute Assembly 1. Remove the lock nuts and hex screws from chute support bracket. Position the chute assembly over the chute base. See Figure 3-15. Chute Control Head 1 2 Figure 3-13 5. Reattach the two - Cub Cadet 3X 26 HD | 3X 26034 Operator's Manual - Page 12
that all cables are properly routed through the cable guide on top of the engine. See Figure 3-10. Set-Up Shear Pins Storage Replacement auger shear pins and bow tie cotter pins are included with your snow thrower. Store them in your snow thrower's dash panel until needed. See Figure 3-20. Figure - Cub Cadet 3X 26 HD | 3X 26034 Operator's Manual - Page 13
Use a middle or lower position when the area to be cleared is uneven, such as a gravel driveway NOTE: If you choose to operate the snow thrower on a gravel surface, keep the skid shoes in position for maximum clearance between the ground and the shave plate. Figure 3-22 Section 3 - Assembly & Set - Cub Cadet 3X 26 HD | 3X 26034 Operator's Manual - Page 14
Wait for ALL moving parts to stop before readjusting snow thrower, carefully read and follow all instructions below. Perform all adjustments to verify your snow thrower snow thrower engine. Refer to your Engine Operator's Manual. 3. While standing in the operator's position (behind the snow thrower - Cub Cadet 3X 26 HD | 3X 26034 Operator's Manual - Page 15
Chute-Pitch Control † Auger Control Heated Grips † Steering Trigger Control Overhead Chute Directional Control † Augers Skid Shoe † If Equipped Figure 4-1 Snow thrower controls and features are described below and illustrated in Figure 4-1. Shift Lever The shift lever is located in the right - Cub Cadet 3X 26 HD | 3X 26034 Operator's Manual - Page 16
handle. Squeeze the control grip against the handle to engage the augers and start snow throwing action. Release to stop. Drive Control / Auger Clutch Lock To activate the control to turn left. CAUTION: Operate the snow thrower in open areas until you are familiar with these controls. 16 Section 4 - Cub Cadet 3X 26 HD | 3X 26034 Operator's Manual - Page 17
Maneuver the snow thrower so that the cutters penetrate a high standing snow drift to assist snow falling into the augers for throwing. Chute Clean-Out Tool WARNING! Never use your hands to clear a clogged chute assembly. Shut off engine and remain behind handles until all moving parts have stopped - Cub Cadet 3X 26 HD | 3X 26034 Operator's Manual - Page 18
or ice jam, the snow thrower is designed so that the pins may shear. If the augers will not turn, check to see if the pins have sheared. See Figure 5-2. Figure 5-2 CAUTION: NEVER replace the auger shear pins with anything other than OEM Part No.738-04124A replacement shear pins. Any damage to the - Cub Cadet 3X 26 HD | 3X 26034 Operator's Manual - Page 19
Manual. 4. Tire Pressure Refer to Assembly and Set-up section for information regarding tire pressure. Shave Plate and Skid Shoes The shave plate and skid shoes on the bottom of the snow thrower for clarity. Figure 6-1 NOTE: The shave plate on HD units only has a wear edge that can be adjusted - Cub Cadet 3X 26 HD | 3X 26034 Operator's Manual - Page 20
wheels. Auger Shaft At least once a season, remove the shear pins from the auger shafts. Spray lubricant inside the shafts and around or the rubber friction wheel. Doing so will hinder the snow thrower's drive system. Wipe off any excess or spilled oil. Figure 6-4 Gear Shaft The gear (hex) shaft - Cub Cadet 3X 26 HD | 3X 26034 Operator's Manual - Page 21
the washer and cotter pin. Shift Cable (If Equipped snow thrower forward. The wheels should not turn. The unit should not roll freely. If any of the above tests failed, the drive cable is in need of adjustment. Proceed as follows: 1. Shut off the engine as instructed in the separate engine manual - Cub Cadet 3X 26 HD | 3X 26034 Operator's Manual - Page 22
will not be used for 30 days or longer, follow the storage instructions below. 1. Lubricate the machine as instructed earlier in this section. 2. Store in a clean, dry area. 3. If storing the snow thrower in an unventilated area, rustproof the machine using a light oil or silicone to coat the - Cub Cadet 3X 26 HD | 3X 26034 Operator's Manual - Page 23
Service 7 Belt Replacement Auger Belt To remove and replace your snow thrower's auger belt, proceed as follows: 4. Carefully pivot the snow thrower up and forward so that it rests on the auger housing. 5. Remove the frame cover from the underside of the snow thrower by removing the self-tapping - Cub Cadet 3X 26 HD | 3X 26034 Operator's Manual - Page 24
the snow thrower fails to drive with the drive control engaged, and performing the drive control cable adjustment fails to correct the problem, snow thrower's friction wheel rubber. See your authorized service dealer to have the friction wheel rubber replaced or phone Customer Support as instructed - Cub Cadet 3X 26 HD | 3X 26034 Operator's Manual - Page 25
Troubleshooting 8 Problem Cause Remedy Engine fails to start Engine running erratically/ inconsistent RPM (hunting or surging) Engine overheats Excessive vibration Loss of power Unit fails to propel itself Unit fails to discharge snow Chute fails to easily rotate 180 degrees 1. Choke not in - Cub Cadet 3X 26 HD | 3X 26034 Operator's Manual - Page 26
Tool 790-00121 790-00525 790-00118 790-00550 Shave Plate (3X 26) Shave Plate (3X 26 HD) Shave Plate (3X 28) Shave Plate (3X 30 HD) 951-10630 Key 951-10292 Spark Plug Phone (800) 965-4CUB to order replacement parts or a complete Parts Manual (have your full model number and serial number ready - Cub Cadet 3X 26 HD | 3X 26034 Operator's Manual - Page 27
10 The following attachments and accessories are available for your Cub Cadet snow thrower. See your Cub Cadet dealer or the retailer from which you purchased your snow thrower for information regarding price and availability. Model Number Description 929-0071A Extension Cord, 110V 753 - Cub Cadet 3X 26 HD | 3X 26034 Operator's Manual - Page 28
, accessory or attachment not approved by Cub Cadet for use with the product(s) covered by this manual will void your warranty as to any resulting damage. Normal Wear Parts are warranted to be free from defects in material and workmanship for a period of thirty (30) days from the date of purchase
-
 1
1 -
 2
2 -
 3
3 -
 4
4 -
 5
5 -
 6
6 -
 7
7 -
8
-
9
-
10
-
11
-
12
-
13
-
14
-
15
-
16
-
17
-
18
-
19
-
20
-
21
-
22
-
23
-
24
-
25
-
26
-
27
-
28
 |
 |
CUB CADET LLC, P.O. BOX 361131 CLEVELAND, OHIO 44136-0019
Printed In USA
O
PERATOR
’
S
M
ANUAL
Safe Operation Practices • Set-Up • Operation •
Maintenance • Service • Troubleshooting •
Warranty
WARNING
READ AND FOLLOW ALL SAFETY RULES AND INSTRUCTIONS IN THIS MANUAL
BEFORE ATTEMPTING TO OPERATE THIS MACHINE.
FAILURE TO COMPLY WITH THESE INSTRUCTIONS MAY RESULT IN PERSONAL INJURY.
Form No. 769-08980A
(July 2, 2013)
Three Stage Snow Thrower — 3X 26, 3X 26 HD, 3X 28,
& 3X 30 HD